• Skip to primary navigation
  • Skip to main content
  • Skip to primary sidebar
  • Skip to footer
  • Home
  • Blog
  • Shop
  • Cart
  • My Account

Flosstyle

Practical PDF Sewing Patterns

in Beginners· Tutorials

Why you should start using PDF sewing patterns now: A guide for beginners

Does the thought of using a PDF sewing pattern make you feel anxious?Are you worried that downloading and printing a PDF pattern is too high-tech for you? 

Let me take all your anxieties and fears away and provide you with all the tools and knowledge you need to step into the world of sewing with PDF patterns. 

Ok… but what exactly IS a PDF pattern?

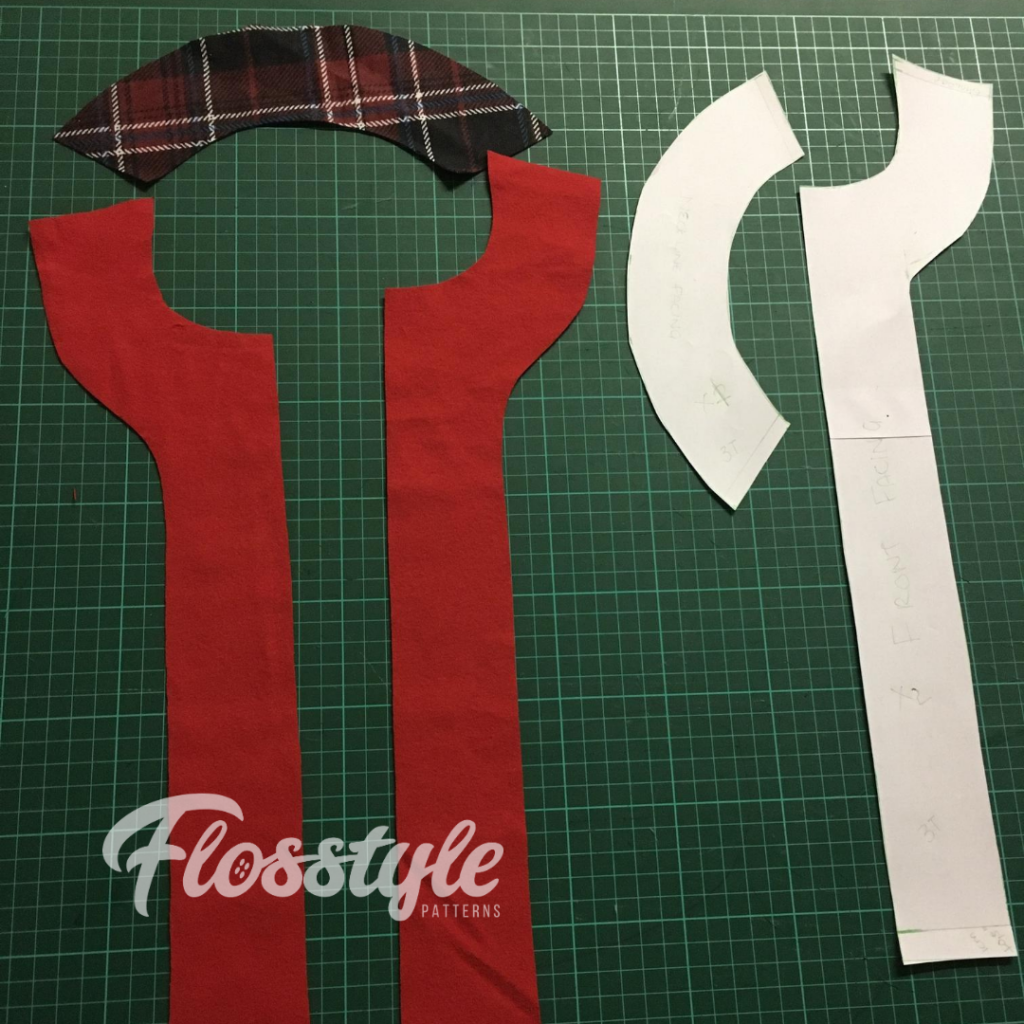
A PDF pattern is just like a traditional pattern, but it’s digital! Rather than buying a physical pattern at your local craft store, or having a physical pattern shipped to your house from an online store, a PDF pattern (or digital pattern) is instantly downloaded to your computer’s hard-drive. When you download a PDF pattern from Flosstyle you will be able to download the pattern in A4, letter or A0 for some patterns. The moral of the story is, a PDF pattern is almost exactly the same as a traditional pattern, it’s just in a digital format. A PDF pattern should not be too different from the sewing patterns you are used to using.  

That makes sense… How do I buy one?

In the simplest of terms, you purchase a PDF pattern the same way you’d purchase anything online. In most cases, once you press “buy” (or something to that effect) your PDF pattern will instantly download to your computer. Some shops may also send you the PDF pattern directly to your chosen email address. To buy a Flosstyle Pattern you can visit our shop.

Ok now I’m following you, but what do I do once I’ve downloaded a PDF pattern?

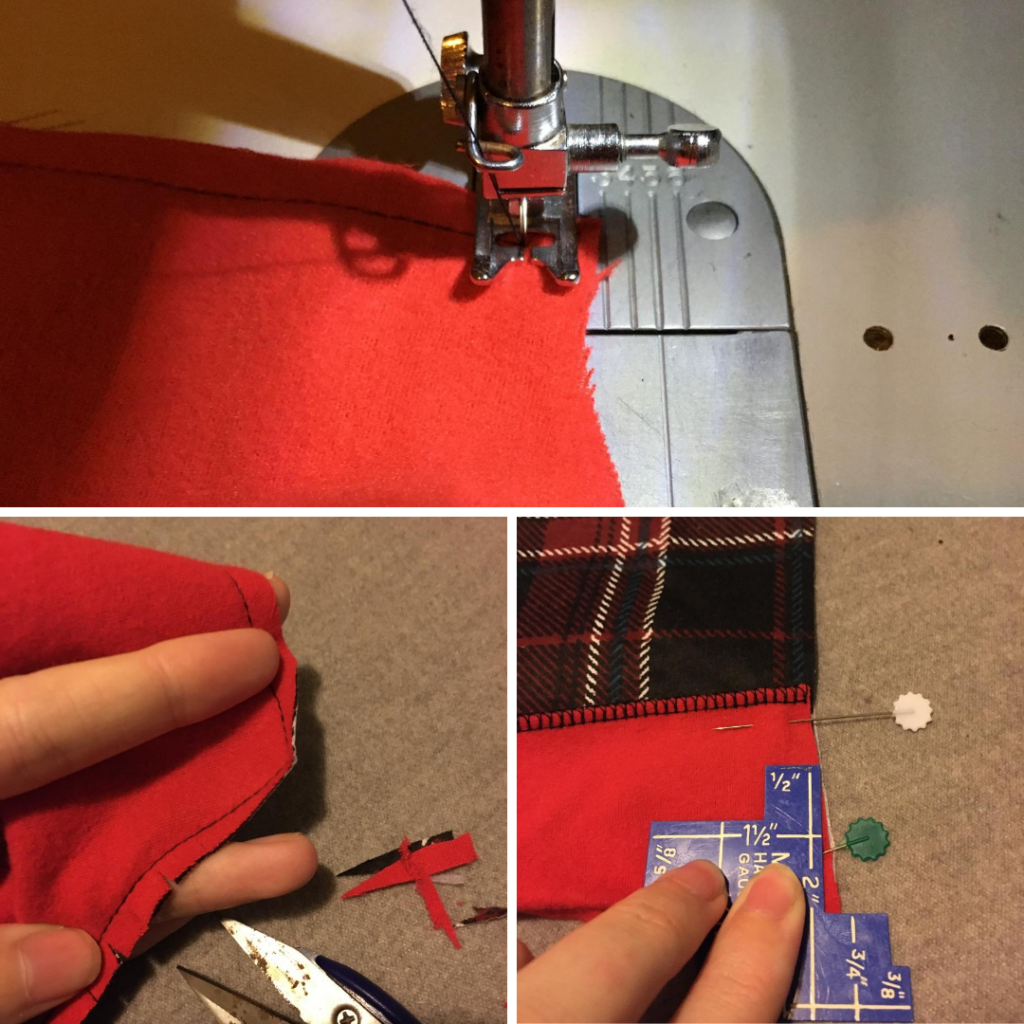
Once you have the PDF pattern, it’s time to get printing! Now stay with me here, printing the PDF pattern is probably the trickiest part of using PDF patterns (and in all honesty, it isn’t actually THAT hard once you get your around it). The most important thing to remember when printing PDF patterns is to ensure the print is scaled at 100% or actual size. Your printer may give you the option to “scale to fit”… DO NOT scale to fit. As most home printers only print A4/Letter size prints, you will need to assemble the pieces together to make your full pattern. Make sure you have a glue stick or some tape handy. 

If you don’t have a printer at home don’t fret, you can get the PDF pattern printed at your local print and copy store. A professional print copy store will have industrial printers and  will be able to print your pattern on larger pieces of paper to avoid the assembly process. If you do engage the help of a print and copy store, be sure to provide them with clear instructions to scale the print at 100%, and not “scale to fit”. Now that you’re well equipped to get started with PDF patterns, let me tell why you PDF are great, and why you may never go back to traditional patterns. 

They don’t break the bank

PDF sewing patterns are often cheaper than traditional patterns purchased at craft stores. Another added benefit – no shipping fees!

The variety of patterns is endless

Can’t find anything exciting, fun or unique at your local craft store? All you need to do is a quick google search and you will find countless PDF patterns to pick from. Better yet, check out the Flosstyle Store. We have a huge catalogue of clothing items that can be made to fit newborns and adults.

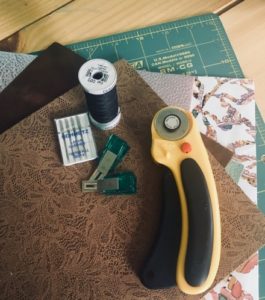
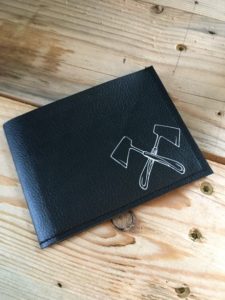
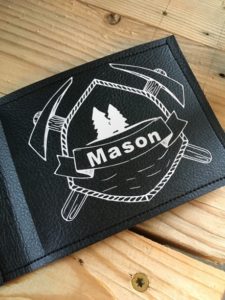
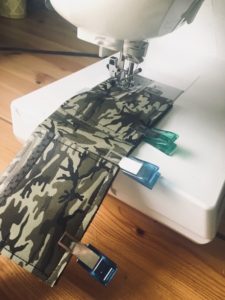
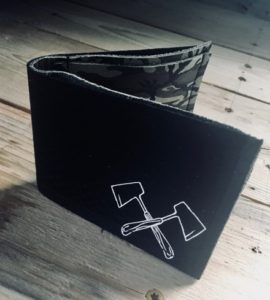
Our baby carriers will have you and your baby looking stylish, feeling comfortable, and most importantly staying safe. If sewing articles of clothing isn’t your thing, Flosstyle have you covered with a range of patterns for various accessories from chair bags to wallets, and even adorable toys you can create for your baby. 

Check out a list of all our free patterns here.

You can print as many copies as you need at the touch of a button

If you’re anything like me, you may have a tendency to lose, or accidentally spill coffee on your patterns. These woes can be put behind you with PDF patterns. Lost the final piece you need to finish your project? Not a worry – just print out a new one!

Spilt a fresh pot of tea all over a freshly printed pattern? Just push the print button again and you’re back in business! You can’t say that about traditional patterns. Another benefit of being able to print as many copies of your pattern that you need? There is no longer the need to undertake the tedious process of tracing the pattern onto tracing paper, as you have unlimited copies of the pattern at your disposal. Once you’ve downloaded the PDF the pattern is yours forever, safely stored on your personal hard-drive, to use as many times as you need. 

They’re super easy to follow 

Lots of PDF patterns are made by independent designers who have the customers at the front of their mind. This means that the patterns are not only uniquely designed, but contain clear instructions and direction. Designers of PDF patterns are usually happy to answer any follow up queries or concerns you may have too.

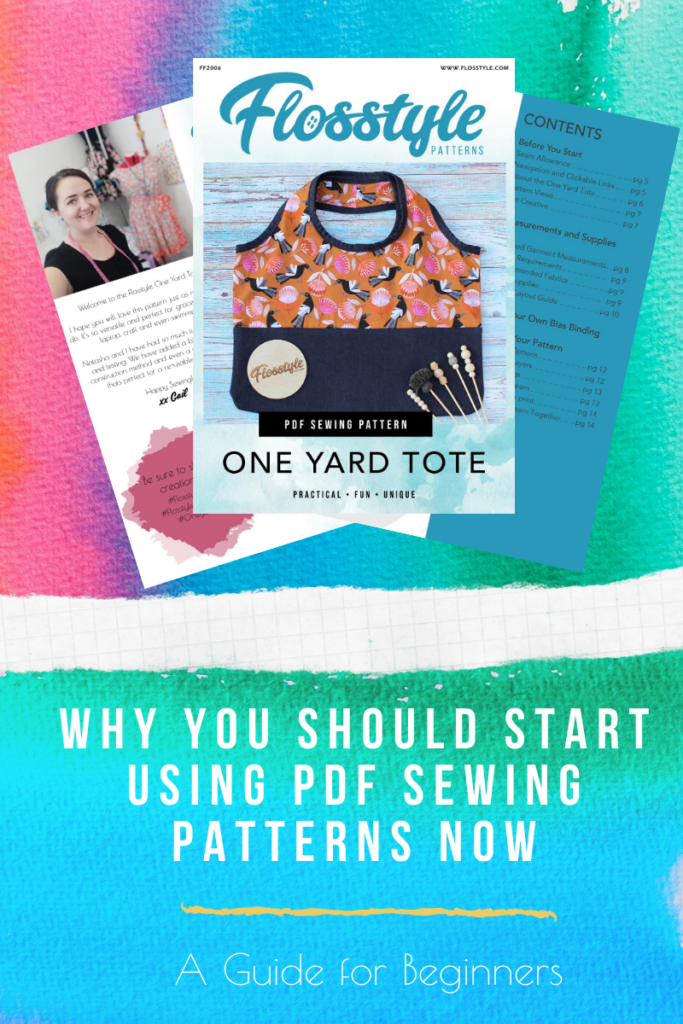
Still not convinced? The Flossstyle online store has a number of amazing high quality FREE PDF patterns (we recommend starting with the one yard tote pattern!) that you can download for yourself, and experience the pleasure and ease of following a PDF pattern (and all before having to pull out your credit card!).

Join our facebook community, Flosstyle Fair to see beautiful finished products, and even get some hints and tips from fellow sewers. 

Supporting small and independent businesses

Independent designers put their heart and soul into creating PDF patterns (and it definitely shows!). The designer has often put hours of effort into each and every handmade design that you’re buying, and you’re directly supporting them to continue making their art. It doesn’t get more special than that. 

So now that you’re well equipped to download, print and assemble PDF patterns, and understand how amazing they are compared to traditional patterns, what are you waiting for?

Visit the Flosstyle online store to view a catalogue of high quality, easy to follow PDF sewing patterns for a range of clothing items, toys, and accessories (I recommend starting with the almost famous Ultimate Bucket Hat pattern). Enjoy your new found world of PDF patterns and let your creativity flow. 

Happy downloading and sewing!

Jess

Filed Under: Beginners, Tutorials Tagged With: guide for beginners, how to use pdf patterns, what are pdf patterns

in Capsule Wardrobe· Flosstyle Patterns· Pattern Hack· Sew Along· Sew For kids· Sewing for Baby· Sewing for Boys· Sprouts· Trees· Tutorials· Uncategorized· Zoo

Pajamas – Winter Sewing Series – Sewing The Facing and Top 02

This series will show you how to make snuggly pajamas for your little ones this winter in the Southern Hemisphere! See my previous blogpost on hacking the Zoo pattern to make a facing.

In this post we will go through the steps to sew up the Zoo PJ top for my son. I have made a few changes to the construction and shall note them throughout.

Step 1: Pin facing right sides together at the shoulder seams. Sew them together with 1/4″ or 7mm seam allowance.

Repeat this with shoulder seams of the top too. Finish the rew edges with a serger or zigzag stitch.

Step 2: Interface your snap placket pieces and face the short ends right sides together, pin and sew 1/4″ or 7mm. Trim seam allowance to turn out sharp corners. Turn right side out and press well.

Step 3: Pin the placket raw edges along the raw edges of the top front. Then take the facing and pin right sides together around the neckline, then thr front, sandwiching the placket inbetween.

See that the shoulder seams on the facing and top are nested inopposite directions to reduce bulk.

Step 4: Sew from the bottom of one front around the neckline and down the opposite front. See image bottom right – sew 1/2″ or 1cm hem seam allowance – ONLY of the facing and hem. See bottom left – Trim back the seam allwance at the corners of the hem facing and neckline facing.

Step 5: Turn the facing towards the inside of the top. Press and Topstitich 1/8″ or 3mm around the top next to the snap placket and around the neckline.

Memory press the hem at this stage.

Step 6: Attaching the sleeves right sides together matching the halfway point to the shoulder seam. Serger, sew. (Do not catch the facing in the shoulder seam.)

Step 7: Once the shoulder is sewed. Place the sleeve and side of the top right side togther. Nest the armpit seams to reduce bulk. Sew or serge from the bottom of the top up the sleeve.

Step 8: I changed the construction and hemmed by overlocking the hem and with the facing stitches the hem naturally wants to curl under. Press and topstitch down.

Step 9: Overlap the snap placket as per the instructions for either boys and girls. Add your snaps evenly as per the instructions.

Step 10: Arm cuff. As per insdtructions sew the cuff on.

Congratulations! Your Pajama top is complete. I love the finish and my son keeps asking me to wear them. So I better make some more! I would suggest using flannel, fleece or even a quilting cotton for warmer weather.

Happy Sewing – Stay tuned for my sprouts Pajamas pants blogpost next!

Tash

“IMPORTANT: Most nations have strict regulations surrounding children’s sleepwear – in order to sell it, it must meet certain fire resistant standards, in both fabric content and construction/fit. Please do not sell anything you make from this pattern without first checking to see that you have adhered to those regulations. Even for personal use, it is a good idea to be aware of the standards and choose your fabric/fit accordingly. (snug fit is important if not using flame retardant fabric, per most government regulations)”

Filed Under: Capsule Wardrobe, Flosstyle Patterns, Pattern Hack, Sew Along, Sew For kids, Sewing for Baby, Sewing for Boys, Sprouts, Trees, Tutorials, Uncategorized, Zoo Tagged With: hack, pajamas, pj, sew, Sew Along

in Capsule Wardrobe· Flosstyle Patterns· How To· Pattern Hack· Sew Along· Sew For kids· Sewing for Baby· Sewing for Boys· Sprouts· Trees· Tutorials· Zoo

Pajamas – Winter Sewing Series – Facing Hack 01

This series will show you how to make snuggly pajamas for your little ones this winter in the Southern Hemisphere!

I’ve been wanting to make my littles winter PJ’s for some time now. Following Laura’s Post on our Facebook Fair Group. I used the Zoo and the Sprouts pattern to make the pj sets.

Lets start with the Zoo PJ Top

Option – Panda top and Wombat tail With Long sleeve add-on
Fabric –
Flannel

For my sons version I ran out of fabric so instead of fully lining the shirt I made facings. It is very easy and heres how I did it.

Step 1 – Take the front Zoo pattern piece and trace the shirt length line and blue line in the size you are making.

Step 2: Using this pattern piece you are going to measure the front snap placket front and use this as the snap placket facing. Width around 2″ or 6cm. (you will cut 2 of the placket facings mirrored)

Step 3: Place on a piece of paper and trace the neckline. width of 2″ for the neckline facing. (You will cut 1 of the back neckline facing)

Voila – Your facing pattern is done. This can be applied to any garment that requires a lining for example a coat, dress bodice etc.

Follow for my next Blogpost on sewing the PJ top together using this facing.

Happy Sewing!

Tash

“IMPORTANT: Most nations have strict regulations surrounding children’s sleepwear – in order to sell it, it must meet certain fire resistant standards, in both fabric content and construction/fit. Please do not sell anything you make from this pattern without first checking to see that you have adhered to those regulations. Even for personal use, it is a good idea to be aware of the standards and choose your fabric/fit accordingly. (snug fit is important if not using flame retardant fabric, per most government regulations)”

Filed Under: Capsule Wardrobe, Flosstyle Patterns, How To, Pattern Hack, Sew Along, Sew For kids, Sewing for Baby, Sewing for Boys, Sprouts, Trees, Tutorials, Zoo Tagged With: facing, free tutorial, hack, pajamas, pj, sprouts, tutorial, winter, zoo

in Freebies· Sew For kids· Sewing with Kids· Tutorials

Free Bean Bag Tutorial

We have been invited to a birthday party later this month and I wanted to sew something for the birthday boy that he could play with.

Bean bags are the perfect classic toy for kids of almost all ages. They are simple and open ended toys that can be used in so many different ways. They can not only be used for stacking, tossing and catching, this colourful collection can also be used for educational play such as colour recognition, matching, and counting.

Before I had even finished sewing these Parker was trying to run away with them, so I decided to make him his own set while I was at it.

I used heat transfer vinyl (HTV) to make the letters and numbers on my bean bags. You can cut these from HTV and iron on or make fabric appliques.

You could also try using fabrics with different textures, such as minky, satin, cord etc to turn the bean bags into sensory toys.

You will need:

-Fabric
-Filling (Rice, Plastic Pellets, Corn etc)

How to make them:

I used 6″ squares for the large bean bags and 4″ squares for the smaller ones. (You can use smaller or larger squares to suit you)

Cut 2 matching squares for each of bean bags you’d like to make. (I chose a plain colour for one side and character print for the other.)

-If you are applying HTV or applique do that before sewing squares together.
-Place 2 squares right sides together and sew around the edges leaving a gap big enough to turn and fill.
-Snip the corners and turn out, use a chopstick to push out corners
-Top stitch the 3 sides of the bean bag that don’t have the gap on them.
-Fill the bag with filling of your choice and top stitch that side to close the bean bag.

Free Bean Bags Tutorial. Great for presents and educational play.

Each bean bag seam is double stitched to provide extra security against breakage. You should check your bean bags regularly for wear and loose stitching. If you have used an organic filling such as rice, be sure to store your bean bags where they won’t get wet.

You can find some great games to play with your bean bags and a free printable booklet which is great to add when giving these as a present by clicking the link.

Another great idea for a handmade present is the Ultimate Bucket Hat. You can find a complete tutorial on how to sew it here.

Happy Sewing
x Gail

Filed Under: Freebies, Sew For kids, Sewing with Kids, Tutorials Tagged With: diy play, educational play, free tutorial, montessori

in Flosstyle Patterns· Sew Along· Sewing with Braden· Sewing with Kids· Star Shorts· Tutorials

Star Shorts Sew Along

The Star Shorts Sew Along is starting soon and we have decided to do something a little bit different, my eldest son Braden will be sewing and making the videos.

​Braden has been telling me for a little while now that he wants to be a YouTuber when he grows up, I asked him if he wanted to help make some sewing videos for Flosstyle and he jumped at the chance. 

I’m so proud of the effort he has put into the sewing and making of the videos (I think I was lucky enough to make an appearance once before I was told that I was better behind the camera punching the record button for him) and can’t wait to share them with you. 

All the videos will be posted to our YouTube channel. 

And if you haven’t already got it you can grab the Star Shorts Pattern here. 


Happy Sewing
x Gail

Filed Under: Flosstyle Patterns, Sew Along, Sewing with Braden, Sewing with Kids, Star Shorts, Tutorials

in Flosstyle Patterns· Groovy Guys Wallet· Guest Blog Post· Pattern Hack· Tutorials

Groovy Guys Wallet – Leather and Custom Decal Hack

Hi everyone! I’m Sara from The MODERN Maker at Cobb’s Mill and will be sharing a tutorial for utilizing leather and heat transfer vinyl (HTV) to create the Groovy Guys Wallet. I love this pattern for the men in life! Everyone, old and young, need wallets and this pattern creates a wonderful unique gift!

You will need the materials below to get started:

For the wallet:

  • 2-4 8×10 sheets of leather. I purchased my leather here.
  • Leather needle
  • Wonder clips or similar
  • Rotary cutter and mat
  • Thread
  • Sewing machine

For the HTV design:

  • Cutting machine of choice
  • HTV, I used Sisar EasyWeed
  • Weeding tool
  • Blades for cutting HTV and leather (optional)
  • Cutting mats, standard for HTV, strong grip for leather (optional)

I began by creating a cut file in Design Space because I plan to make this wallet frequently and I prefer the accurate cuts from my Cricut Maker. (I’m always a bit crooked with a rotary cutter and even an edge is important with leather!)

I sized the pattern down a bit because I wanted to give this wallet to my son for his 7th birthday and I wanted the wallet to fit nicely in his jeans. To ensure I was happy with the size, I cut the pattern on paper and assembled it with tape on my cutting mat. This is also helpful when working with pattern pieces that can be confusing… such as multiple similar sized squares of leather! It really helps me to keep it all straight.

If you would like to add HTV to your wallet now is the time to do so. I adapted a file from Scout and Rose Designs to create a simplified ax for the wallet facing. I opted not to include the crest on the inside because of the fun camo leather. These designs are perfect for the boys in my life because my husband is a sawyer. Feel free to add your own “stamp”!

I adhered the HTV to the wallet facing using a heat press set to 305 degrees for 5 seconds. You could also adhere with an iron without steam. Press all your designs on prior to stitching.

Next, assemble the lining and pockets. Clip with wonder clips or similar. Do not use pins as they will leave a permanent hole in the leather. Take care to ensure edges are even.

Stitch ¼” around three sides of the right pocket and stack of left pockets (stitching all layers at once). I found starting fully on the fabric with a 3.5mm stitch length and utilizing 1-2 backstitches worked well on my machine. If backstitching, pull your threads 2-3 inches from the needle plate prior to stitching to keep the stitches clean on the wrong side. I STRONGLY recommend testing 4-5 layers of stacked leather prior to stitching to ensure you are happy with the results as stitching will leave permanent holes in the leather.

Using a rotary cutter trim any edges that slipped during the stitching. We will be leaving all edges unfinished (unbinded) so it is important to keep the edges straight and clean.

Lay the front facing, wrong sides together, with the lining. Verify the HTV decal is facing in the correct direction. Stitch ¼” around three sides of the facing leaving the open. Trim as needed.

Press the wallet closed using a heat press or iron.

Voila! You have created a beautiful leather wallet!

Happy Stitching,
Sara Cobb
Owner, The Modern Maker at Cobb’s Mill

Filed Under: Flosstyle Patterns, Groovy Guys Wallet, Guest Blog Post, Pattern Hack, Tutorials Tagged With: guys wallet, leather, pattern, pdf, sewing, wallet

  • Go to page 1
  • Go to page 2
  • Go to Next Page »

Primary Sidebar

Recent Posts

  • Sewing for loved ones March 21, 2022
  • Sewing Challenge 2022 – Week 4 January 30, 2022
  • Sewing Challenge 2022 – Week 2 January 15, 2022
  • Scrub Cap Sew Along January 14, 2022
  • Sewing Challenge 2022 – Week 1 January 7, 2022

Categories

  • 2019 52 Week Sewing Challenge
  • 52 Week Sewing Challange
  • 52 Week Sewing Challenge – 2020
  • 52 Week Sewing Challenge – 2022
  • Alice's Tea Set
  • Applique
  • Artiste
  • Arts and Crafts
  • Babys First Toys
  • Bazinga Backpack
  • Beginners
  • Behind the scenes
  • Blogs by Jess
  • Blogs by Olivia
  • Bloomies
  • Bolster Bean Bag
  • Bonnet
  • Boutique and Hybrid Bibs
  • Bunny Bucket
  • Bunny Bucket Crown
  • Capsule Wardrobe
  • Charity Cape
  • Christmas Sewing
  • Costumes
  • EZ Wrap Wallet
  • Flosstyle Patterns
  • Free Downloads
  • Freebies
  • Groovy Guys Wallet
  • Guest Blog Post
  • How To
  • Hunter Shorts
  • Itty Bitty
  • Kanga Carrier
  • Learn to Sew
  • New to PDF Patterns
  • One Yard Tote
  • Paradise Dress
  • Pattern Hack
  • Pattern Release
  • Play Away
  • Printable
  • Puckers
  • Rainbow Hat
  • Scrub Cap
  • Sew Along
  • Sew For kids
  • Sewing
  • Sewing for Baby
  • Sewing for Boys
  • Sewing Groups
  • Sewing with Braden
  • Sewing with Kids
  • Sneak Peek Stocking
  • Souffle Skirt
  • Spring Wardrobe Challenge
  • Sprouts
  • Star Shorts
  • Super Suit
  • Things to do with the Kids
  • Tidy Travel Tote
  • Timelapse
  • Tooshies
  • Trees
  • Trolley Liner
  • TTT
  • Tutorials
  • Twiggies
  • Twigs
  • Ultimate Bucket Hat
  • Uncategorized
  • Upcycle
  • Upcycle Challenge 2018
  • Ventura Lite
  • Video
  • Whirl Skirt
  • Zoo

Footer

Product categories

  • Pattern Workshop
  • Patterns
    • Accessories
    • Babies
    • Baby Carrier
    • Bags
    • Boys
    • Free
    • Gifts and Toys
    • Girls
    • Home Decor
    • Ladies
    • Men
    • Wallets and Bags
  • Uncategorised

New to the Blog

  • Sewing for loved ones
  • Sewing Challenge 2022 – Week 4
  • Sewing Challenge 2022 – Week 2
  • Scrub Cap Sew Along
  • Sewing Challenge 2022 – Week 1

Search

  • About Us
  • Free Patterns
  • Downloads
  • Privacy
  • FAQ’s

Flosstyle Patterns · Copyright © 2023

Copyright © 2023 · Ellie Jane on Genesis Framework · WordPress · Log in