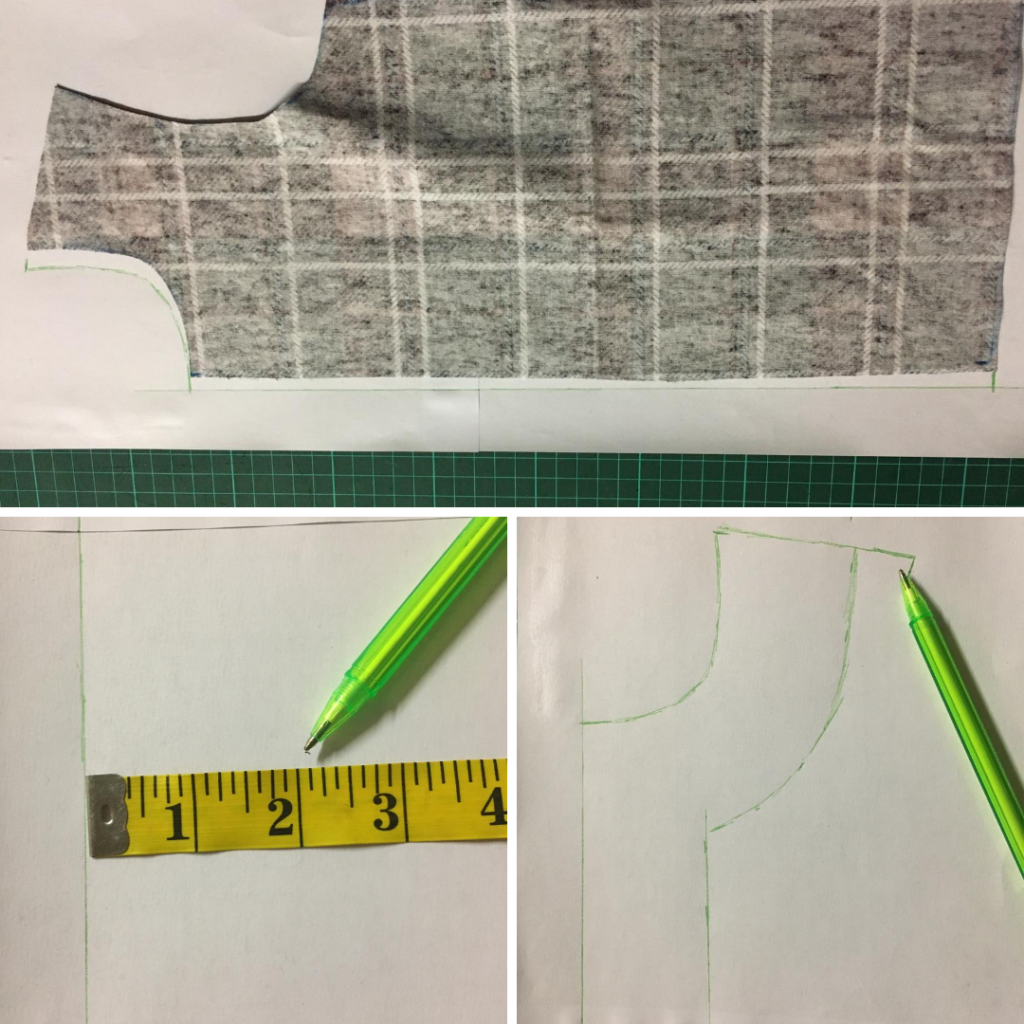
Who doesn’t love to sew for little ones? I sure do!
“Real generosity toward the future lies in giving all to the present.”
Albert Camus
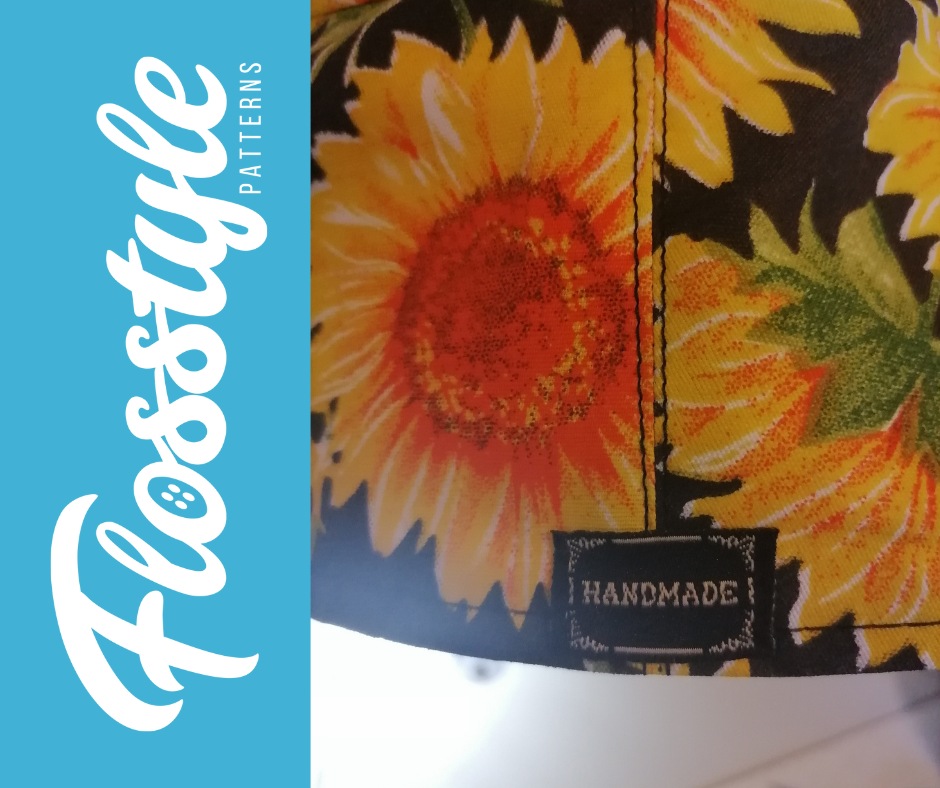
Do you say handmade or homemade? I say Handmade – with Love ofcourse!
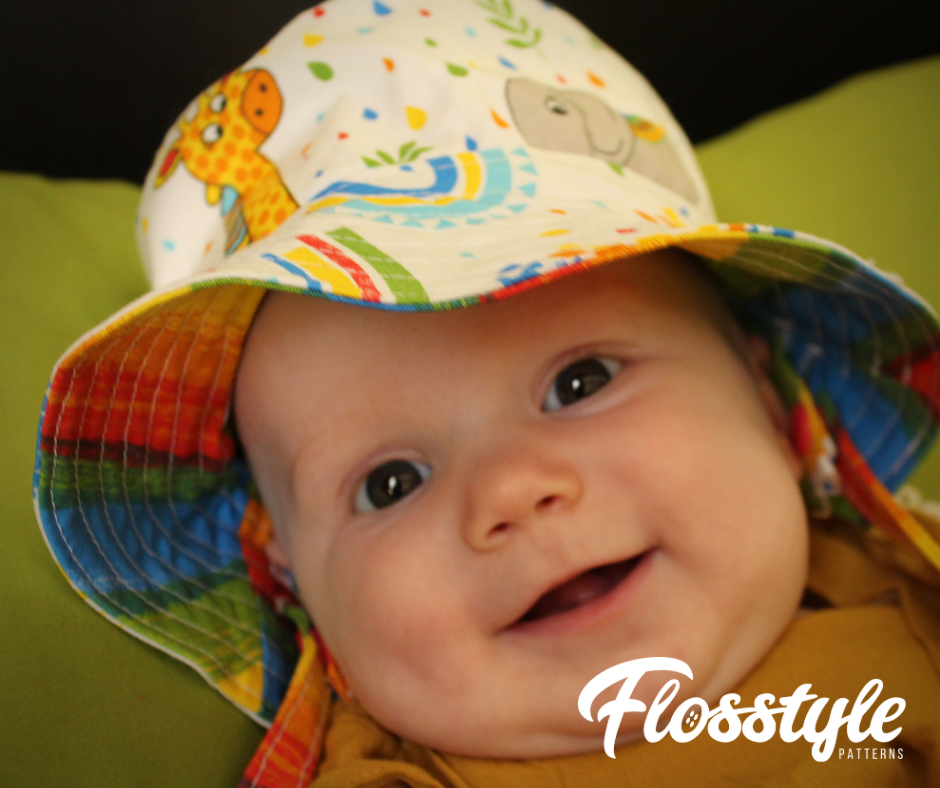
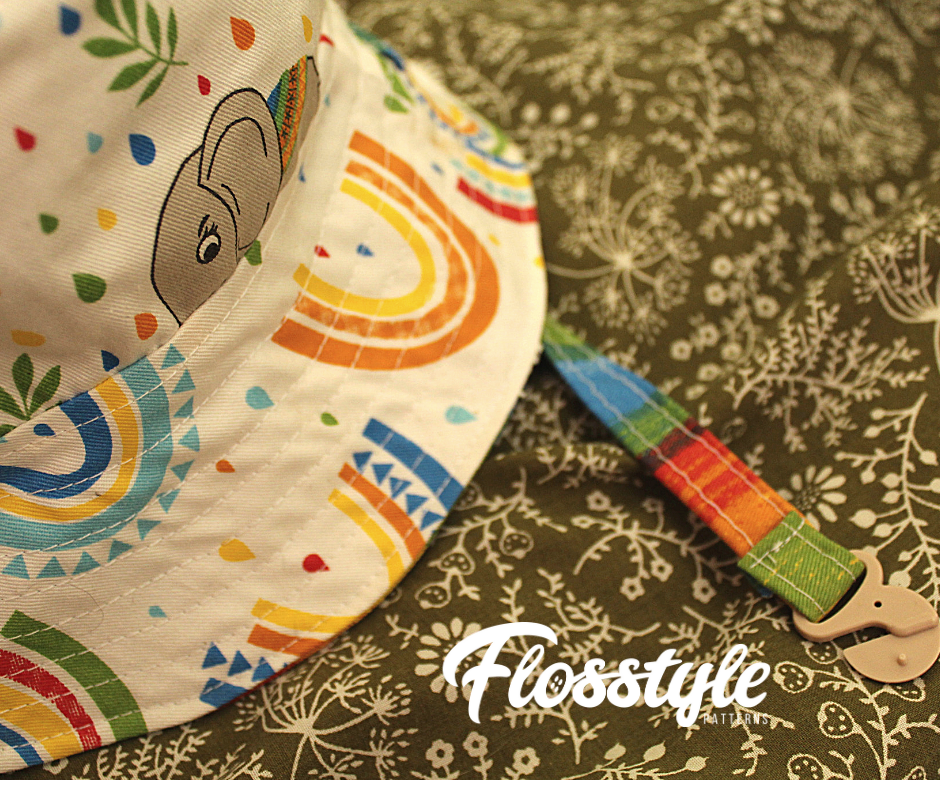
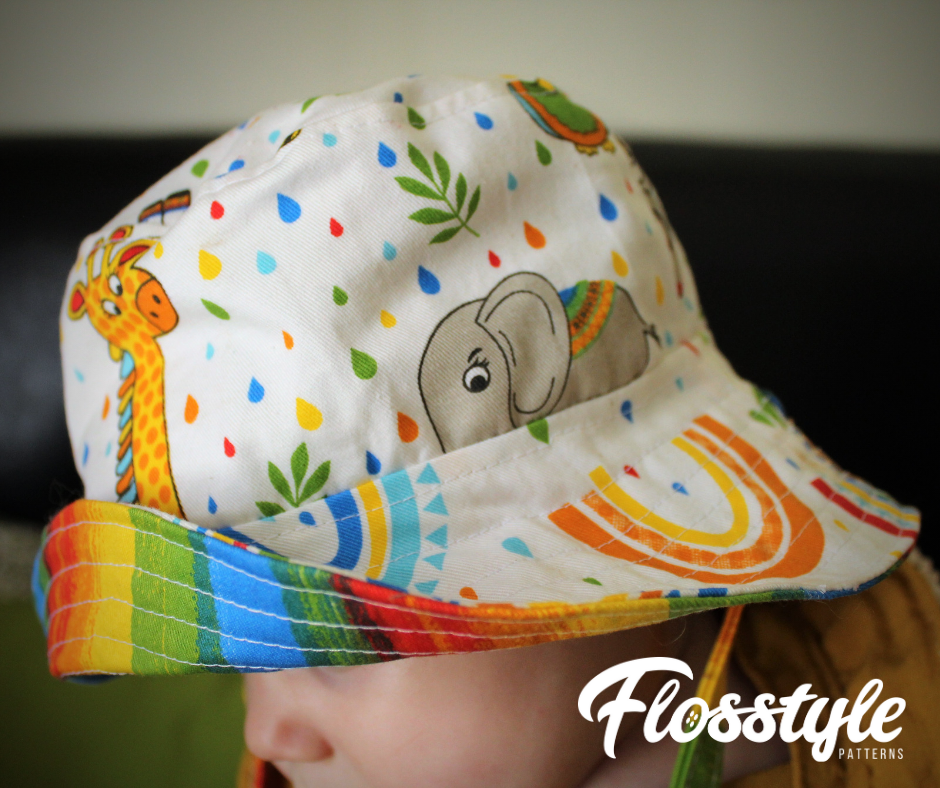
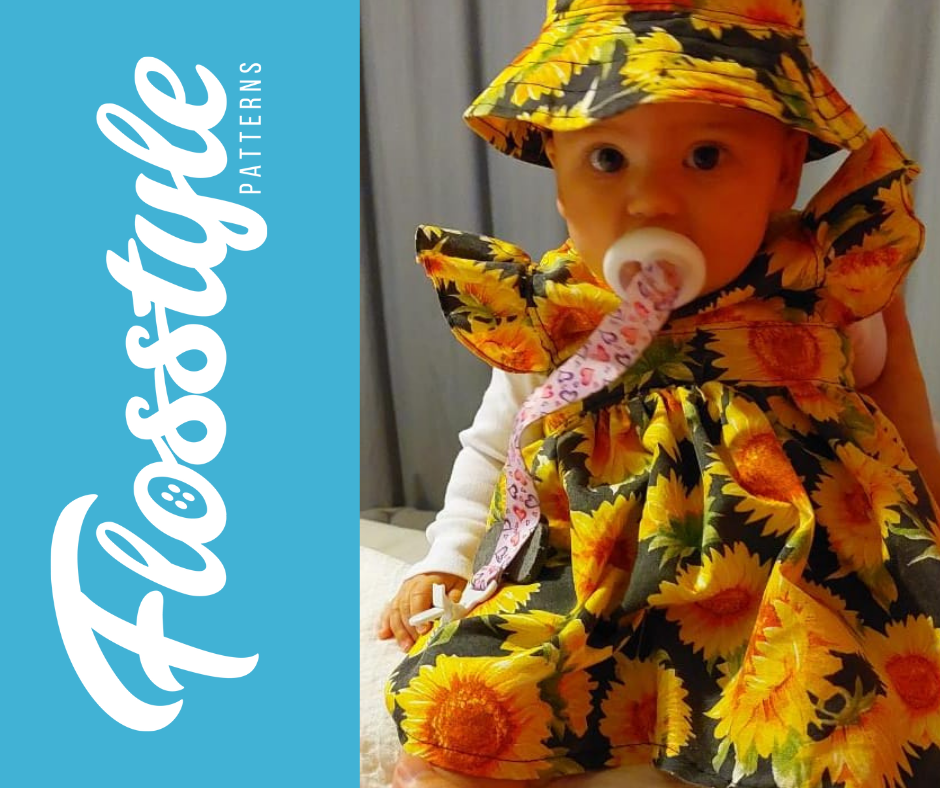
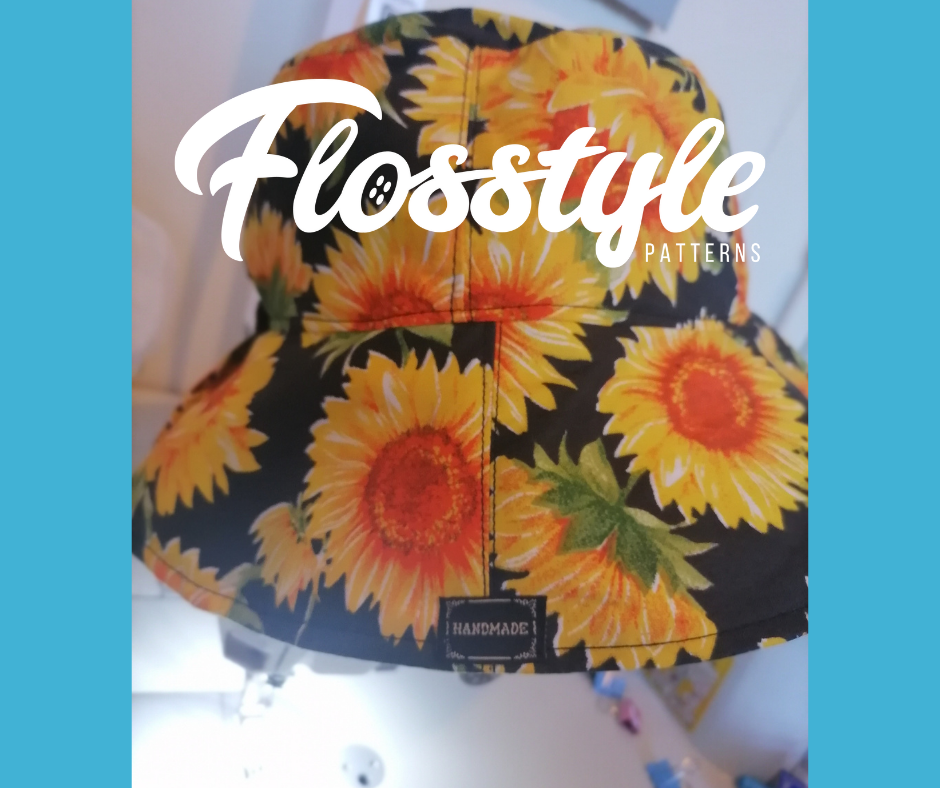
I made a friend of mine’s new baba an Ultimate Bucket Hat in the most adorable sunflower quilt cotton. (This summer I went on a sunflower craze to say the least haha)
Look at what her mom sent me recently for international Hat Day!
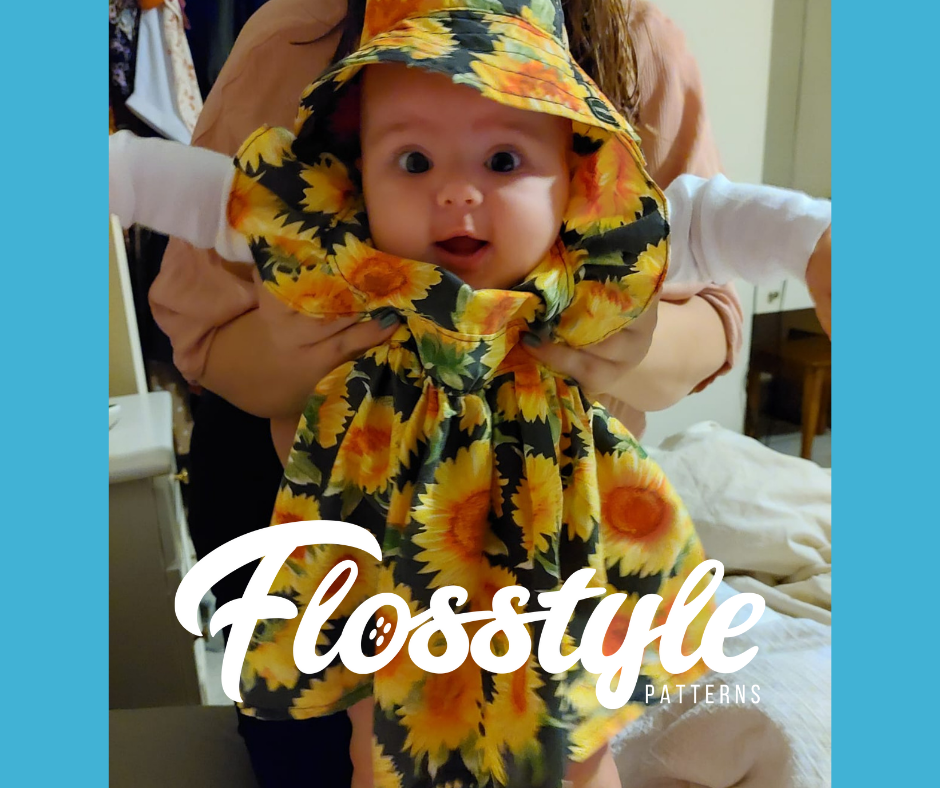
Darn cute! No more baba’s for me, so I’ll sew for miss Amy.
Come share your baba sewing items with Flosstyle Patterns on our Flosstyle Fair group, Instagram – used #flosstylepatterns
X Tash