• Skip to primary navigation
  • Skip to main content
  • Skip to primary sidebar
  • Skip to footer
  • Home
  • Blog
  • Shop
  • Cart
  • My Account

Flosstyle

Practical PDF Sewing Patterns

in Guest Blog Post· Pattern Hack

A Twirly Ventura

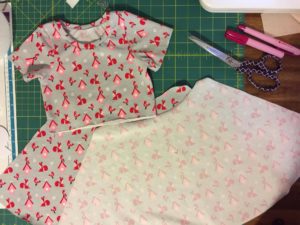
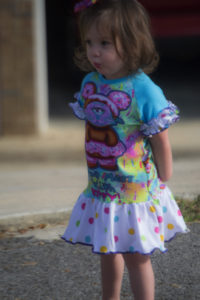
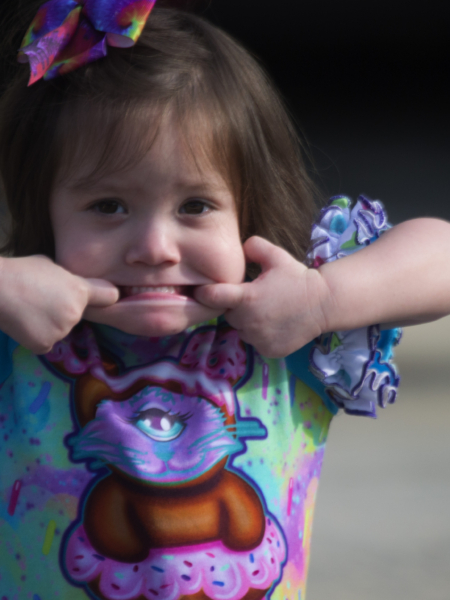
Shawn Daisy modeling the hack,
while dreaming of chicken I’m sure.

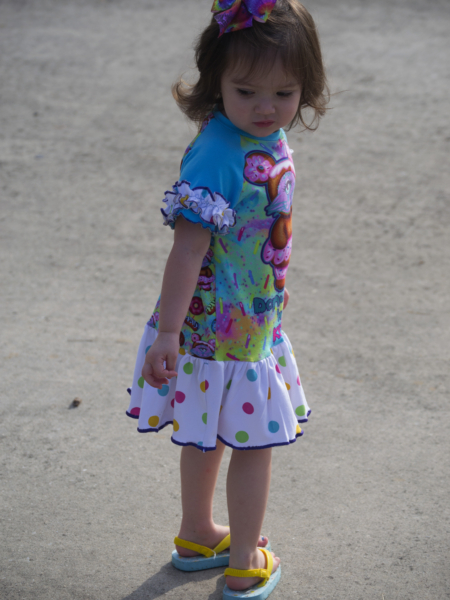
The Ventura, is a fabulous staple wardrobe piece. It almost seems “wrong” with how easy it is to make. My youngest kiddo is a Princess at heart and loves to twirl. If it doesn’t “pin-pin” (spin) as she says than it simply is not worth wearing. As an adult, I can almost agree with her toddlerism. This is a pretty simple hack, you are just adding ruffles and a skirt. There is a bit of math involved but it’s not too difficult, thank goodness.

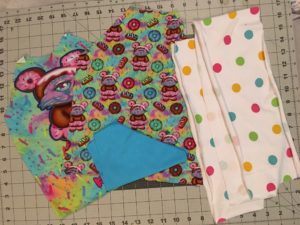
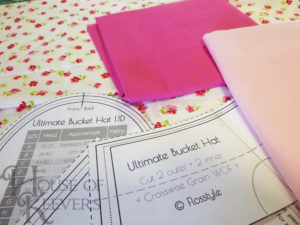
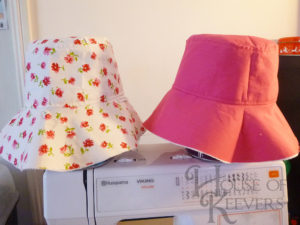
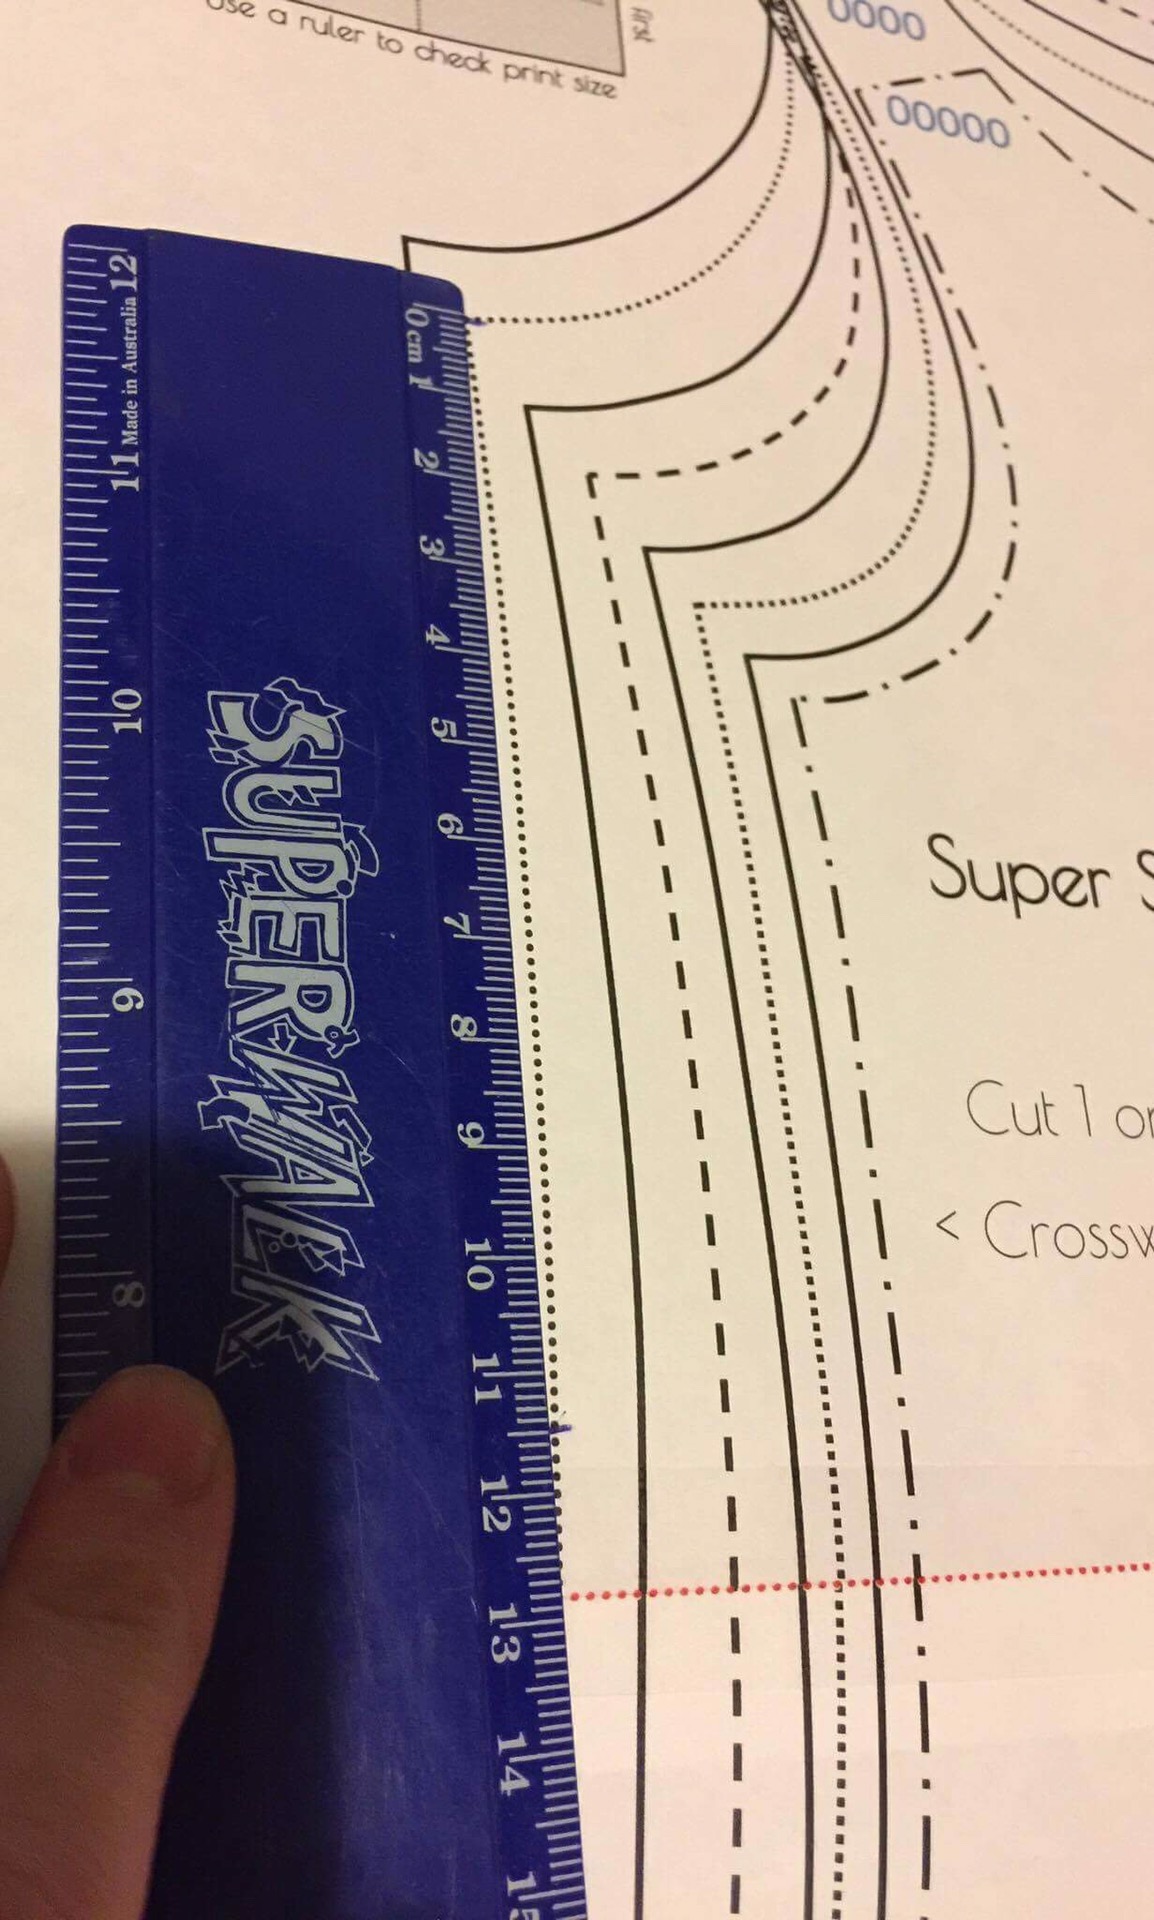
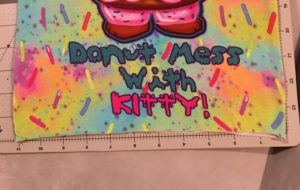
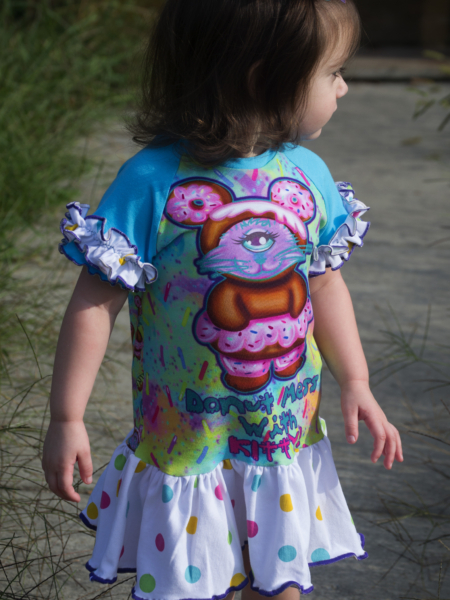
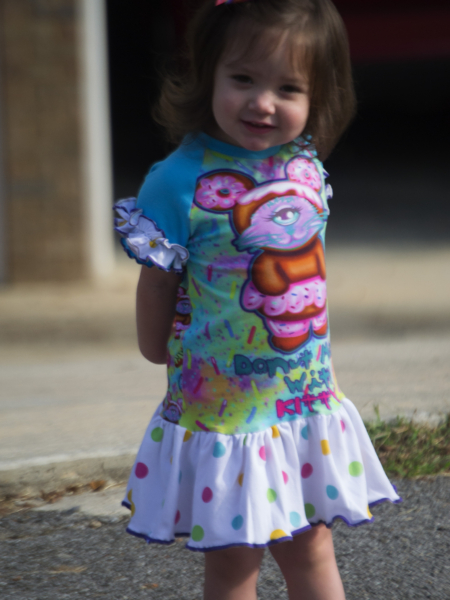
You will need to go ahead and cut out your pattern pieces, the one eyed kitty fabric I’m using is from Maddie’s Closet, a custom group that is no longer in business 🙁 all the sadness. The polka dot fabric is what I used for the ruffles, I liked the contrast with the main print and the blue sleeves helped pull it all together without making the dress too busy.


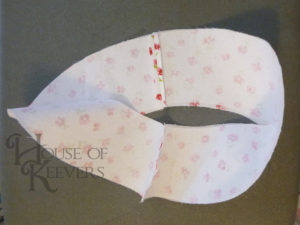
You will use this same technique for the sleeve ruffles.

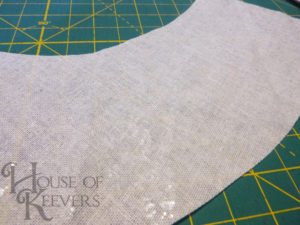
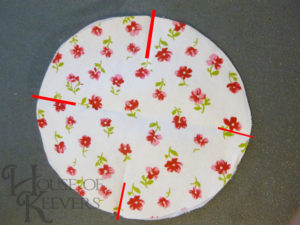
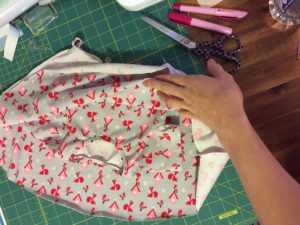
To figure out the skirt portion you will need to measure the width of the front or back bodice.
Side note: I did not compensate for seam allowance here as the more fabric, the more to gather, resulting in more twirl. Or I may have just forgot.
Now do you want a BIG twirl or a slight twirl? For best results I suggest doing 2.5 or 3 times the width of the bodice. You will need to cut two of these. For the length I measured how long I wanted it. It was roughly 12 centimeters. So my skirt pieces ended up being  70cm x 12cm as I did 2.5 times the width of my 28cm bodice. I forgot to write my dimensions down for the sleeve ruffles but they were calculated by 3times the width of the sleeve. Assemble your Ventura as instructed in the pattern all the way through hemming, this is where the hack comes in. Feel free to adjust the length of the bodice/skirt as needed, I was aiming for a drop waist style and love the end result. I didn’t remove any length from the pattern.

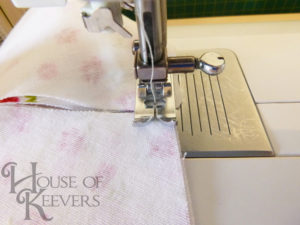
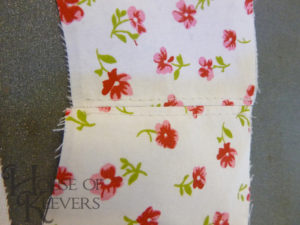
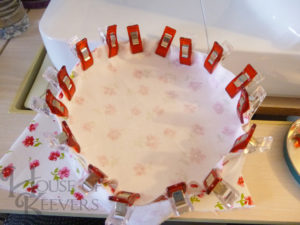
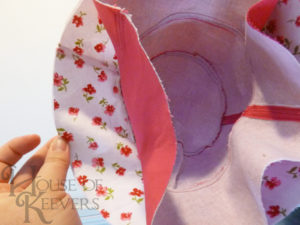
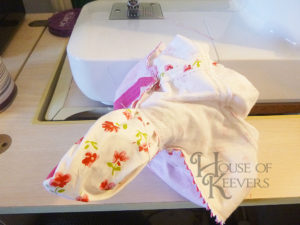
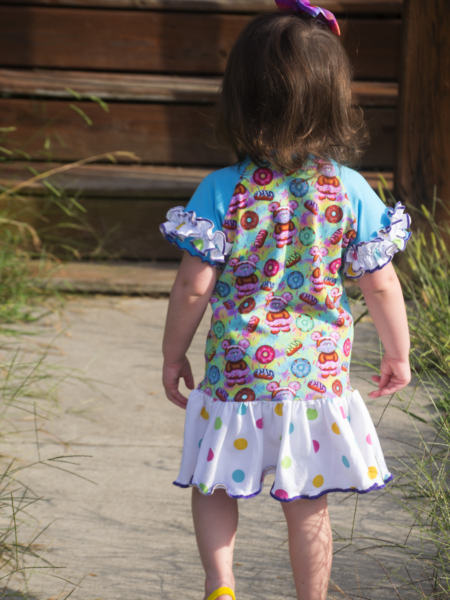
Sew or serge down the short ends of your skirt pieces, connecting it into a big circle. Use your favorite gathering method to gather the pieces so it fits your bodice. I prefer to use a long zig zag stitch with tight tension, I then pull the bobbin thread and adjust as needed.


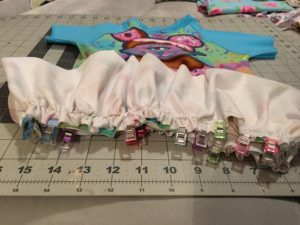
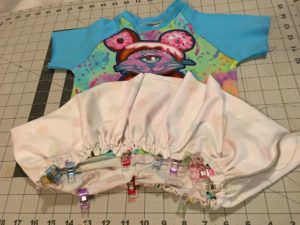
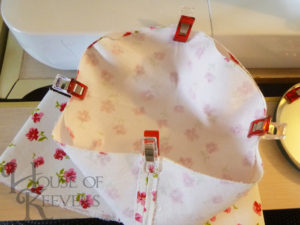
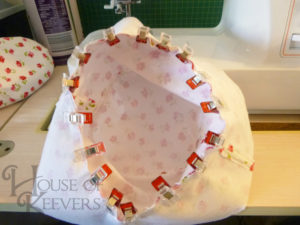
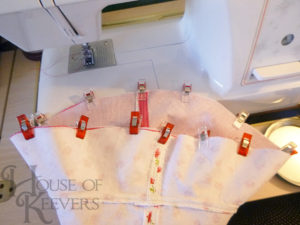
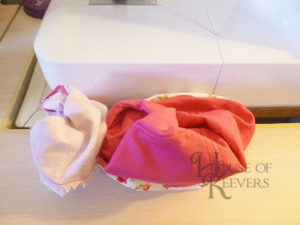
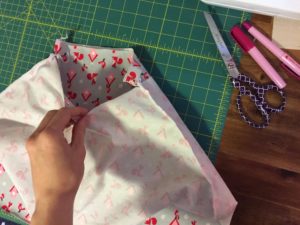
I prefer to use clips when attaching anything with a gather. I feel they hold the gathers better
a traditional pin, and this way I don’t risk serging over a pin…not that I’ve done that…

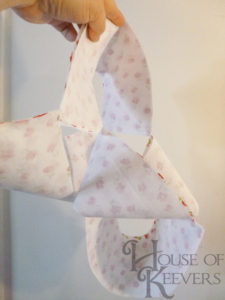
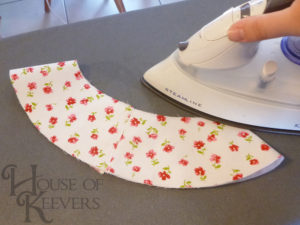
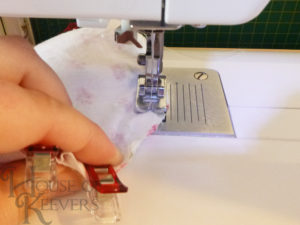
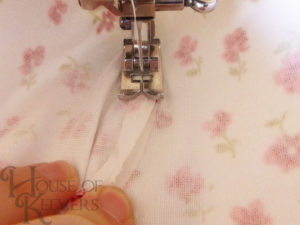
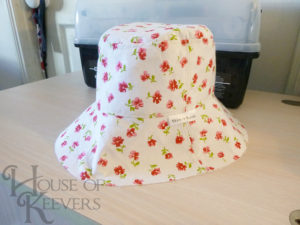
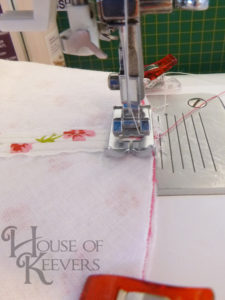
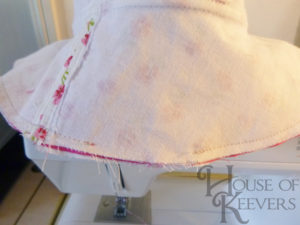
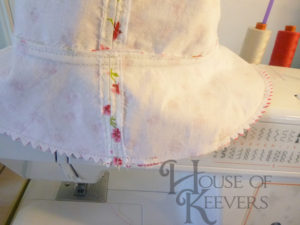
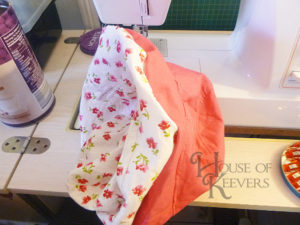
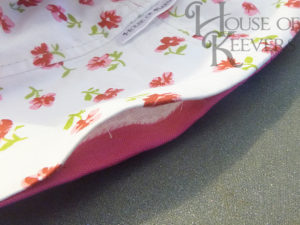
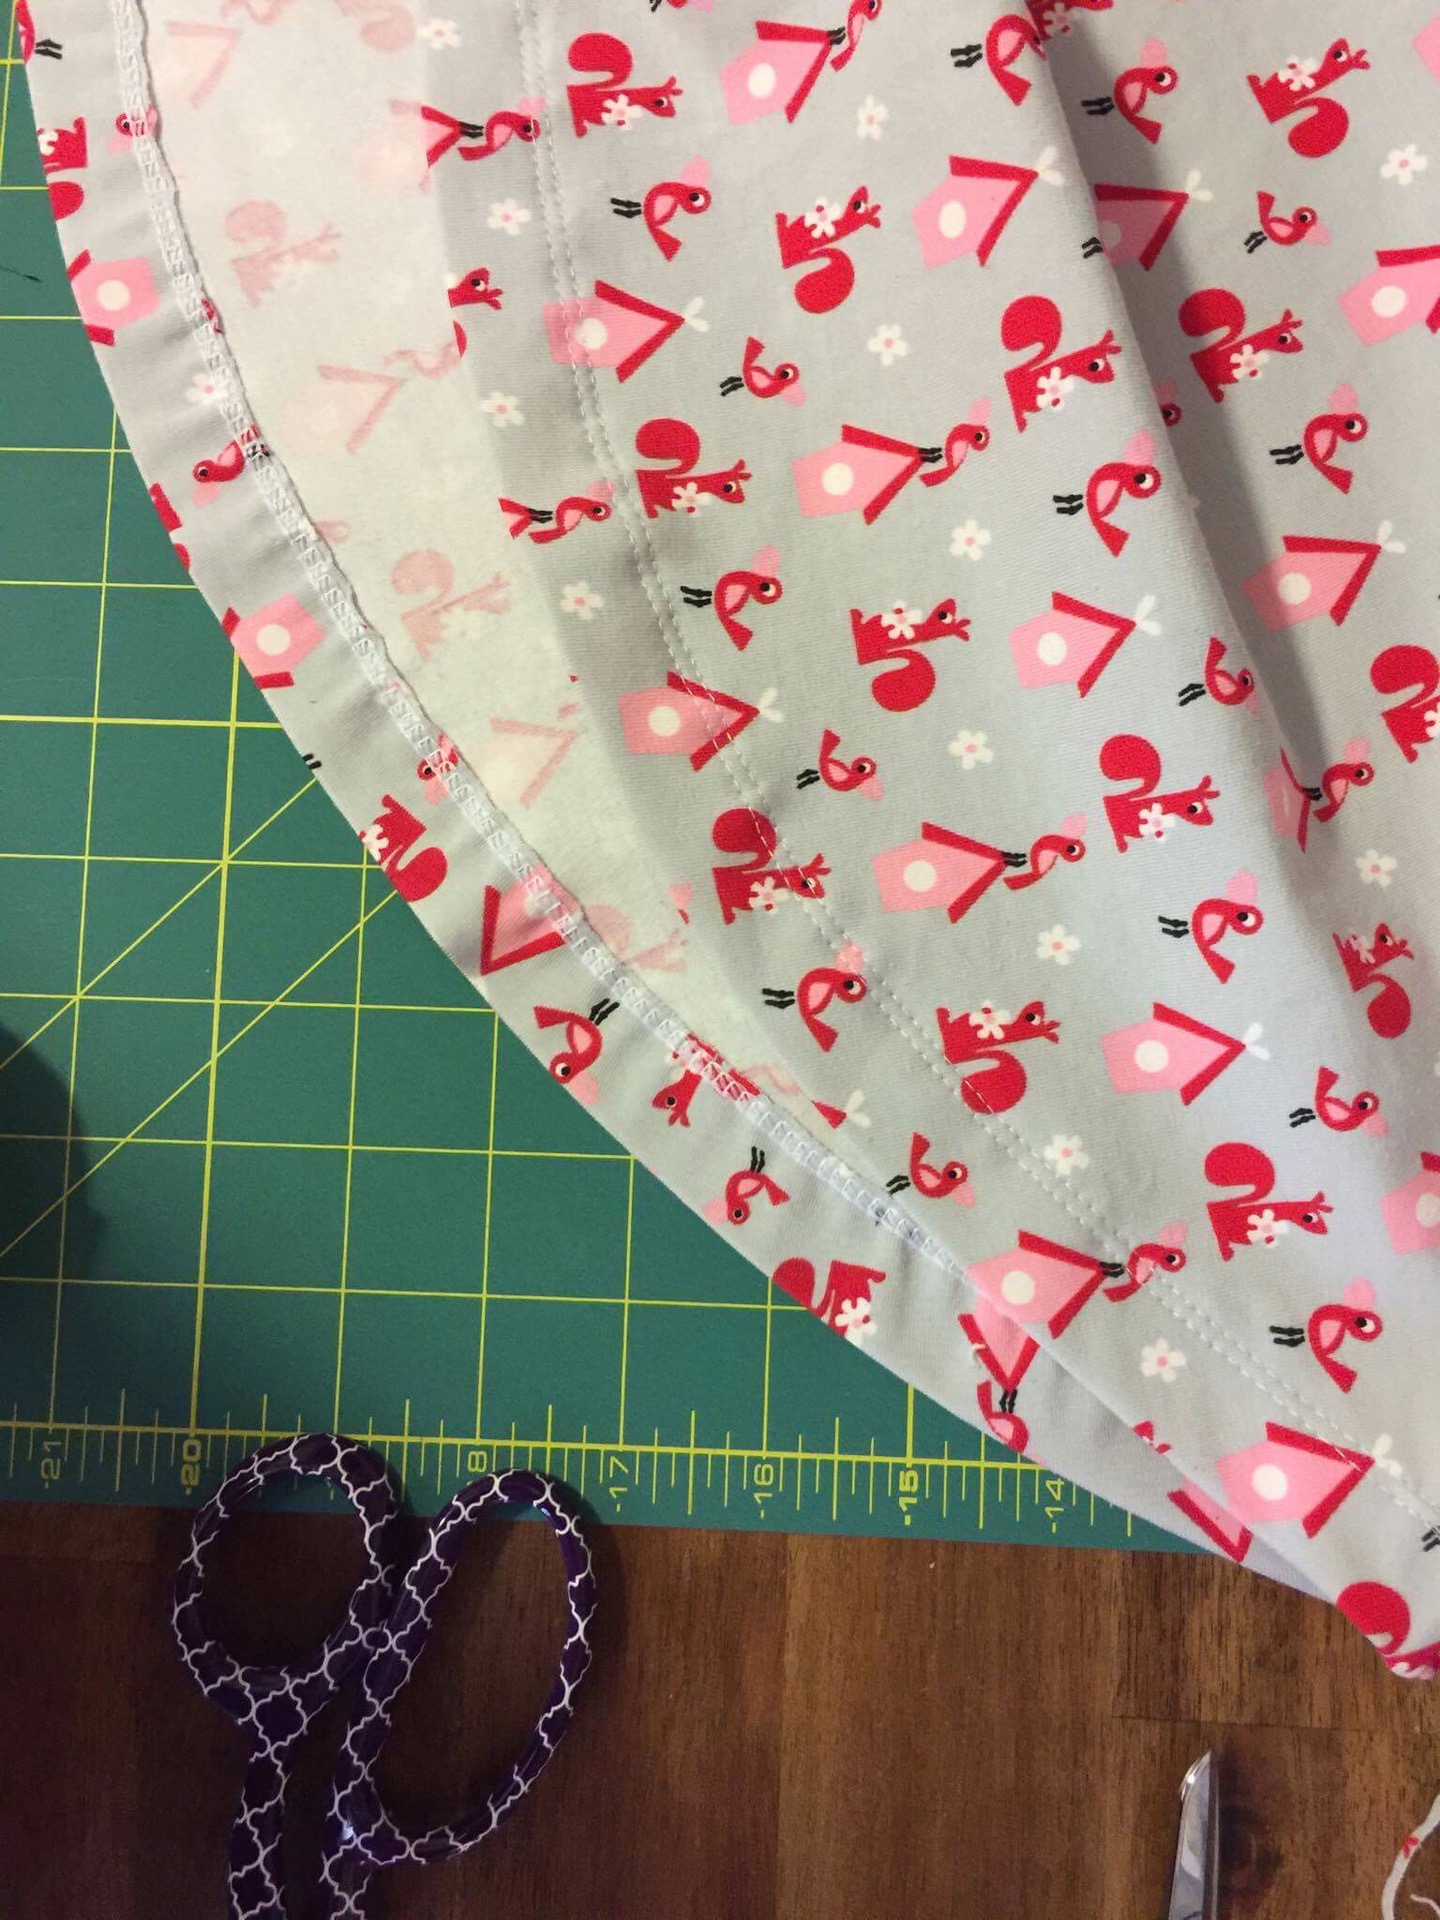
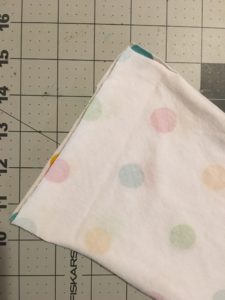
Clip/pin your skirt to the bodice with rights sides together. Sew/serge together being sure the gathers are evenly spread and remembering to pull pins/clips before sewing/serging over them. I think this style looks best with a rolled hem. I just adjusted my serger and fed the hemline through to get my desired results.

 Tip: A wooly nylon or stretch maxi in the loopers give you a beautiful rolled hem.

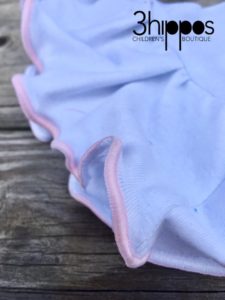
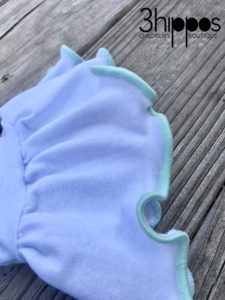
These are rolled hems I did on a different project. I have a Juki M654D
I used stretch maxi thread for this result.


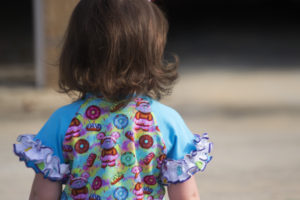
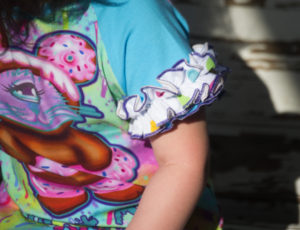
For the added ruffles on the sleeve, you will just want to cut 1 piece of fabric per ruffle. I did mine 3 times the width of the sleeve and 5cm wide. I wish I had taken picture to include for the next steps, but I will try to explain it the best I can, as I did not take any instructional pictures for these next couple steps. Connect the short ends of your ruffle making a loop, repeat for the other ruffle(s). On both long sides of the ruffles I did the same rolled hem technique I used for hemming the skirt. Use your favorite gathering method to gather the ruffle so it fits on the sleeve. You will want to use a thread color that matches to avoid having to rip the stitches after attaching. Attach the ruffle to the sleeve leaving a 3cm space from the end of the sleeve to the MIDDLE of the ruffle, use a stretch stitch of a zig zag stitch and attach to the sleeve. Once the ruffles were attached I did a rolled hem on the sleeve hemline creating the same ruffled effect.

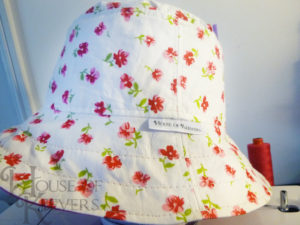
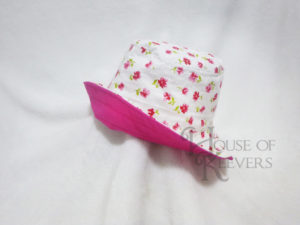
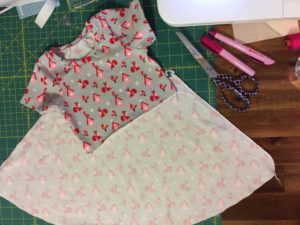
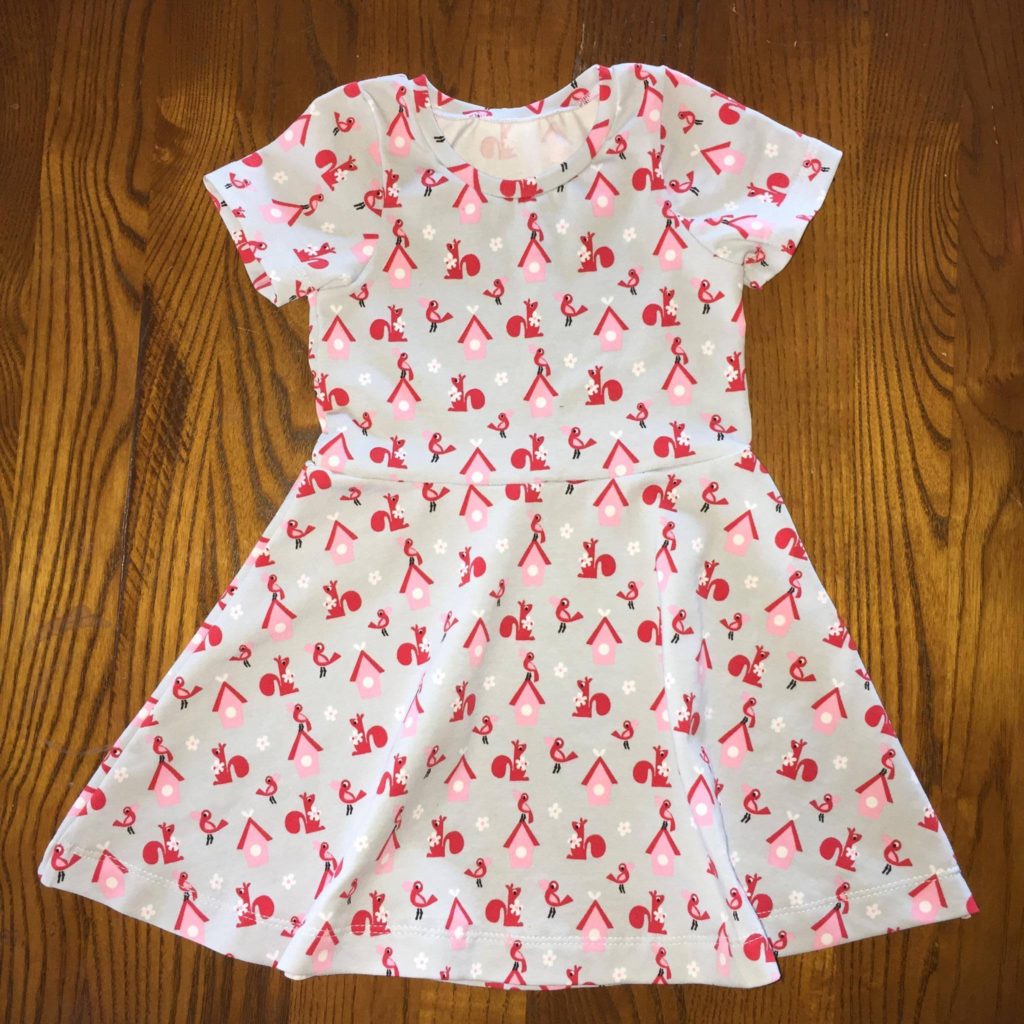
The end result is stunning and really looks like a completely different pattern. So not only is the Ventura Lite free, you now have a free raglan, drop waist dress 😉 Enjoy and Happy Sewing! Be sure to share your Ventura makes in the Flosstyle Facebook group, we’re always excited to see everyone’s creations.

  • Ventura Hack_15
  • Ventura Hack_7
  • Ventura Hack_5
  • Ventura Hack_1
  • Ventura Hack_10
  • Ventura Hack_15

Written by: Jen King

Filed Under: Guest Blog Post, Pattern Hack Tagged With: dress, hack, ruffles, ventura

in Flosstyle Patterns· Guest Blog Post· Pattern Hack· Tutorials· Ultimate Bucket Hat

Bucket Hat: Two Hat Assembly Tutorial

Hi, I’m Christine from House of Keevers. You may know as the creator of the Australian Sewing Advice and Inspiration group on Facebook. I was recently inspired to post a Two Hat Method tutorial on the ASAaI blog as it is frequently brought up when our members are discussing bucket hats and how best to make them. I was taught this method of finishing as long time ago, longer than I care to admit, but since then I haven’t looked back. I’ve gone on to make countless bucket hats from the Flosstyle Ultimate Bucket Hat pattern in all different sizes. I hope this tutorial inspires you to do the same.

————————-

The Ultimate Bucket Hat pattern from Flosstyle Patterns is easily one of the best hat patterns around. It has a great fit and is so versatile, having sizes from newborn up to large adult. There are a variety of options, including standard brim, jumbo brim, bonnet and scrubs hat, that all sew up beautifully. For the purpose of this tutorial, I will be focusing on the basic bucket hat style with the standard width brim and I will be constructing it using the ‘Two Hat Method’. This is an alternative to the construction method found in the pattern. This method isn’t better than those from the pattern, both have their merits, this is simply an alternative option that I prefer.

Alright, let’s put on our togs and dive right in!!

The Ultimate Bucket Hat pattern only has three simple pieces.

Once you’ve printed out your pattern, stuck the pieces together and selected your fabric, its time to get started. You will need to cut out two brim pieces, two wall pieces and one lid piece from both exterior and lining fabric. I also cut out interfacing for all of the pieces, both exterior and interior, so four brim pieces, four wall pieces and two lids, followed by fusing it to the corresponding fabric pieces. The pattern recommends using interfacing on only the brim, however I have found that fusing it onto all of the pattern pieces helps the hat hold its shape and remain firm ,while still allowing flexibility and comfort when being worn.

I use a woven, iron on interfacing called Shapeform. It can be found at Spotlight on the roll with the other interfacing near the cutting counter.

Construction of the Two Hats

Place each of the pattern pieces right sides together, brim to brim, crown to crown, and sew down the short edges, creating a fabric loop. To save time, I feed my fabric in one after the other. I still back stitch at the start and finish of each piece, but it saves time on finishing off and trimming every time.

I feed one piece in after the other.

It makes for such a pretty lump of fabric when you’re done!

This is the two brim pieces and two crown pieces all sewing together, fed through one after the other.

Once you’ve separated the pieces, press the seam allowance open, ready to be top stitched. It should also be noted, at when they are sewn together, they do not make a perfect circle, it is more of a wonky oval that’s smaller at the top than at the bottom.

Press open both seams on of the wonky oval brim and walls pieces.

Top stitch the raw edges down 4mm from either side of the seam. It probably isn’t necessary, but I think it gives the hat a nice, professional finish, along with helping to strengthen the seams.

Top stitch the raw edges down 4mm on both sides of the seam.

When top stitching, I always lengthen my stitch to as long as it goes. It helps to keep your top stitching straight and neat.

It is at this point that we start deviating from the original pattern instructions. Rather than join the exterior and interior brims together, we are going to start assembling out exterior hat.

The first step is to divide your brim, wall and crown pieces into quarters. Using the seams as a guide, line them up and fold the brim piece in half. Iron the top folded edges, or use a wash away fabric marker, to mark the half way point between the two seams. Repeat with the top and bottom of the walls piece.

Iron to make the half way points between the two seams, dividing the piece into quarters.

When dividing the crown piece, it is important to remember that it is not a circle, rather it is an oval. This means that you need to match the two longest points and the two shortest points to divide it up. With that in mind, fold up the crown piece length-wise and width-wise to make the quarter marks.

It is important to match up the two longest points and the two shortest points when marking out the crown. Top and bottom of this picture are the sides and will line up with the seams, left and right are the front and back and will match up with the creases.

Now the real fun begins! To begin assembly of your bucket hat, match up the seams with the side creases of the crown, right sides together, and clip into place. Next, line up the front and back creases in the wall piece with those on the crown. Clip into place.

Match up, right sides together, and clip both sides and the front and back of the centre to the wall. You should now have your hat divided into four parts.

This next part is a little bit tricky. I always go slowly and always focus on only one section at a time. If you make a mistake, don’t get discouraged, just unclip and try again. Making sure the raw edges meet up, I ease the crown piece into the circle of the wall, sometimes stretching the wall to match, dividing each quarter section in half, clipping the crown to the wall, then I divide each 1/8th piece in half again, clipping it in place again. I know this may seem a bit excessive, but I have found that it is the best way to avoid puckers and creases when it comes time to sew. Pins may also be used, I am just so ridiculously uncoordinated with them that wonder clips are the easier (and safer) option for me.

There’s no such thing as too many wonder clips.

The trick to sewing this is to go slowly and pull on the wall fabric a bit so the crown and wall stay flush. Adjust as you go when needed and, most importantly, remember to breathe.

Don’t be afraid to stretch the wall fabric slightly to ensure a good, snug fit for the lid.

To finish up sewing the lid to the walls, you just have to top stitch the seam allowance down to the wall of the hat. Be sure to keep a firm grip on the wall piece to avoid it puckering above the top stitching line.

Sew the seam allowance flat to the wall piece.

I would like to note here that I don’t actually snip my curves for either the crown to wall join or the wall to brim join. I find that it doesn’t retract anything from the structure of the hat and it makes it easier to top stitch it down.

Once this is done, turn it right side out and marvel at how your creation is taking shape!!

Right side out crown piece, ready for the brim to be attached.

Repeat the above dividing and clipping process to attach the brim, right sides together, to the bottom of the wall.

Wonder clips make everything so much easier.

Once you’ve sewn the brim onto the walls, flip it out and top stitch the seam allowance to the wall to complete the exterior hat.

The completed exterior hat – otherwise known as ‘Hat 1’

Repeat the above process with your interior/lining fabric.

Suddenly there’s two! Otherwise known as ‘Hat 1’ and ‘Hat 2’

Now is where the real fun begins. It looks a lot more daunting than it actually is and now that you’ve constructed the two hats, the hard part is over.

Assembling the Final Hat

Take Hat 1 and Hat 2 and match up the side seams, right sides together, then clip them in place.

Hat 2 should fit neatly into Hat 1

Smooth the two brims together and clip around the edges, working around from one side seam to the other. You shouldn’t need as many clips as when you were joining the lid to the walls, or walls to the brim, as the two hats should fit together neatly.

Not many clips are needed here, its really just to help keep everything lined up.

Sew the two brims together at a 7mm (1/4″) seam allowance.

Removing clips as you go, ensure that the two brims stay smooth and flat.

When sewing the brims together, be sure to leave a 5cm (2″) gap in the seam. This is used to turn the hat right side out.

I always back stitch both sides of the gap a couple of times to add extra strength to the stitching. If you don’t do this, you run the risk of breaking the stitches when pulling the hat through.

The next step is to snip wedges out of the seam allowance. You may be tempted to omit this step, but doing so would mean that the edge of your brim wouldn’t sit nice and flush. You could get away with just snipping straight lines into the seam allowance, but for the best result, always go with wedges.

Don’t worry about snipping into the seam allowance where the gap is. After the hat is turned through, this section gets tucked back in and ironed flat.

It is now time to birth our baby!

Push your fingers into the gap and grab hold of the opposite side of the hat. Pull it back towards the hole and start easing it through.

Slow start easing the hat through the gap.

Keep working the fabric through the gap, being aware of the stitching and the fabric on either sides of the gap, ensuring that it doesn’t tear.

Keep working the fabric through, easing it slowly at the chunky parts.

Once you’ve finished turning the hat, take a few minutes to have a breather and a drink of water. These kinds of births can be quite traumatic.Once you have regained your composure, marvel at your creation so far!

It’s a little bit wrinkled and oddly shaped, but the same can be said for most things after they’ve been birthed.

Working from the inside of the hat, push out the edge of the brim, ensuring that it is all sitting smooth and flat. Going slowly, iron the edge flat while pulling it taut to give it a sharp, crisp edge.

Fold the seam allowance of the gap into the hat and iron that flat as well so that it is flush with the rest of the brim. Clip closed.

Fold and iron the seam allowance of the open gap into the hat.

Iron the entire brim to get rid of any unwanted creases or puckers in the fabric, ready for top stitching.

Iron the brim to ensure that it is smooth, ready for top stitching

Increase your stitch length and top stitch the edge of the brim at about a 4mm (1/8″ish) seam allowance. Ensure that the turning gap is sewn closed when doing this. When top stitching the brim, it is a good idea to have coordinating colours in the bobbing and top thread, matching the exterior and interior fabrics.

A longer stitch length offers a professional and polished finish.

The final step to completing your hat is to top stitch the brim. You can do this as close or far apart as you wish, keeping in mind that the more rows of stitching you have, the more structure the brim will have. Use your presser foot and machine markings as a guide to keep your stitching consistent as you going around and the keep the gaps because each line the same.

I only did a few rows of stitching on this hat because it is a smaller size. For larger sizes, you would want to do more stitching and closer together.

Once you’ve finished top stitching the brim, shake your hat out and marvel at your handiwork!

This is a size D hat, for children with a head measurement of 44-46cm. Its such an adorable size!

Congratulations!!! You have successfully completed a bucket hat using the two hat method!!

My finished product.

Thank you for taking the time to read this tutorial, and happy sewing.

– Christine PK

If you’d love to read more, visit the Australian Sewing Advice and Inspiration Facebook Group, Instagram or website.

Filed Under: Flosstyle Patterns, Guest Blog Post, Pattern Hack, Tutorials, Ultimate Bucket Hat

in Flosstyle Patterns· Video

Features of a Flosstyle Pattern

Are you new to Flosstyle Patterns? Or maybe you’ve been around for awhile and just want to see what’s new?

In this video I talk about some of the features you will find in a Flosstyle Pattern and even show you how to put together your printed pattern with our new trimless pages.

Want to try out one of our new patterns for FREE? The Ventura Lite is free using a code found in our facebook group.

Let me know if you have any questions or if there is anything else you’d like a video on.

Happy Sewing xx

Filed Under: Flosstyle Patterns, Video

in Flosstyle Patterns· Guest Blog Post· Pattern Hack

Super Suit to Skater Dress Hack!

So usually the Boo! skater dress is my go to knit pattern for little girls, but this weekend I needed a size 1/18m quick sew for a 1st birthday present so I had to get creative! I’ve tried sizing the skater dress down previously and I didn’t love it so this time I used the Flosstyle Super Suit pattern as a base and hacked it a teeny bit 😀

My result:


Heres how I did it

I started with the super suit pattern and measured 11.5cm down from the underarm and then drew a line straight across on both front and back pieces:


This is your bodice 🙂

size 2 = 12cm

size 18m = 11.5cm

size 1 = 11cm

size 0 = 10.5cm

size 00 = 10cm

size 000 = 9.5cm

size 0000 = 9cm

size 00000 = 8.5cm


Next I cut my sleeves and neck band and was ready to go! Following the pattern for the sleeved (or sleeveless) option piece your bodice together. (I added 5/8″ onto the sleeve to hem them rather than binding them)

Print your circle skirt pattern and cut 2 on the fold.

Lay on top of each other right sides facing and sew the side seams:


With your skirt wrong side out and bodice right side out slip your bodice into your skirt and sew your waist seam:


Finally hem your skirt by folding up 1″ and using stretch stich/twin needles or coverstitch

Such a quick sew!

You can find the Super Suit Pattern here.

You can find the skirt pattern pieces in A4 here

or in Letter size here

Filed Under: Flosstyle Patterns, Guest Blog Post, Pattern Hack

  • « Go to Previous Page
  • Page 1
  • Interim pages omitted …
  • Page 23
  • Page 24
  • Page 25
  • Page 26
  • Page 27
  • Page 28
  • Go to Next Page »

Primary Sidebar

Recent Posts

  • Sewing for loved ones March 21, 2022
  • Sewing Challenge 2022 – Week 4 January 30, 2022
  • Sewing Challenge 2022 – Week 2 January 15, 2022
  • Scrub Cap Sew Along January 14, 2022
  • Sewing Challenge 2022 – Week 1 January 7, 2022

Categories

  • 2019 52 Week Sewing Challenge
  • 52 Week Sewing Challange
  • 52 Week Sewing Challenge – 2020
  • 52 Week Sewing Challenge – 2022
  • Alice's Tea Set
  • Applique
  • Artiste
  • Arts and Crafts
  • Babys First Toys
  • Bazinga Backpack
  • Beginners
  • Behind the scenes
  • Blogs by Jess
  • Blogs by Olivia
  • Bloomies
  • Bolster Bean Bag
  • Bonnet
  • Boutique and Hybrid Bibs
  • Bunny Bucket
  • Bunny Bucket Crown
  • Capsule Wardrobe
  • Charity Cape
  • Christmas Sewing
  • Costumes
  • EZ Wrap Wallet
  • Flosstyle Patterns
  • Free Downloads
  • Freebies
  • Groovy Guys Wallet
  • Guest Blog Post
  • How To
  • Hunter Shorts
  • Itty Bitty
  • Kanga Carrier
  • Learn to Sew
  • New to PDF Patterns
  • One Yard Tote
  • Paradise Dress
  • Pattern Hack
  • Pattern Release
  • Play Away
  • Printable
  • Puckers
  • Rainbow Hat
  • Scrub Cap
  • Sew Along
  • Sew For kids
  • Sewing
  • Sewing for Baby
  • Sewing for Boys
  • Sewing Groups
  • Sewing with Braden
  • Sewing with Kids
  • Sneak Peek Stocking
  • Souffle Skirt
  • Spring Wardrobe Challenge
  • Sprouts
  • Star Shorts
  • Super Suit
  • Things to do with the Kids
  • Tidy Travel Tote
  • Timelapse
  • Tooshies
  • Trees
  • Trolley Liner
  • TTT
  • Tutorials
  • Twiggies
  • Twigs
  • Ultimate Bucket Hat
  • Uncategorized
  • Upcycle
  • Upcycle Challenge 2018
  • Ventura Lite
  • Video
  • Whirl Skirt
  • Zoo

Footer

Product categories

  • Pattern Workshop
  • Patterns
    • Accessories
    • Babies
    • Baby Carrier
    • Bags
    • Boys
    • Free
    • Gifts and Toys
    • Girls
    • Home Decor
    • Ladies
    • Men
    • Wallets and Bags
  • Uncategorised

New to the Blog

  • Sewing for loved ones
  • Sewing Challenge 2022 – Week 4
  • Sewing Challenge 2022 – Week 2
  • Scrub Cap Sew Along
  • Sewing Challenge 2022 – Week 1

Search

  • About Us
  • Free Patterns
  • Downloads
  • Privacy
  • FAQ’s

Flosstyle Patterns · Copyright © 2025

Copyright © 2025 · Ellie Jane on Genesis Framework · WordPress · Log in