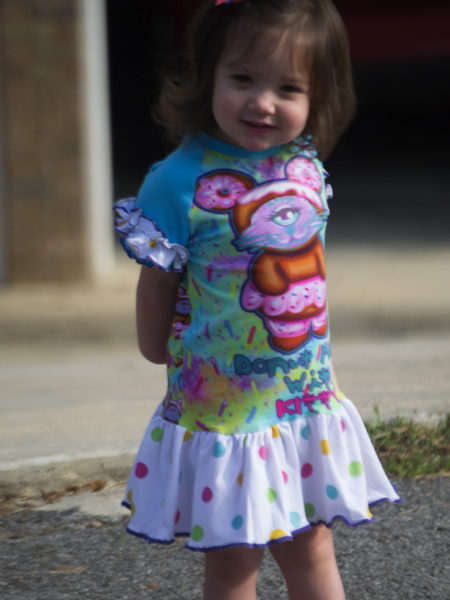
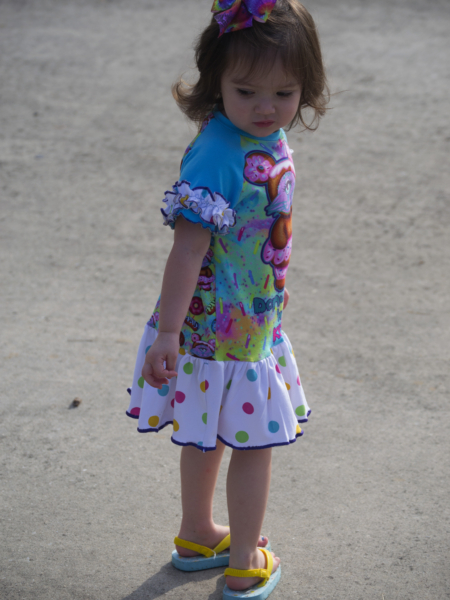
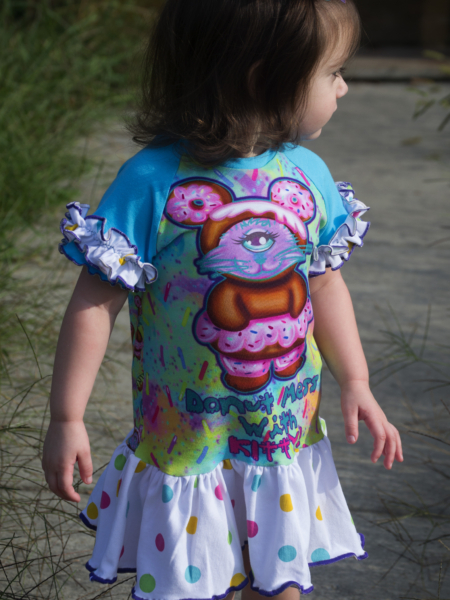
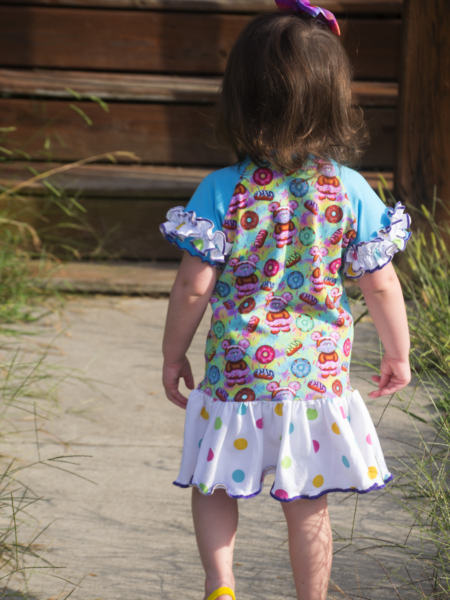
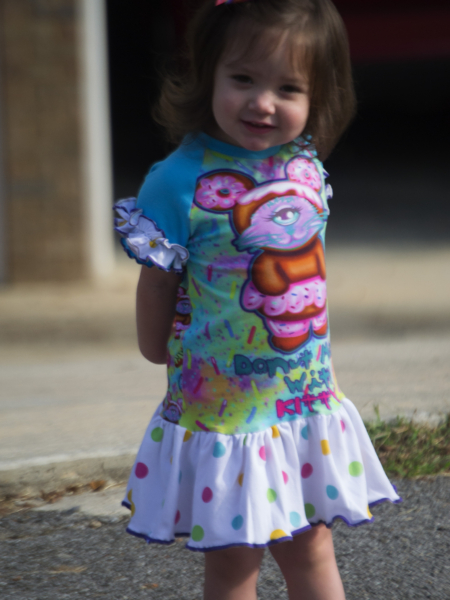
 Shawn Daisy modeling the hack,
while dreaming of chicken I’m sure.
The Ventura, is a fabulous staple wardrobe piece. It almost seems “wrong” with how easy it is to make. My youngest kiddo is a Princess at heart and loves to twirl. If it doesn’t “pin-pin” (spin) as she says than it simply is not worth wearing. As an adult, I can almost agree with her toddlerism. This is a pretty simple hack, you are just adding ruffles and a skirt. There is a bit of math involved but it’s not too difficult, thank goodness.
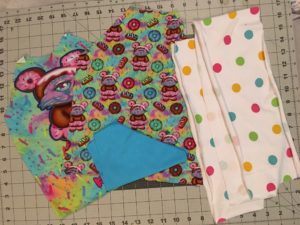
You will need to go ahead and cut out your pattern pieces, the one eyed kitty fabric I’m using is from Maddie’s Closet, a custom group that is no longer in business 🙁 all the sadness. The polka dot fabric is what I used for the ruffles, I liked the contrast with the main print and the blue sleeves helped pull it all together without making the dress too busy.
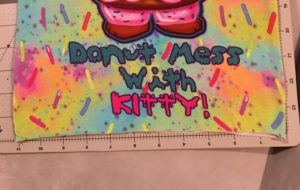
You will use this same technique for the sleeve ruffles.
To figure out the skirt portion you will need to measure the width of the front or back bodice.
Side note: I did not compensate for seam allowance here as the more fabric, the more to gather, resulting in more twirl. Or I may have just forgot.
Now do you want a BIG twirl or a slight twirl? For best results I suggest doing 2.5 or 3 times the width of the bodice. You will need to cut two of these. For the length I measured how long I wanted it. It was roughly 12 centimeters. So my skirt pieces ended up being 70cm x 12cm as I did 2.5 times the width of my 28cm bodice. I forgot to write my dimensions down for the sleeve ruffles but they were calculated by 3times the width of the sleeve. Assemble your Ventura as instructed in the pattern all the way through hemming, this is where the hack comes in. Feel free to adjust the length of the bodice/skirt as needed, I was aiming for a drop waist style and love the end result. I didn’t remove any length from the pattern.
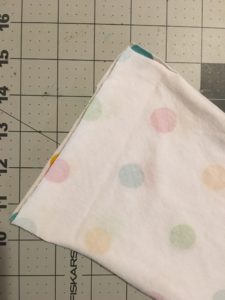
Sew or serge down the short ends of your skirt pieces, connecting it into a big circle. Use your favorite gathering method to gather the pieces so it fits your bodice. I prefer to use a long zig zag stitch with tight tension, I then pull the bobbin thread and adjust as needed.
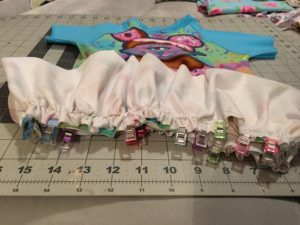
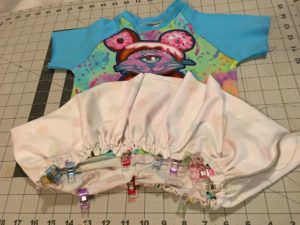
I prefer to use clips when attaching anything with a gather. I feel they hold the gathers better
a traditional pin, and this way I don’t risk serging over a pin…not that I’ve done that…
Clip/pin your skirt to the bodice with rights sides together. Sew/serge together being sure the gathers are evenly spread and remembering to pull pins/clips before sewing/serging over them. I think this style looks best with a rolled hem. I just adjusted my serger and fed the hemline through to get my desired results.
Tip: A wooly nylon or stretch maxi in the loopers give you a beautiful rolled hem.
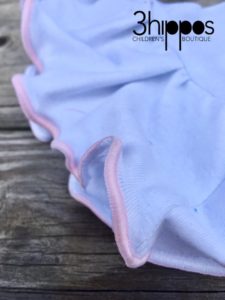
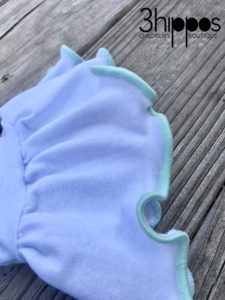
These are rolled hems I did on a different project. I have a Juki M654D
I used stretch maxi thread for this result.

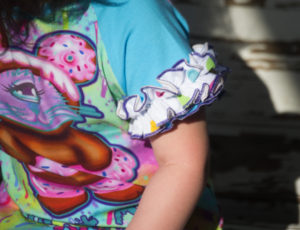
For the added ruffles on the sleeve, you will just want to cut 1 piece of fabric per ruffle. I did mine 3 times the width of the sleeve and 5cm wide. I wish I had taken picture to include for the next steps, but I will try to explain it the best I can, as I did not take any instructional pictures for these next couple steps. Connect the short ends of your ruffle making a loop, repeat for the other ruffle(s). On both long sides of the ruffles I did the same rolled hem technique I used for hemming the skirt. Use your favorite gathering method to gather the ruffle so it fits on the sleeve. You will want to use a thread color that matches to avoid having to rip the stitches after attaching. Attach the ruffle to the sleeve leaving a 3cm space from the end of the sleeve to the MIDDLE of the ruffle, use a stretch stitch of a zig zag stitch and attach to the sleeve. Once the ruffles were attached I did a rolled hem on the sleeve hemline creating the same ruffled effect.
The end result is stunning and really looks like a completely different pattern. So not only is the Ventura Lite free, you now have a free raglan, drop waist dress 😉 Enjoy and Happy Sewing! Be sure to share your Ventura makes in the Flosstyle Facebook group, we’re always excited to see everyone’s creations.
Written by: Jen King
