• Skip to primary navigation
  • Skip to main content
  • Skip to primary sidebar
  • Skip to footer
  • Home
  • Blog
  • Shop
  • Cart
  • My Account

Flosstyle

Practical PDF Sewing Patterns

in Arts and Crafts· Behind the scenes· How To

Dog Lino Printing – Step by Step

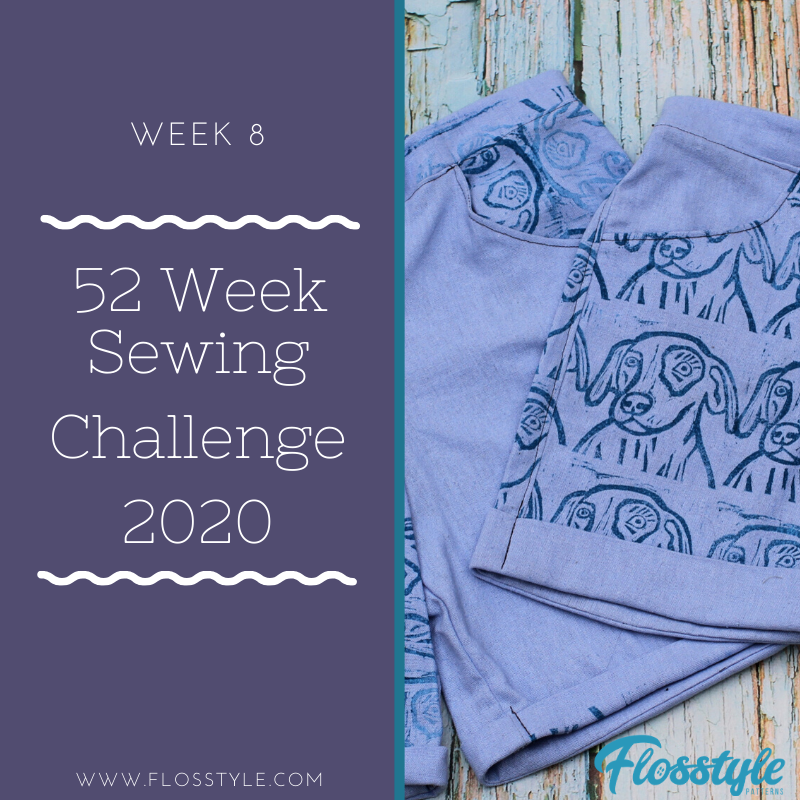
I have had heaps of questions about how I made these dog pants for Week 8 of the 52 Week Sewing Challenge earlier this year so thought I’d write a more in depth how to. (Find the original blog here.)

I got both the rubber block and the carving tools from Spotlight, I’m not sure how the quality compares to others but they were relatively cheap and I could order online plus they worked well for me.

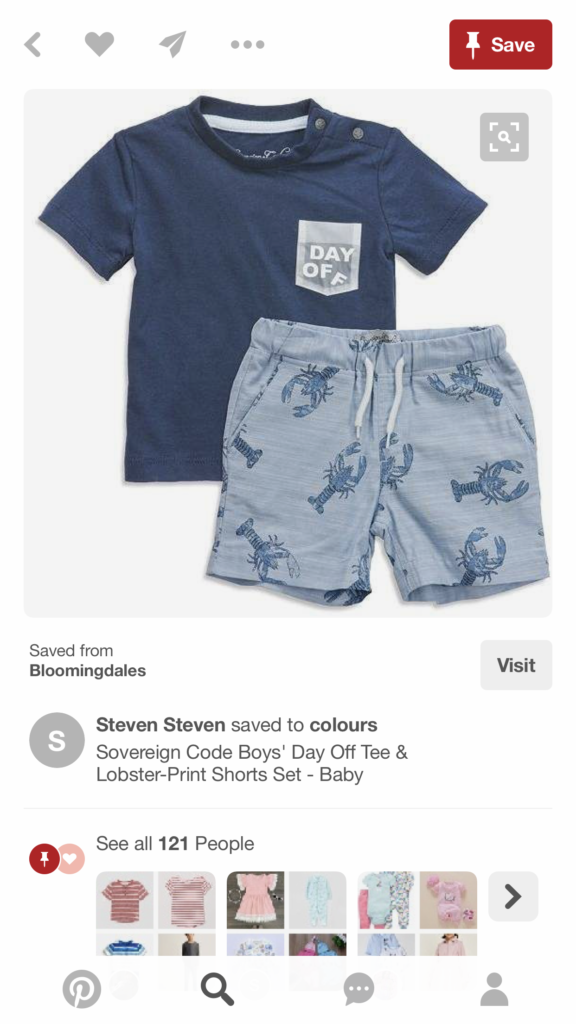
Parker was very insistent he wanted a dog stamp on his pants so we searched Pinterest for some inspiration and once we found the photo below there was no talking him in to anything else.

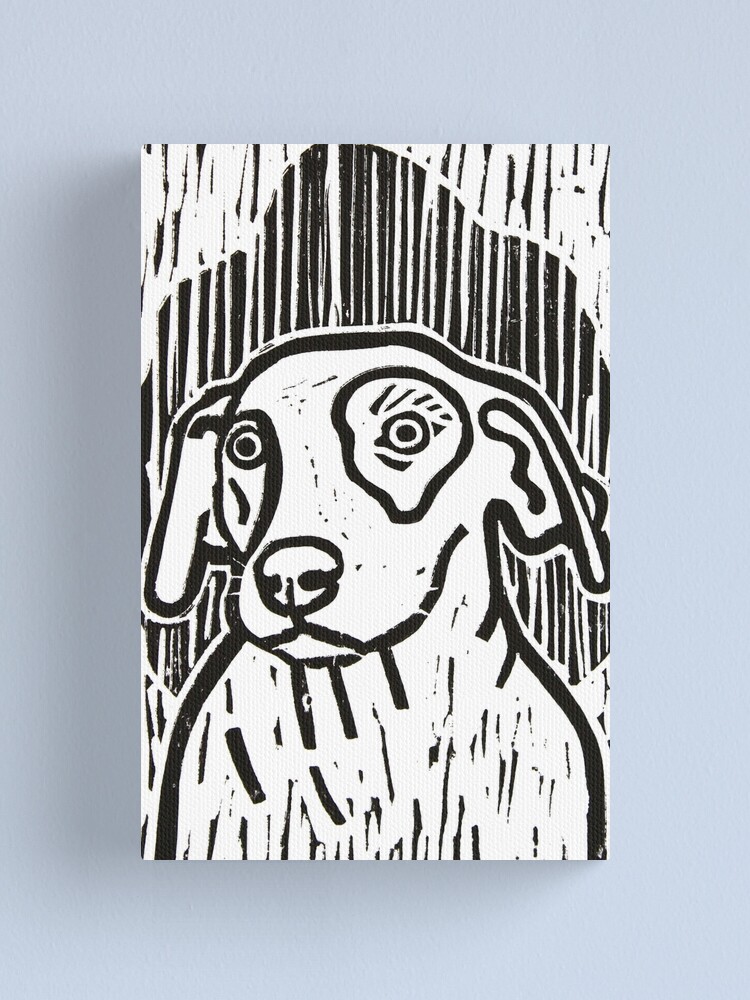
I printed the image out in the size of my rubber block and then used tracing paper to trace the image out using a 2B pencil. I then flipped the tracing paper over onto the block so the drawn side was touching the block and used the other end of the pencil to rub the design onto the block.

I then drew over the copied pencil design with a black permanent marker, so it wouldn’t be accidentally rubbed off while I was carving the design out. Below is the printed design and my carved stamp before I started testing it.

I don’t have a proper tool for applying the paint to the rubber tile so I just used a foam brush I already had (like these ones). I tested the design with regular acrylic paint and onto paper and after each print removed any extra areas I wasn’t happy with until I was ready to try on the fabric.

I decided to use a textile medium mixed into acrylic paint so I would have more colour options, because I already have acrylic paints, however you can also buy specific fabric inks and paints. This has held up with washing okay so far.

I decided on the pattern I was going to use, the Star Shorts in the Hunter version and traced my pattern pieces onto the fabric so I would be able to line up my prints exactly where I wanted them.

I reapplied paint between each print for one pair and alternated with the second pair for a different look. If you have any questions I would be more than happy to answer them in our Flosstyle Fair group on Facebook.

Happy Sewing
xx Gail

Filed Under: Arts and Crafts, Behind the scenes, How To Tagged With: Hand Carved Stamp, Hand Stamped Fabric, Lino Printing How To

in 52 Week Sewing Challange· 52 Week Sewing Challenge - 2020· Arts and Crafts· Flosstyle Patterns· Sew For kids· Star Shorts

Sewing Challenge 2020 – Week 8

This weeks challenge: Pinterest Nailed It
Accepted/Rejected: Accepted

This week I wanted to try something a bit different, I found the pants below while looking on Pinterest and decided I would have a go at lino printing/stamping to create my own fabric. I remember at high school we had to make a lino print as part of our art class assignment but we printed it on to paper not fabric.

I found some rubber blocks and carving tools at Spotlight that looked perfect for what I was wanting, the rubber blocks were thicker than the lino tiles I used in high school but that made it easier to hold when stamping the fabric. They were also much softer than the lino tile which made carving them easier as well.

I found a dog picture that I liked online and printed it out, then traced it onto tracing paper and flipped it over onto the rubber block and pressed to transfer the design onto the block. I then used the tools to carve away the parts of the design I didn’t want to be printed. (This was a little hard because in drawing and painting you add the parts you want so it took a little bit to wrap my head around)

Once the design was carved I started testing it and removing a little more in the parts I wasn’t happy with and then I was ready to start printing onto my fabric. I traced out my pattern pieces onto the fabric so I was able to see were the prints would end up once the shorts were complete.

I mixed a regular acrylic paint with fabric medium to make the finished design washable and stamped my design onto the fabric. I made one pair with the design the same way up and reapplied paint between every stamp, the other pair I changed the design around and reapplied paint less often. I am very happy with how they turned out and the boys love them, so thats the most important part. I also got these amazing labels from Kylie and the Machine to add a finishing touch.

I am hoping to have a go at potato stamping in the next few weeks with the kids as well. Have you tried stamping/printing your own fabric? I would love to see photos if you have.

Happy Sewing
xx Gail

Filed Under: 52 Week Sewing Challange, 52 Week Sewing Challenge - 2020, Arts and Crafts, Flosstyle Patterns, Sew For kids, Star Shorts Tagged With: Hand Carved Stamp, Hand Stamped Fabric, Lino Printing, Stamped Fabric

Primary Sidebar

Recent Posts

  • Sewing for loved ones March 21, 2022
  • Sewing Challenge 2022 – Week 4 January 30, 2022
  • Sewing Challenge 2022 – Week 2 January 15, 2022
  • Scrub Cap Sew Along January 14, 2022
  • Sewing Challenge 2022 – Week 1 January 7, 2022

Categories

  • 2019 52 Week Sewing Challenge
  • 52 Week Sewing Challange
  • 52 Week Sewing Challenge – 2020
  • 52 Week Sewing Challenge – 2022
  • Alice's Tea Set
  • Applique
  • Artiste
  • Arts and Crafts
  • Babys First Toys
  • Bazinga Backpack
  • Beginners
  • Behind the scenes
  • Blogs by Jess
  • Blogs by Olivia
  • Bloomies
  • Bolster Bean Bag
  • Bonnet
  • Boutique and Hybrid Bibs
  • Bunny Bucket
  • Bunny Bucket Crown
  • Capsule Wardrobe
  • Charity Cape
  • Christmas Sewing
  • Costumes
  • EZ Wrap Wallet
  • Flosstyle Patterns
  • Free Downloads
  • Freebies
  • Groovy Guys Wallet
  • Guest Blog Post
  • How To
  • Hunter Shorts
  • Itty Bitty
  • Kanga Carrier
  • Learn to Sew
  • New to PDF Patterns
  • One Yard Tote
  • Paradise Dress
  • Pattern Hack
  • Pattern Release
  • Play Away
  • Printable
  • Puckers
  • Rainbow Hat
  • Scrub Cap
  • Sew Along
  • Sew For kids
  • Sewing
  • Sewing for Baby
  • Sewing for Boys
  • Sewing Groups
  • Sewing with Braden
  • Sewing with Kids
  • Sneak Peek Stocking
  • Souffle Skirt
  • Spring Wardrobe Challenge
  • Sprouts
  • Star Shorts
  • Super Suit
  • Things to do with the Kids
  • Tidy Travel Tote
  • Timelapse
  • Tooshies
  • Trees
  • Trolley Liner
  • TTT
  • Tutorials
  • Twiggies
  • Twigs
  • Ultimate Bucket Hat
  • Uncategorized
  • Upcycle
  • Upcycle Challenge 2018
  • Ventura Lite
  • Video
  • Whirl Skirt
  • Zoo

Footer

Product categories

  • Pattern Workshop
  • Patterns
    • Accessories
    • Babies
    • Baby Carrier
    • Bags
    • Boys
    • Free
    • Gifts and Toys
    • Girls
    • Home Decor
    • Ladies
    • Men
    • Wallets and Bags
  • Uncategorised

New to the Blog

  • Sewing for loved ones
  • Sewing Challenge 2022 – Week 4
  • Sewing Challenge 2022 – Week 2
  • Scrub Cap Sew Along
  • Sewing Challenge 2022 – Week 1

Search

  • About Us
  • Free Patterns
  • Downloads
  • Privacy
  • FAQ’s

Flosstyle Patterns · Copyright © 2025

Copyright © 2025 · Ellie Jane on Genesis Framework · WordPress · Log in