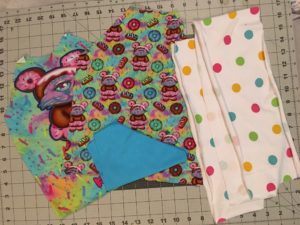
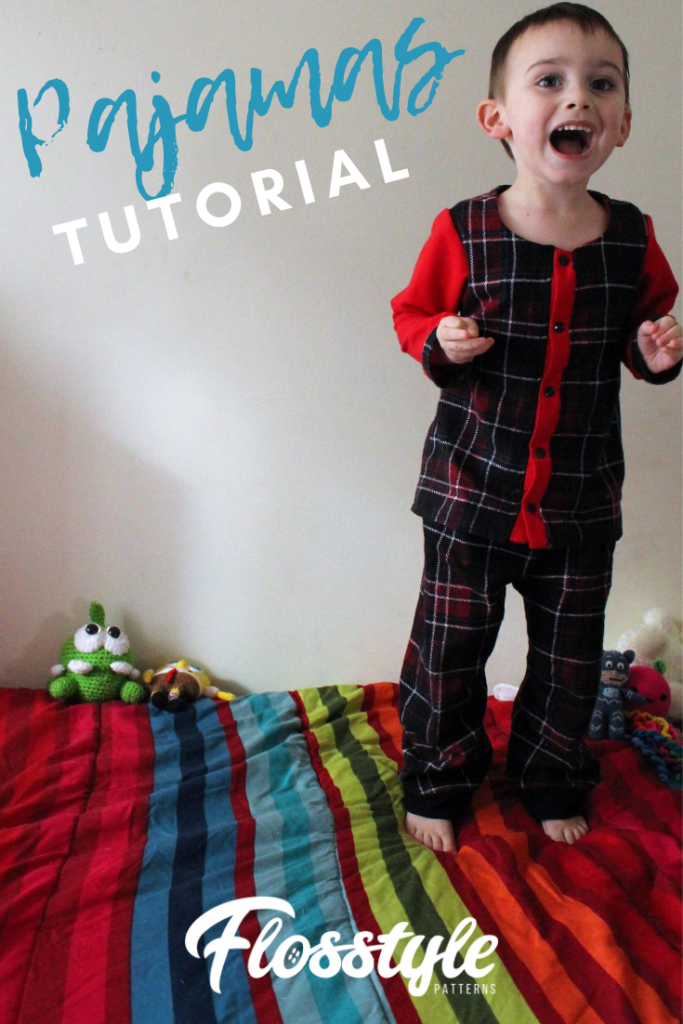
This series will show you how to make snuggly pajamas for your little ones this winter in the Southern Hemisphere! See my previous blogpost on hacking the Zoo pattern to make a facing.
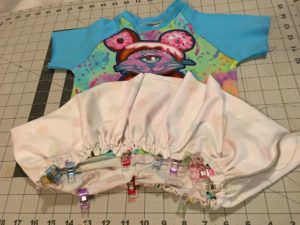
In this post we will go through the steps to sew up the Zoo PJ top for my son. I have made a few changes to the construction and shall note them throughout.
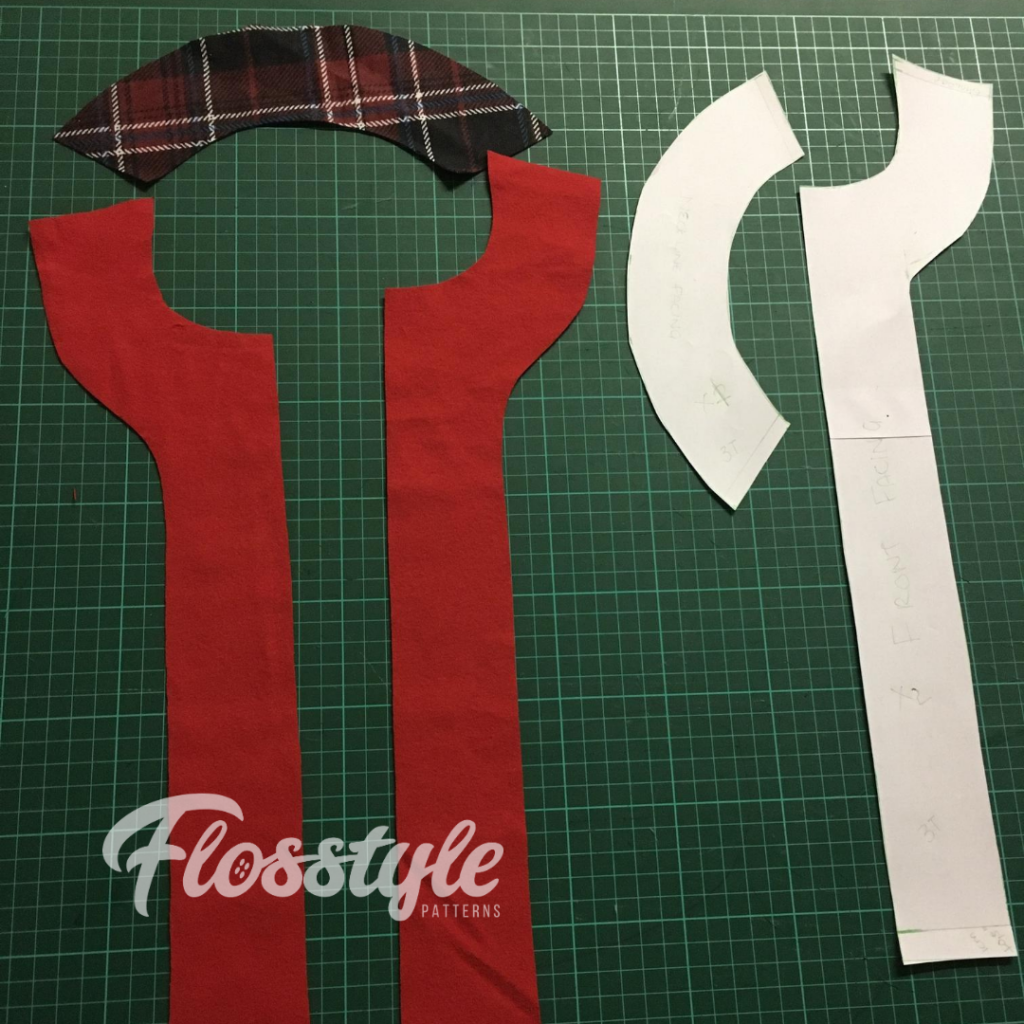
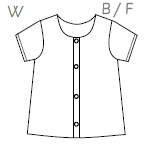
Step 1: Pin facing right sides together at the shoulder seams. Sew them together with 1/4″ or 7mm seam allowance.

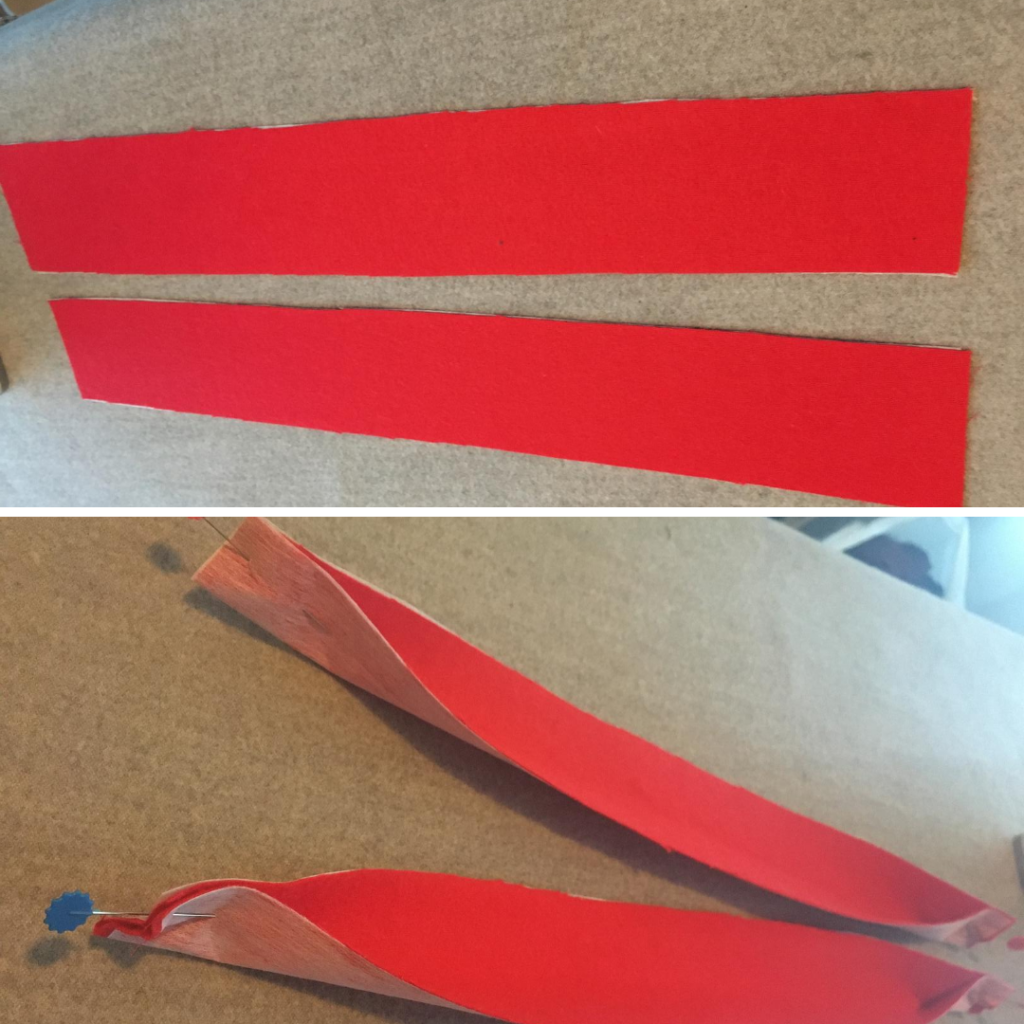
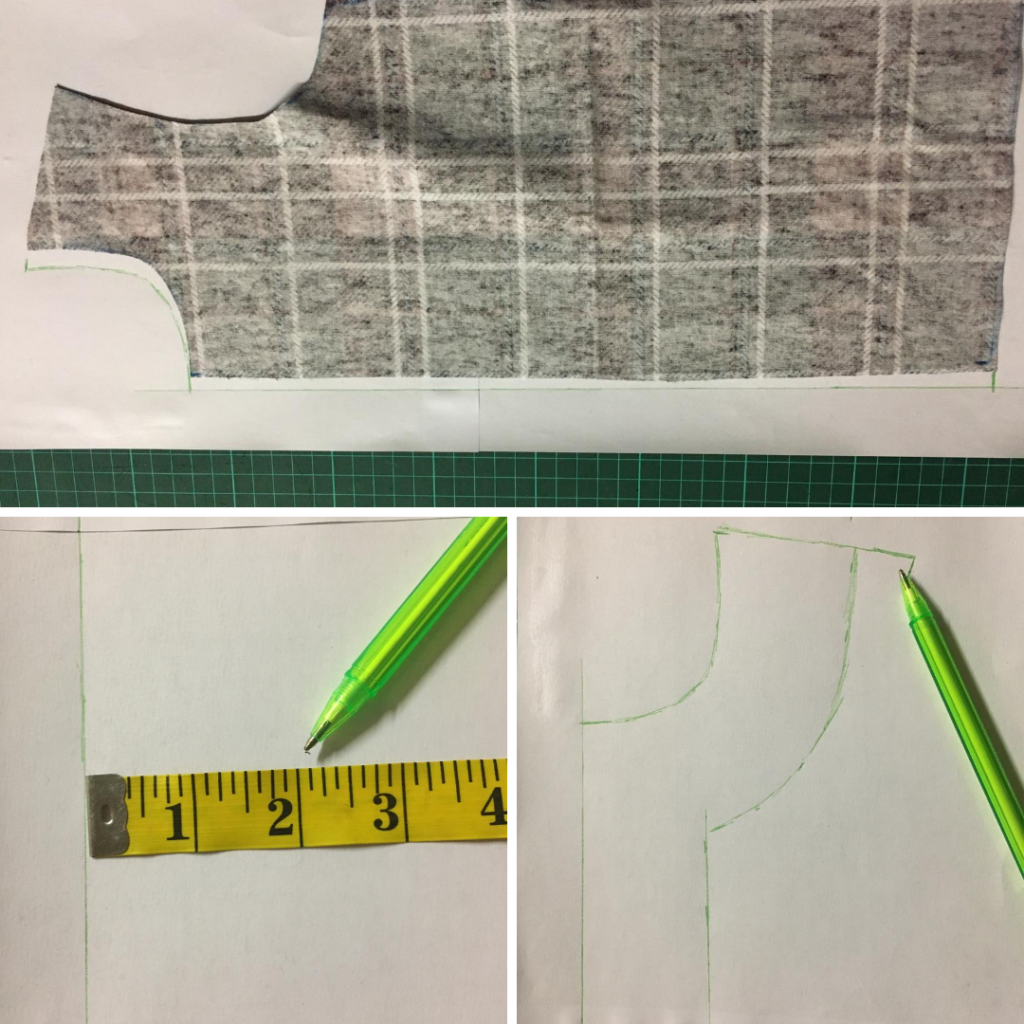
Step 2: Interface your snap placket pieces and face the short ends right sides together, pin and sew 1/4″ or 7mm. Trim seam allowance to turn out sharp corners. Turn right side out and press well.
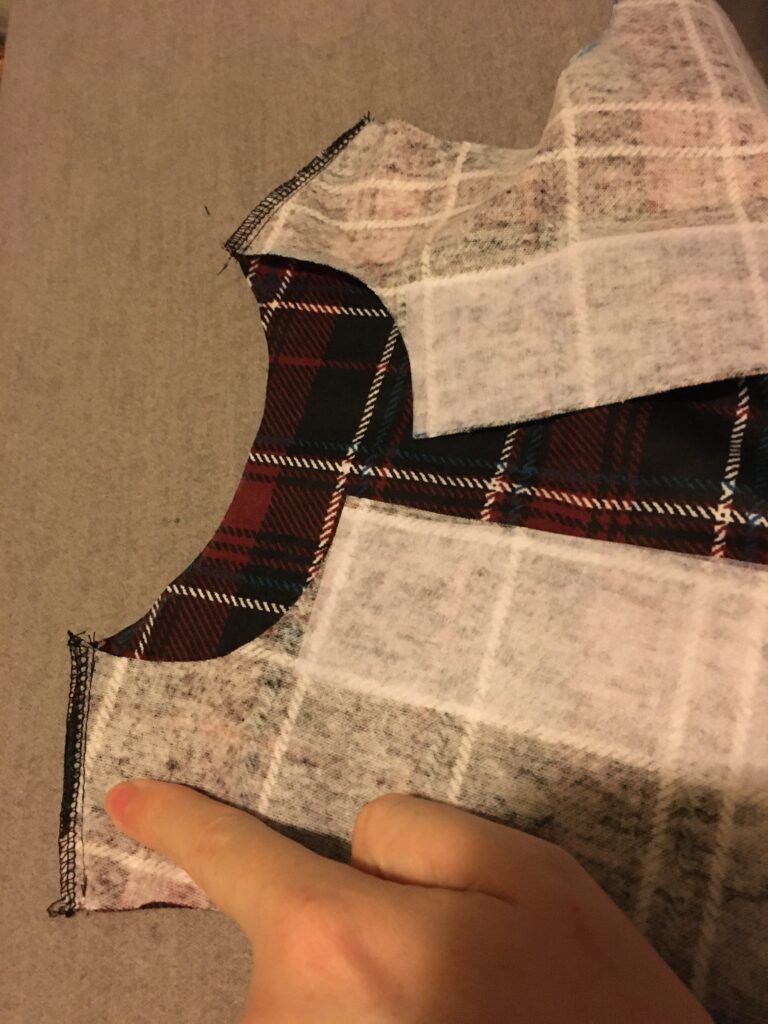
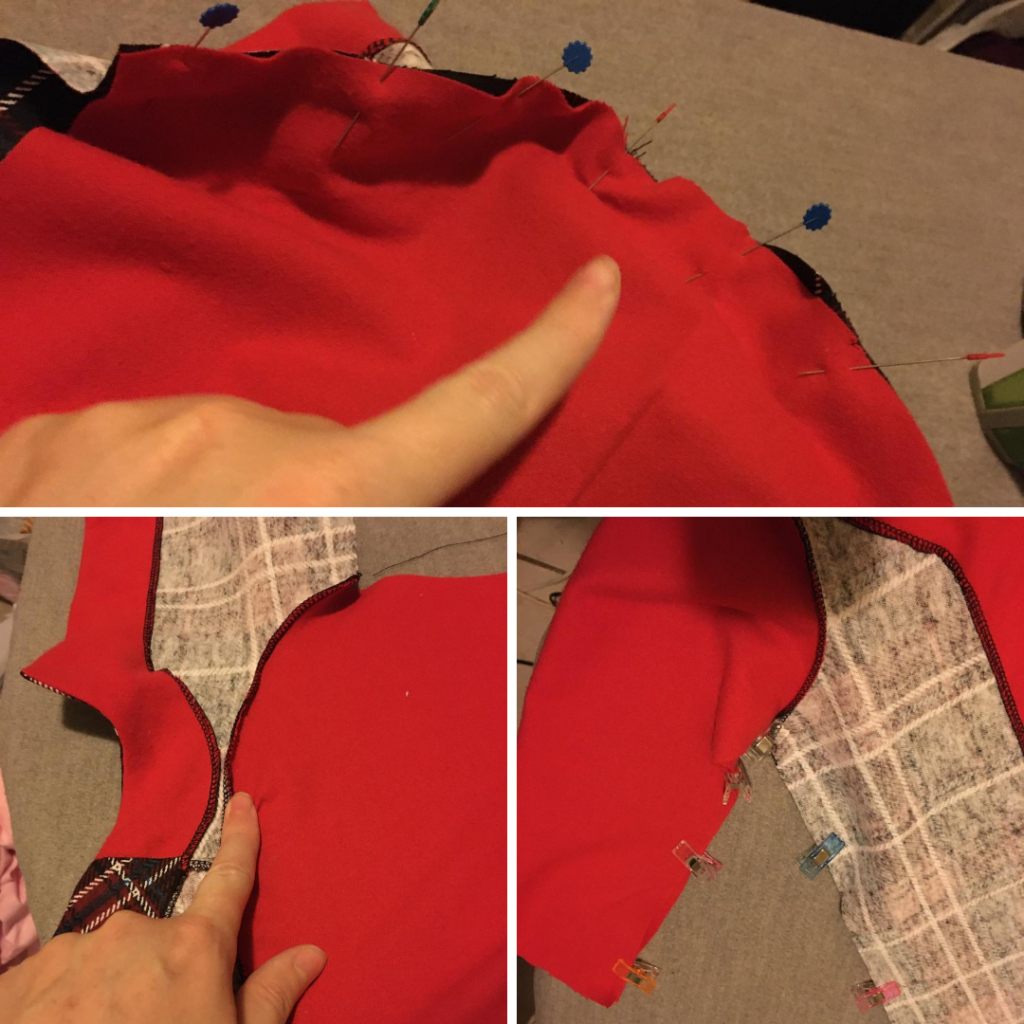
Step 3: Pin the placket raw edges along the raw edges of the top front. Then take the facing and pin right sides together around the neckline, then thr front, sandwiching the placket inbetween.
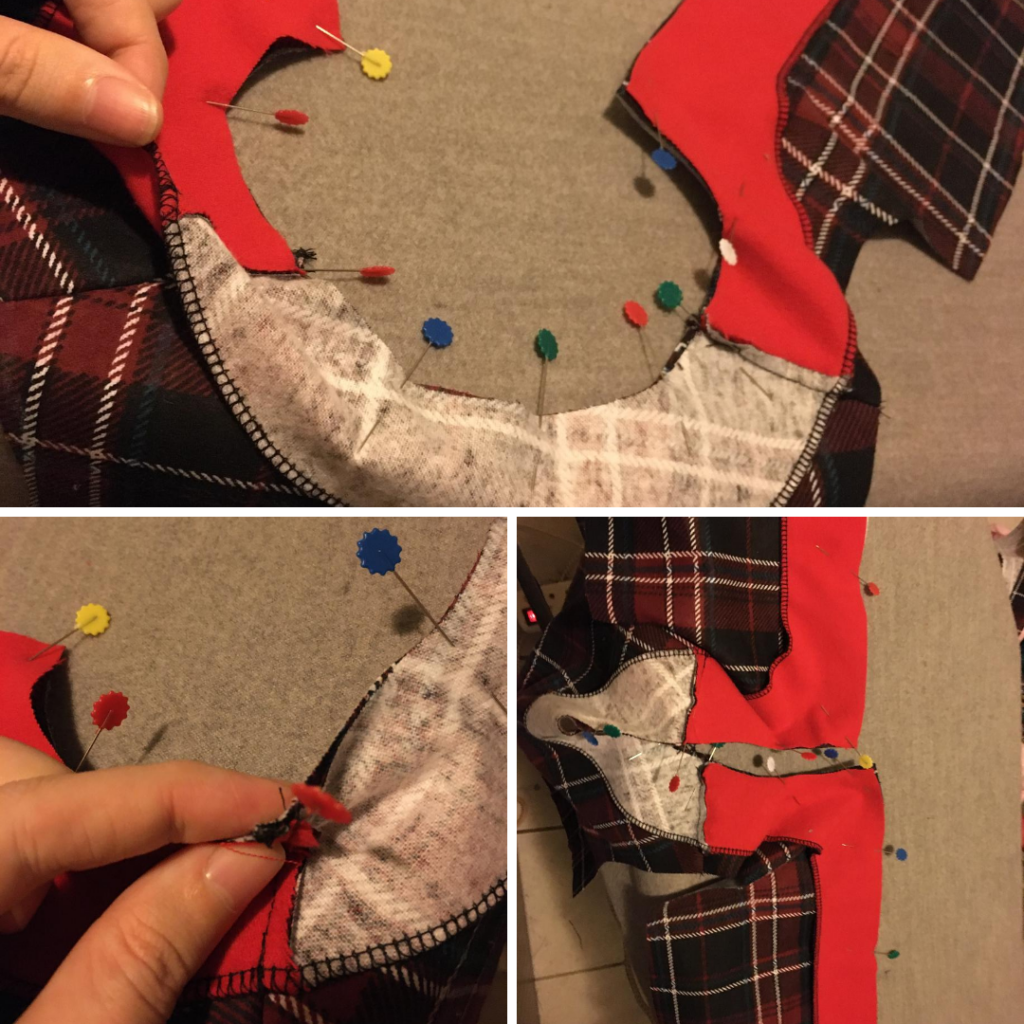
Step 4: Sew from the bottom of one front around the neckline and down the opposite front. See image bottom right – sew 1/2″ or 1cm hem seam allowance – ONLY of the facing and hem. See bottom left – Trim back the seam allwance at the corners of the hem facing and neckline facing.
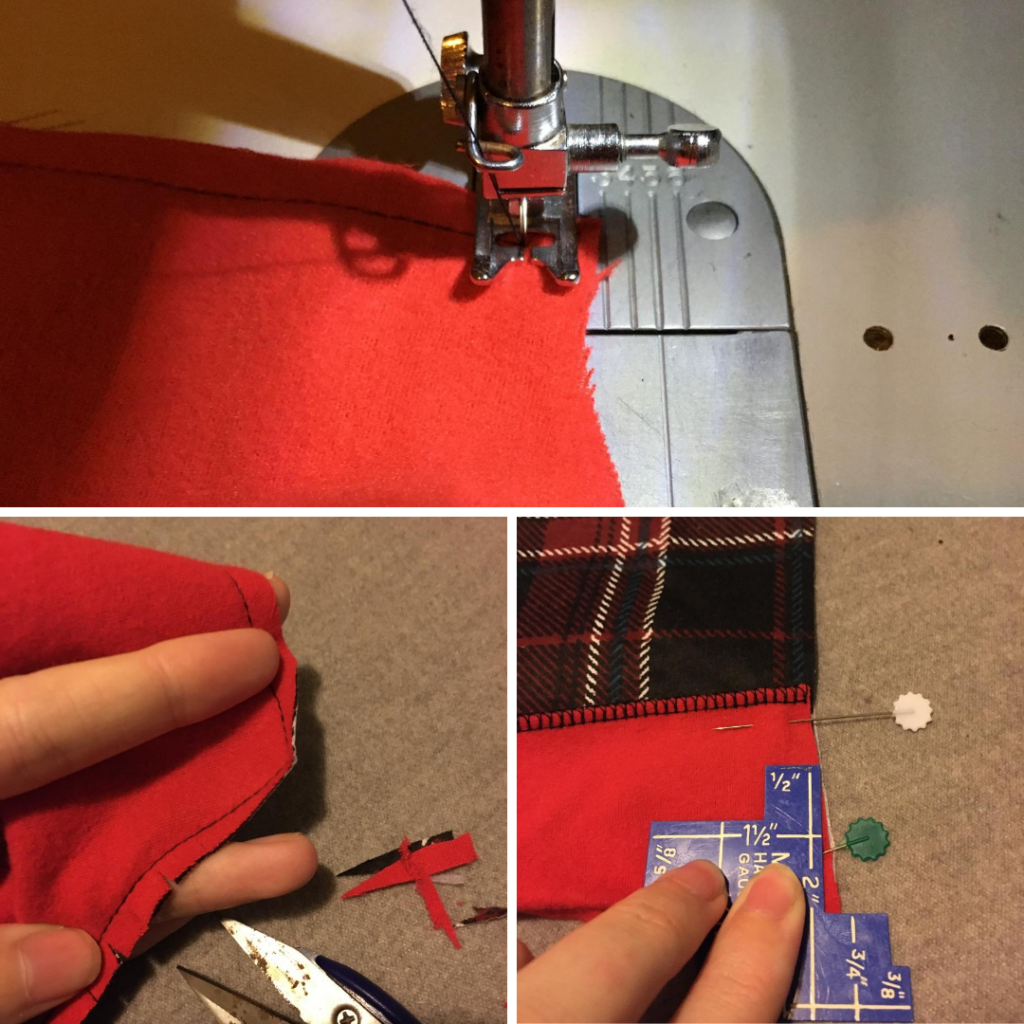
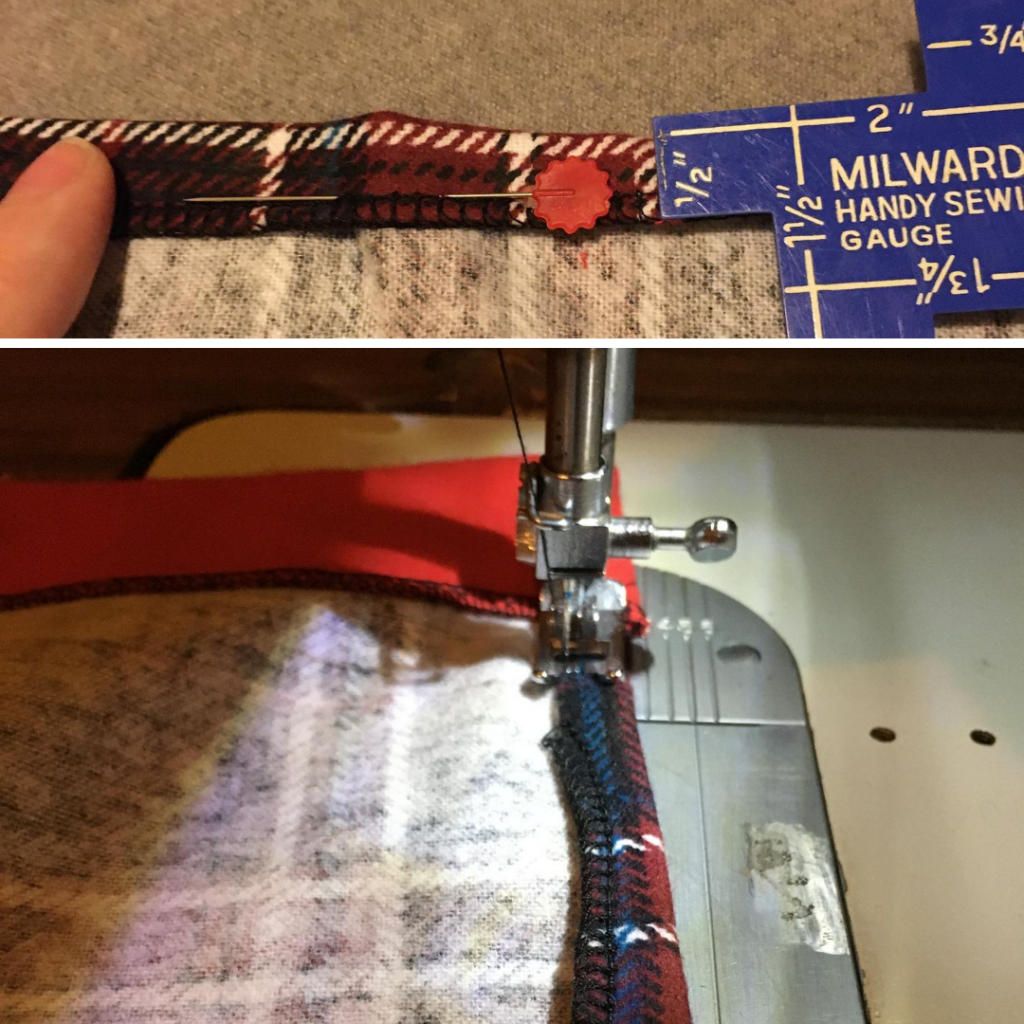
Step 5: Turn the facing towards the inside of the top. Press and Topstitich 1/8″ or 3mm around the top next to the snap placket and around the neckline.
Memory press the hem at this stage.

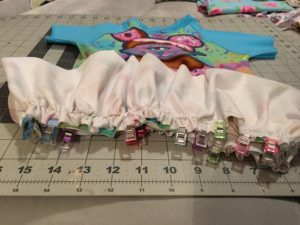
Step 6: Attaching the sleeves right sides together matching the halfway point to the shoulder seam. Serger, sew. (Do not catch the facing in the shoulder seam.)
Step 7: Once the shoulder is sewed. Place the sleeve and side of the top right side togther. Nest the armpit seams to reduce bulk. Sew or serge from the bottom of the top up the sleeve.
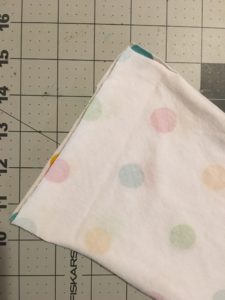
Step 8: I changed the construction and hemmed by overlocking the hem and with the facing stitches the hem naturally wants to curl under. Press and topstitch down.
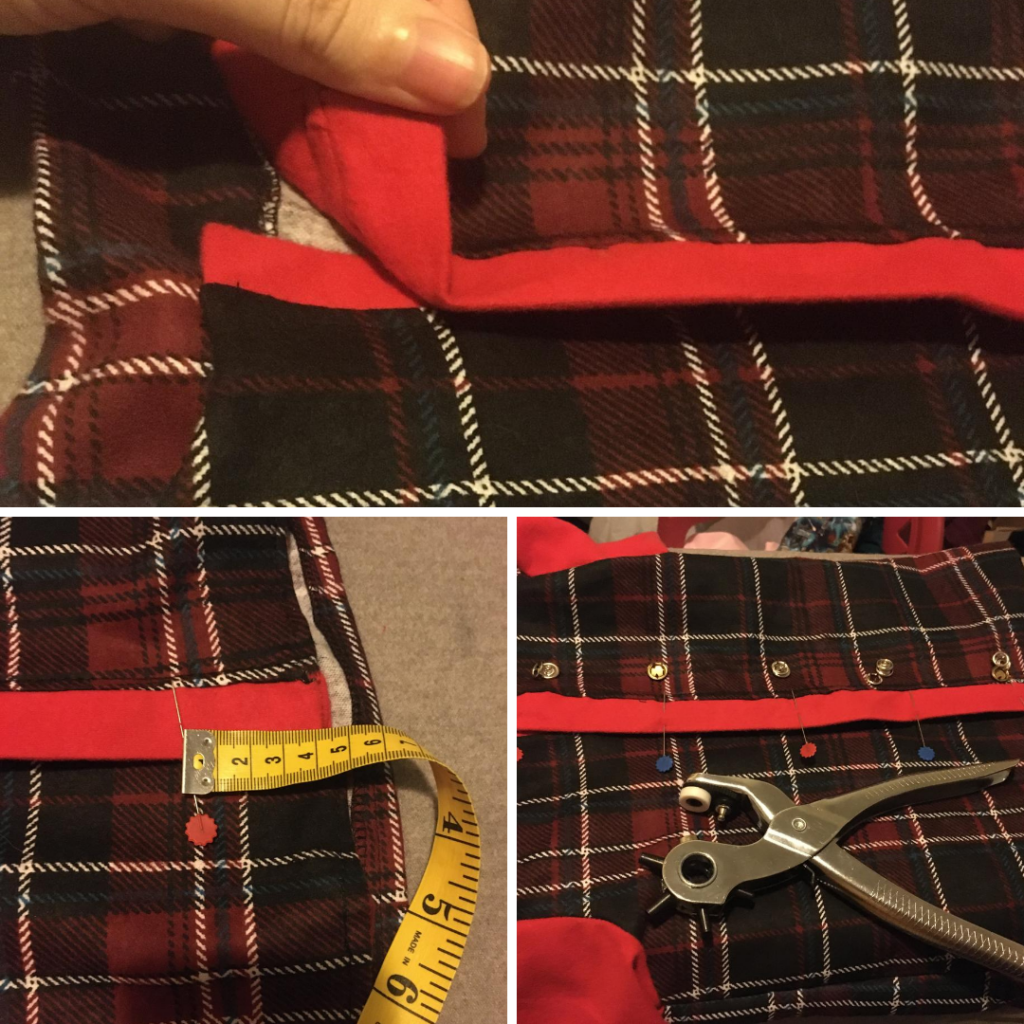
Step 9: Overlap the snap placket as per the instructions for either boys and girls. Add your snaps evenly as per the instructions.
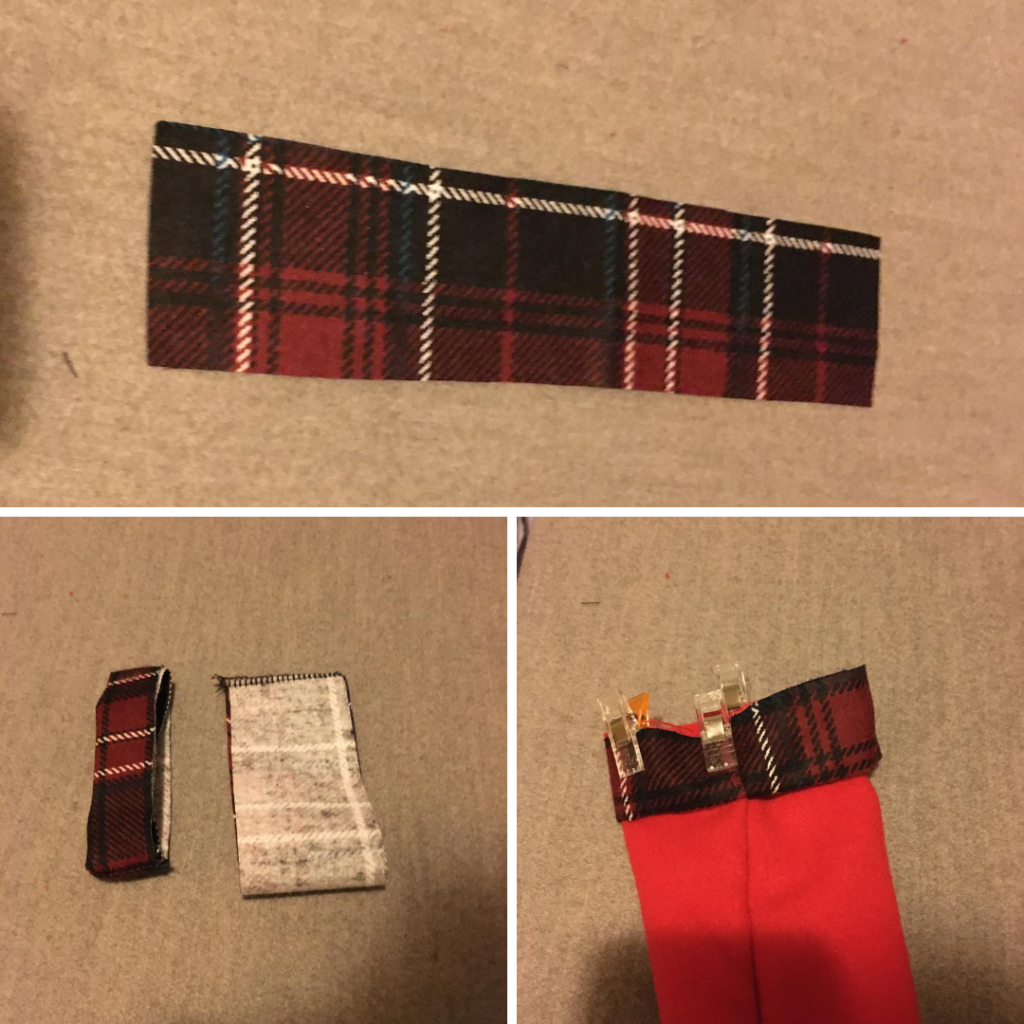
Step 10: Arm cuff. As per insdtructions sew the cuff on.
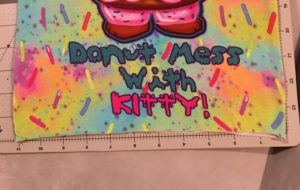
Congratulations! Your Pajama top is complete. I love the finish and my son keeps asking me to wear them. So I better make some more! I would suggest using flannel, fleece or even a quilting cotton for warmer weather.
Happy Sewing – Stay tuned for my sprouts Pajamas pants blogpost next!
Tash
“IMPORTANT: Most nations have strict regulations surrounding children’s sleepwear – in order to sell it, it must meet certain fire resistant standards, in both fabric content and construction/fit. Please do not sell anything you make from this pattern without first checking to see that you have adhered to those regulations. Even for personal use, it is a good idea to be aware of the standards and choose your fabric/fit accordingly. (snug fit is important if not using flame retardant fabric, per most government regulations)”

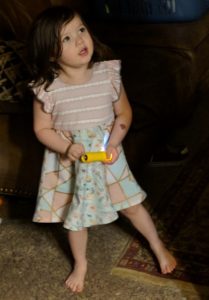
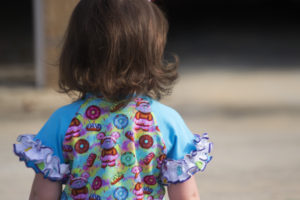
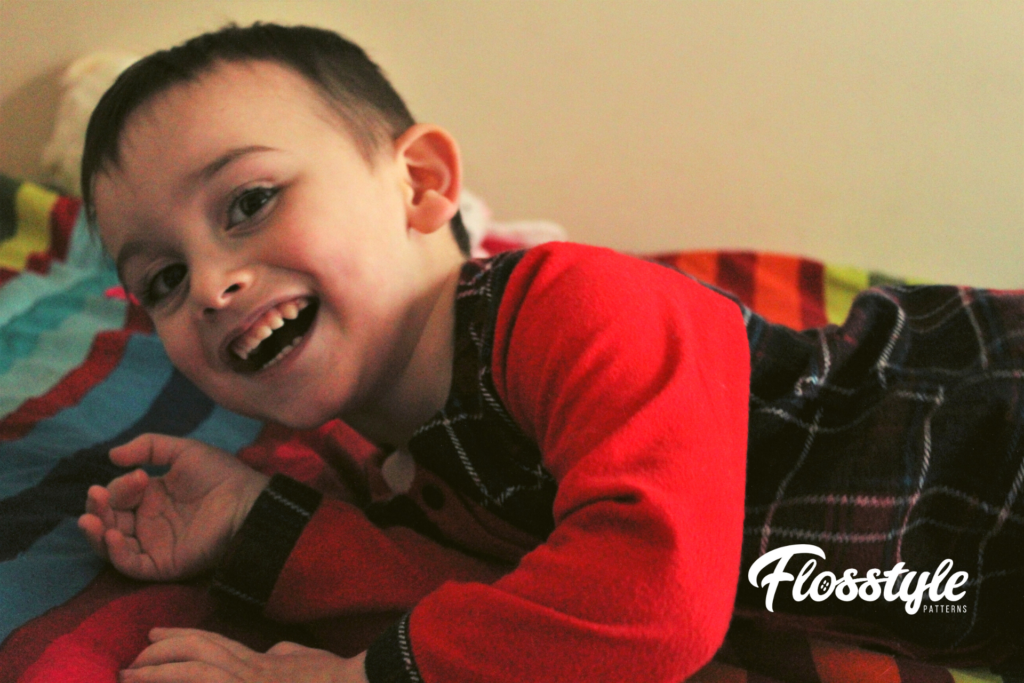
 Shawn Daisy modeling the hack,
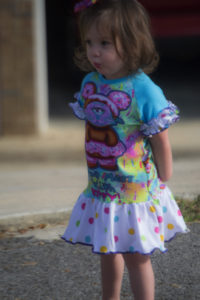