Hi everyone! I’m Sara from The MODERN Maker at Cobb’s Mill and will be sharing a tutorial for utilizing leather and heat transfer vinyl (HTV) to create the Groovy Guys Wallet. I love this pattern for the men in life! Everyone, old and young, need wallets and this pattern creates a wonderful unique gift!
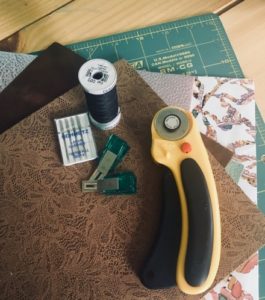
You will need the materials below to get started:
For the wallet:
- 2-4 8×10 sheets of leather. I purchased my leather here.
- Leather needle
- Wonder clips or similar
- Rotary cutter and mat
- Thread
- Sewing machine
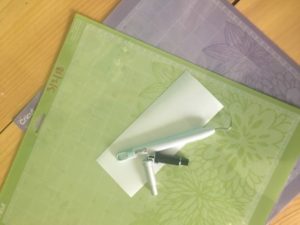
For the HTV design:
- Cutting machine of choice
- HTV, I used Sisar EasyWeed
- Weeding tool
- Blades for cutting HTV and leather (optional)
- Cutting mats, standard for HTV, strong grip for leather (optional)
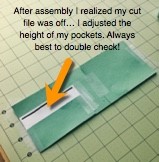
I began by creating a cut file in Design Space because I plan to make this wallet frequently and I prefer the accurate cuts from my Cricut Maker. (I’m always a bit crooked with a rotary cutter and even an edge is important with leather!)
I sized the pattern down a bit because I wanted to give this wallet to my son for his 7th birthday and I wanted the wallet to fit nicely in his jeans. To ensure I was happy with the size, I cut the pattern on paper and assembled it with tape on my cutting mat. This is also helpful when working with pattern pieces that can be confusing… such as multiple similar sized squares of leather! It really helps me to keep it all straight.
If you would like to add HTV to your wallet now is the time to do so. I adapted a file from Scout and Rose Designs to create a simplified ax for the wallet facing. I opted not to include the crest on the inside because of the fun camo leather. These designs are perfect for the boys in my life because my husband is a sawyer. Feel free to add your own “stamp”!
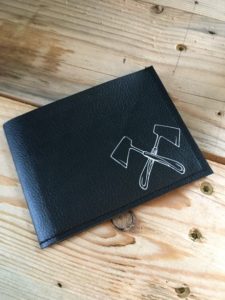
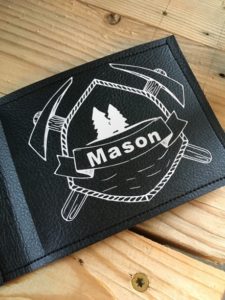
I adhered the HTV to the wallet facing using a heat press set to 305 degrees for 5 seconds. You could also adhere with an iron without steam. Press all your designs on prior to stitching.
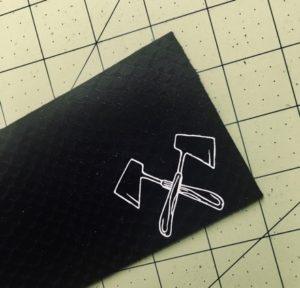
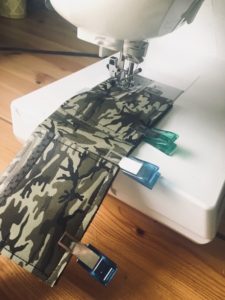
Next, assemble the lining and pockets. Clip with wonder clips or similar. Do not use pins as they will leave a permanent hole in the leather. Take care to ensure edges are even.
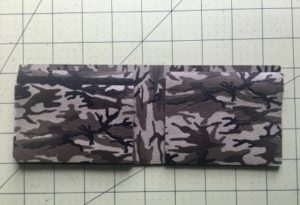
Stitch ¼” around three sides of the right pocket and stack of left pockets (stitching all layers at once). I found starting fully on the fabric with a 3.5mm stitch length and utilizing 1-2 backstitches worked well on my machine. If backstitching, pull your threads 2-3 inches from the needle plate prior to stitching to keep the stitches clean on the wrong side. I STRONGLY recommend testing 4-5 layers of stacked leather prior to stitching to ensure you are happy with the results as stitching will leave permanent holes in the leather.
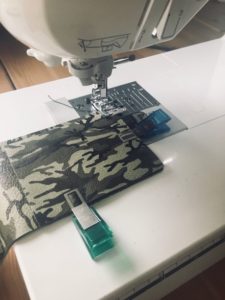
Using a rotary cutter trim any edges that slipped during the stitching. We will be leaving all edges unfinished (unbinded) so it is important to keep the edges straight and clean.
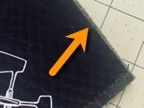
Lay the front facing, wrong sides together, with the lining. Verify the HTV decal is facing in the correct direction. Stitch ¼” around three sides of the facing leaving the open. Trim as needed.
Press the wallet closed using a heat press or iron.
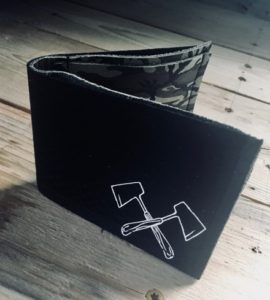
Voila! You have created a beautiful leather wallet!
Happy Stitching,
Sara Cobb
Owner, The Modern Maker at Cobb’s Mill
This looks amazing, I liked the photos with the tutorial, you have done a wonderful job. thanks a lot for sharing this. keep it up.