• Skip to primary navigation
  • Skip to main content
  • Skip to primary sidebar
  • Skip to footer
  • Home
  • Blog
  • Shop
  • Cart
  • My Account

Flosstyle

Practical PDF Sewing Patterns

in Artiste· Blogs by Jess· Boutique and Hybrid Bibs· Flosstyle Patterns· Star Shorts· Ventura Lite· Zoo

Making Christmas clothing for your children

Making clothes for your children is great because you can get them involved in the process. Your little ones can choose the fabric they want and share any other design ideas that they have with you. Have you ever had the perfect article of clothing for your little one in mind but not been able to find it in store? Why not use our PDF patterns to make it yourself. You can also use sewing your own children’s clothing as an opportunity to teach your children to learn how to sew too. I remember when I was little my mum would make all my clothes for me and get me involved in the process. When I was old enough to use a sewing machine, we went through the whole process of sewing a dress together., including picking out the pattern and choosing the fabric and even the zipper! It’s one of the best memories I have with my mum and it taught me a useful creative life skill. Creative activities are a great way for your family to spend quality time together.

Making clothes for your children won’t just make them happy, it will make you happy too! Sewing has been proven to improve your mood, mental health and overall wellbeing. Our shop has a variety of PDF patterns to choose from to get you started creating your own children’s clothing. If you’re not familiar with PDF patterns, read our blog post outlining all the benefits of PDF patterns over traditional sewing patterns. 

Handmade articles of clothing are unique and one of a kind. Even if you use the same dress pattern multiple times, each item will be different and unique. Handmade clothing items aren’t just for your children, but they can be made for gifts for the other children in your life, like your nieces, nephews, and children of friends. 

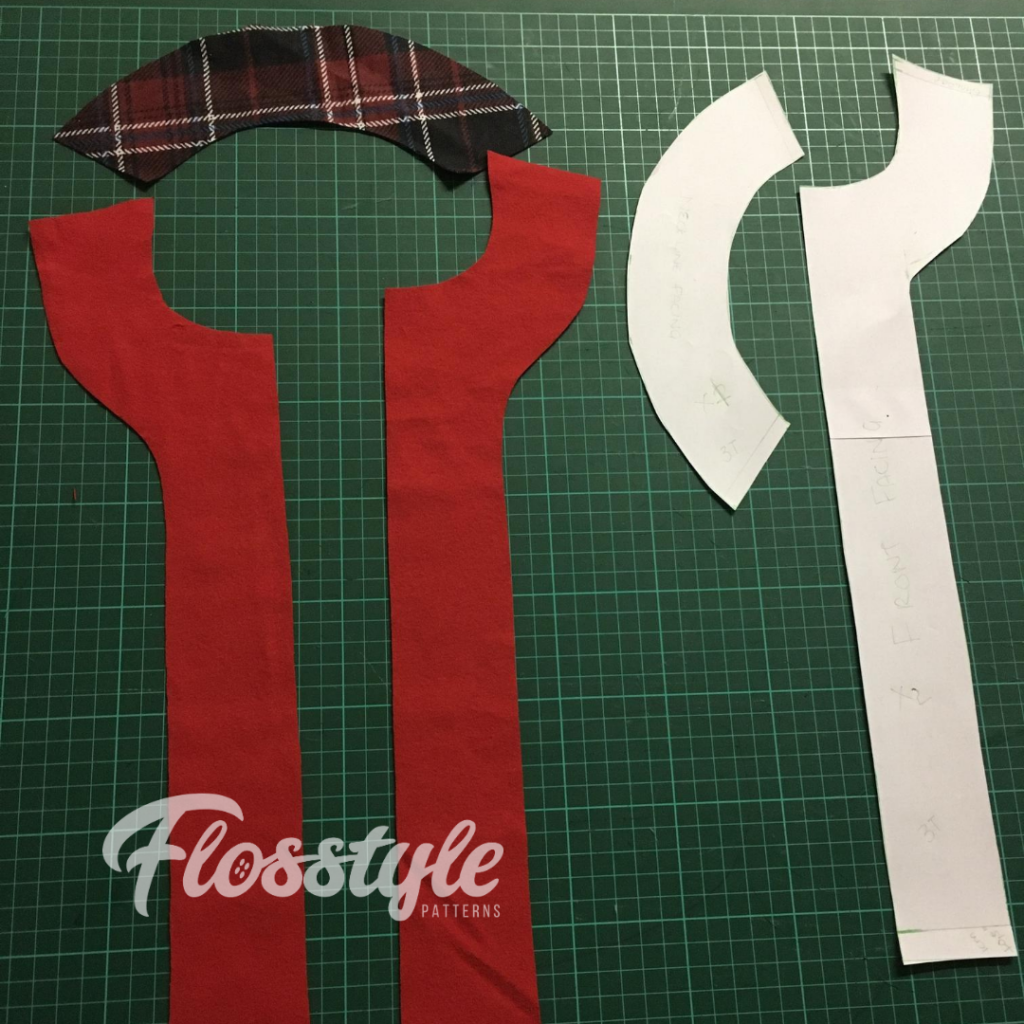
Below I’ve curated my top six flosstyle PDF patterns to download for Christmas clothing creations: whether they be for yourself or for gifts! If you haven’t used PDF patterns before, give our how-to guide a read and you’ll be an expert in no time.

Bibs 

Boutique Bib and Hybrid Bib pattern duo is a perfect and simple gift idea for newborns up to toddlers. Both bibs are adjustable to grow as the child grows. This pattern is suitable for beginners and is quick and easy to whip up. To make the bib extra special, we have a free how-to guide for inverted applique without using any glue or leaving the design with zigzag edges: just neat lines. 

Dresses

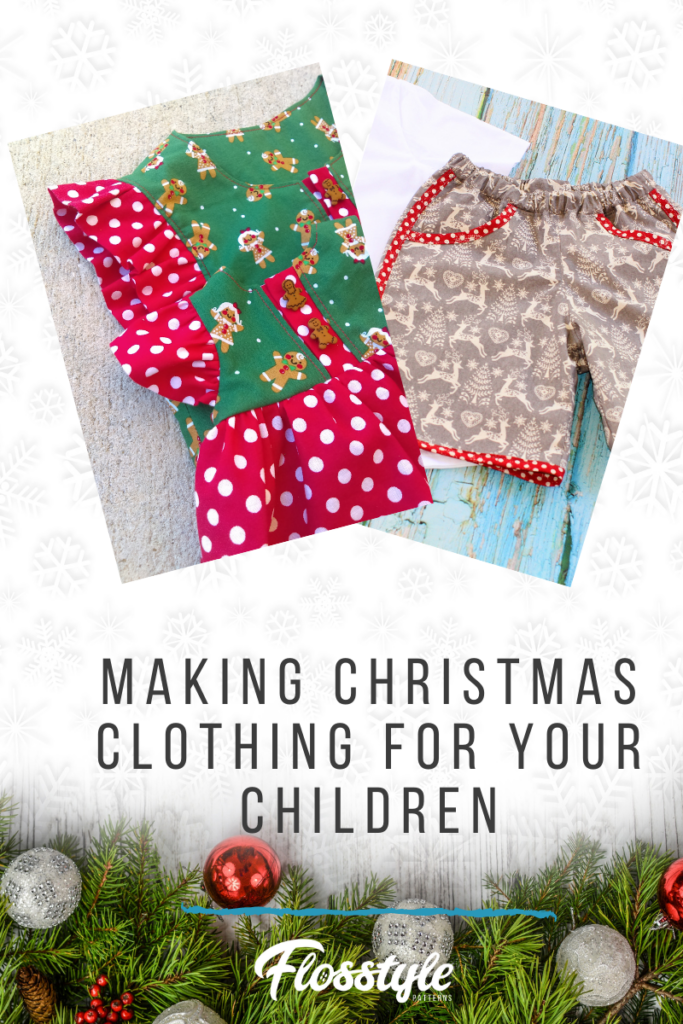
Why not make a dress for the little cuties in your life? The Artiste Dresses Set pattern set comes with three interchangeable patterns for advanced beginners. 

Skirts

Six skirt patterns for six dollars – how good is that? The Milkshake Skirts pattern set is suitable for beginners and will you keep you busy creating all sorts of adorable skirts for the little ones in your life. 

Tees 

There is nothing better than a plain tee. The Ventura Lite pattern is perfect for your little ones t -shirt needs. 

Shorts 

The Star Shorts pattern set contains five different shorts patterns for boys and girls. Shorts are great for everyday wear and for playtime at the park and in the backyard. 

And everything else

If you can’t decide on the above, then the Zoo Collection pattern set is for you. The Zoo pattern is basically a magical pattern that will enable you to make rompers, tee’s dresses and even swimmers! The patterns contained in the Zoo collection range in ability levels from beginner to intermediate. 

We hope this post has inspired you to get creative this festive season. If you use any of the above patterns to create Christmas goodies, please be sure to tag us in a picture of them and we will repost it on our page! 

Happy sewing!

Jess 

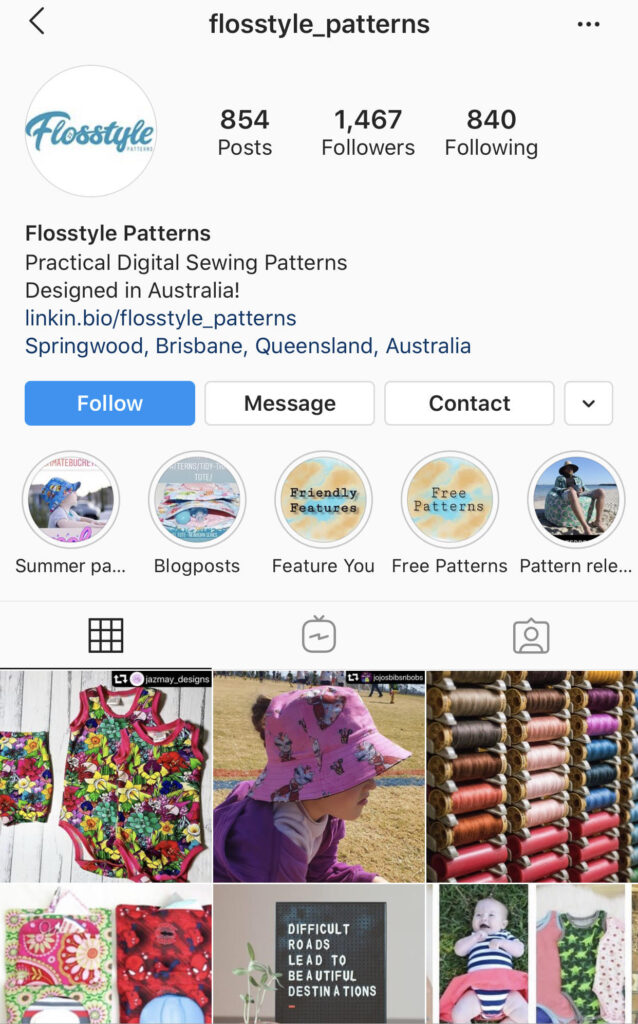
Have a picture you want to share or want to be inspired? Make sure to follow our instagram page

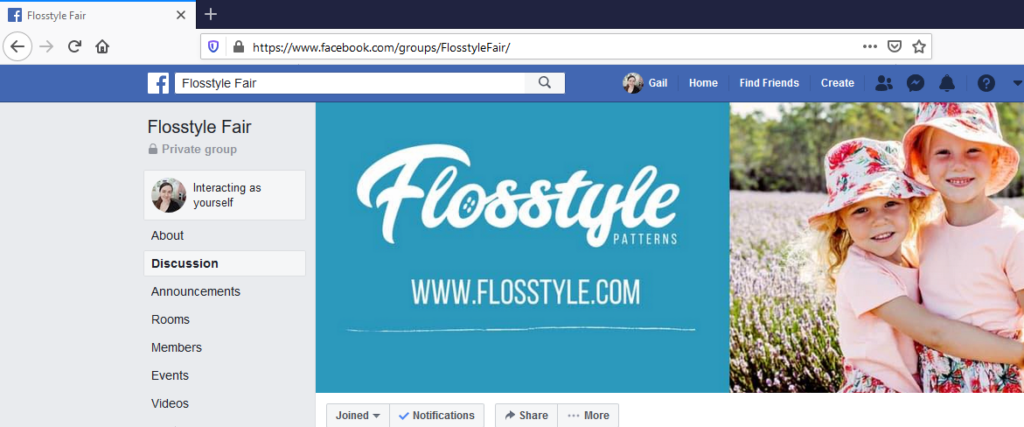
Don’t forget to join the facebook group for advice from experienced sewers

Pin our gorgeous designs on Pinterest

Filed Under: Artiste, Blogs by Jess, Boutique and Hybrid Bibs, Flosstyle Patterns, Star Shorts, Ventura Lite, Zoo

in Pattern Hack· Sewing· Sewing for Baby· Ultimate Bucket Hat· Uncategorized

Ultimate Bucket Hat for Spring

I recently sewed up a UBH for my 3 month old daughter. We were planning on going for a short hike. Well GPS led us in the wrong direction so we ended up just going for a walk at the beachfront instead.

I made her version with the reversible chin strap that Gail sewed up in this video.

Super helpful for little ones so that they don’t loose their hats but please remember always under supervison only.

I added a clip at the bottom of hers.

Please see our two hat method to help with sewing yours up in Gails Sew Along videos.

Happy Sewing All!

Tash

Filed Under: Pattern Hack, Sewing, Sewing for Baby, Ultimate Bucket Hat, Uncategorized Tagged With: baby sewing, Bucket hat, chin strap, spring, ubh, Ultimate bucket hat

in Beginners· Free Downloads· How To· New to PDF Patterns· One Yard Tote

How to use PDF sewing patterns – everything you need to know to get downloading and sewing!

If you’ve always been interested in PDF sewing patterns and wanted to know how to use them, then this is the post for you.

Here at Flosstyle we understand that downloading and using PDF sewing patterns can be daunting for some. We are here to help alleviate your anxieties and to open up a brand new world of PDF sewing patterns to you. Our blogpost “Why you should start using PDF sewing patterns now” is a must read if you’re still not quite convinced or want to learn more about the world of PDF Patterns.

We promise that you don’t have to be tech savvy to find and download amazing and creative PDF sewing patterns. Our step-by-step guide below is super easy to follow and will have you downloading PDF patterns in no time.

Step 1 

The first step to using a PDF pattern is finding the perfect pattern. If you’ve never used a PDF pattern before, we suggest trialing one of our free patterns. This post will demonstrate downloading the One Yard Tote pattern (and it will demonstrate how easy it is!). To fully get your head around PDF patterns, why not follow along with this post and download our One Yard Tote PDF pattern too. 

The One Yard Tote is a brilliant first PDF sewing pattern for you to download, assemble and sew. It’s free, it’s cute, and it’s even reversible! The One Yard Tote is perfect for carrying your groceries, books, laptop, craft items and even your swimmers for the beach. This is the perfect bag to accompany you to school, university or work as it’s perfectly sized for A4 folders and documents. All you need to create this versatile and useful bag is one yard of fabric and 2.25m of binding bias (yes that’s seriously it!).

Step 2

The second step is to download the pattern. Click on the image above and you will be linked directly to the one yard tote bag.

All you need to do is click on “add to cart”. Now click on the “view cart” button and you will see your one yard tote bag pattern in your cart. 

Next you will need to fill in some of your details and you will be able to download the pattern. 

Ta-da! The One Yard Tote PDF sewing pattern is now yours!

Step 3

The third step is something that a lot of people forget. Make sure you save your newly downloaded PDF pattern to your computer in a place that will be easy for you to find again in the future. We suggest you make a dedicated folder to save your PDF patterns in. Once you get a collection of patterns, you can create sub-folders for different types of patterns such as “dresses”, “accessories”, “toys”, and more. 

Your downloaded item will be one PDF document. This document will include clear instructions as well as the pattern itself.

Step 4 

Now that you have the PDF pattern downloaded and saved, the fourth step is to print the pattern. Our patterns provide very direct and specific advice on printing. To ensure your pattern is printed correctly please follow the instructions clearly. The most important rule to follow when printing PDF patterns is NOT to scale the print. Have a look at the image below, to see the settings we used. We kept the scaling option as “actual size”. (Depending on your printer this might also be “default” “no scaling” “100%”)

If you’re running low on ink or paper, you also have the option to print only the necessary pages (e.g. in the One Yard Tote pattern, you only need to print pages 4-6). You can keep the instructions pages open on your computer or ipad while you’re assembling the pattern and sewing.

If you don’t have access to a printer, that’s totally ok! You can ask your local print and copy shop to print off your pattern for a small fee. Officeworks charge around 10 cents for each page of printing. The One Yard Tote is a 6 page PDF, so it could cost you less than a dollar to print.

All Flosstyle patterns come with a test page to ensure the pattern has been printed correctly. Please ensure you take the time to measure the test square before you get started on the next step.

Step 5

The fifth step is to assemble the pattern. This is one of my favourite parts of the process. I love to have music playing in the background while I get completely stuck into my project (and yes before you ask, dance breaks are totally encouraged!).  

Cut the pieces out and sticky tape or glue them together. Flosstyle patterns provide clear instruction and direction so you will have no issues with knowing where to cut and where to stick the pages together. 

Step 6 

That’s it! Now it’s time to get sewing. We hope this guide has been useful and helped you feel more confident in your ability to download and assemble a PDF pattern. Don’t forget that one of the best things about PDF patterns is that you can print out as many copies of the pattern you need if you make any mistakes. 

Before you start sewing you might want to check out our One Yard Tote Timelapse Video showing how the tote is sewn together. For inspiration you can find all our blog posts about the One Yard Tote here.

We would love to see your Flosstyle creation! Join our facebook group, Flosstyle Fair and share your creations with us there. Our facebook group has over 8000 members who have a wealth of knowledge on using PDF sewing patterns and would be more than happy to help you out and answer any questions you might have. You can also share your creations on instagram with the hashtag #flosstyleoneyardtote for a chance to be featured on our page.

Happy Downloading and Sewing

Jess

Filed Under: Beginners, Free Downloads, How To, New to PDF Patterns, One Yard Tote Tagged With: How to use PDF Sewing Pattern, Learn to sew, Learn to use PDF Sewing Patterns, PDF Sewing Patterns, Print PDF Pattern

in 52 Week Sewing Challange· 52 Week Sewing Challenge - 2020· Flosstyle Patterns· Ventura Lite

Sewing Challenge 2020 – Week 32

This weeks challenge: RAOK/Baby
Accepted/Rejected: Rejected

Our Kindy has just introduced “Floral Fridays” to as a way to acknowledge and celebrate the Torres Straight Islander People and their culture, when I found this fabric online I fell in love with it and knew it would be perfect to make Mr 5 something to wear on Fridays.

The Ventura has long been a staple in my boys wardrobe because its quick and easy to sew but also because they love wearing them. Its winter here so I needed something with long sleeves and Mr 5 loves hoods so whatever I made had to have one.

I added the kangaroo pocket for the same reason, plus it added a great finishing touch to the shirt. Mr 5 was so excited when he saw this finished shirt and can’t wait to wear it to school on Friday.

Happy Sewing
xx Gail

Pattern Used: Flosstyle Ventura with hacked sleeves, hood and pocket added.
Fabric Used: Flamingo Floral came from Noosa Fabric Co.

Filed Under: 52 Week Sewing Challange, 52 Week Sewing Challenge - 2020, Flosstyle Patterns, Ventura Lite

in Capsule Wardrobe· Flosstyle Patterns· Pattern Hack· Sew Along· Sew For kids· Sewing for Baby· Sewing for Boys· Sprouts· Trees· Tutorials· Uncategorized· Zoo

Pajamas – Winter Sewing Series – Sewing The Facing and Top 02

This series will show you how to make snuggly pajamas for your little ones this winter in the Southern Hemisphere! See my previous blogpost on hacking the Zoo pattern to make a facing.

In this post we will go through the steps to sew up the Zoo PJ top for my son. I have made a few changes to the construction and shall note them throughout.

Step 1: Pin facing right sides together at the shoulder seams. Sew them together with 1/4″ or 7mm seam allowance.

Repeat this with shoulder seams of the top too. Finish the rew edges with a serger or zigzag stitch.

Step 2: Interface your snap placket pieces and face the short ends right sides together, pin and sew 1/4″ or 7mm. Trim seam allowance to turn out sharp corners. Turn right side out and press well.

Step 3: Pin the placket raw edges along the raw edges of the top front. Then take the facing and pin right sides together around the neckline, then thr front, sandwiching the placket inbetween.

See that the shoulder seams on the facing and top are nested inopposite directions to reduce bulk.

Step 4: Sew from the bottom of one front around the neckline and down the opposite front. See image bottom right – sew 1/2″ or 1cm hem seam allowance – ONLY of the facing and hem. See bottom left – Trim back the seam allwance at the corners of the hem facing and neckline facing.

Step 5: Turn the facing towards the inside of the top. Press and Topstitich 1/8″ or 3mm around the top next to the snap placket and around the neckline.

Memory press the hem at this stage.

Step 6: Attaching the sleeves right sides together matching the halfway point to the shoulder seam. Serger, sew. (Do not catch the facing in the shoulder seam.)

Step 7: Once the shoulder is sewed. Place the sleeve and side of the top right side togther. Nest the armpit seams to reduce bulk. Sew or serge from the bottom of the top up the sleeve.

Step 8: I changed the construction and hemmed by overlocking the hem and with the facing stitches the hem naturally wants to curl under. Press and topstitch down.

Step 9: Overlap the snap placket as per the instructions for either boys and girls. Add your snaps evenly as per the instructions.

Step 10: Arm cuff. As per insdtructions sew the cuff on.

Congratulations! Your Pajama top is complete. I love the finish and my son keeps asking me to wear them. So I better make some more! I would suggest using flannel, fleece or even a quilting cotton for warmer weather.

Happy Sewing – Stay tuned for my sprouts Pajamas pants blogpost next!

Tash

“IMPORTANT: Most nations have strict regulations surrounding children’s sleepwear – in order to sell it, it must meet certain fire resistant standards, in both fabric content and construction/fit. Please do not sell anything you make from this pattern without first checking to see that you have adhered to those regulations. Even for personal use, it is a good idea to be aware of the standards and choose your fabric/fit accordingly. (snug fit is important if not using flame retardant fabric, per most government regulations)”

Filed Under: Capsule Wardrobe, Flosstyle Patterns, Pattern Hack, Sew Along, Sew For kids, Sewing for Baby, Sewing for Boys, Sprouts, Trees, Tutorials, Uncategorized, Zoo Tagged With: hack, pajamas, pj, sew, Sew Along

in Capsule Wardrobe· Flosstyle Patterns· How To· Pattern Hack· Sew Along· Sew For kids· Sewing for Baby· Sewing for Boys· Sprouts· Trees· Tutorials· Zoo

Pajamas – Winter Sewing Series – Facing Hack 01

This series will show you how to make snuggly pajamas for your little ones this winter in the Southern Hemisphere!

I’ve been wanting to make my littles winter PJ’s for some time now. Following Laura’s Post on our Facebook Fair Group. I used the Zoo and the Sprouts pattern to make the pj sets.

Lets start with the Zoo PJ Top

Option – Panda top and Wombat tail With Long sleeve add-on
Fabric –
Flannel

For my sons version I ran out of fabric so instead of fully lining the shirt I made facings. It is very easy and heres how I did it.

Step 1 – Take the front Zoo pattern piece and trace the shirt length line and blue line in the size you are making.

Step 2: Using this pattern piece you are going to measure the front snap placket front and use this as the snap placket facing. Width around 2″ or 6cm. (you will cut 2 of the placket facings mirrored)

Step 3: Place on a piece of paper and trace the neckline. width of 2″ for the neckline facing. (You will cut 1 of the back neckline facing)

Voila – Your facing pattern is done. This can be applied to any garment that requires a lining for example a coat, dress bodice etc.

Follow for my next Blogpost on sewing the PJ top together using this facing.

Happy Sewing!

Tash

“IMPORTANT: Most nations have strict regulations surrounding children’s sleepwear – in order to sell it, it must meet certain fire resistant standards, in both fabric content and construction/fit. Please do not sell anything you make from this pattern without first checking to see that you have adhered to those regulations. Even for personal use, it is a good idea to be aware of the standards and choose your fabric/fit accordingly. (snug fit is important if not using flame retardant fabric, per most government regulations)”

Filed Under: Capsule Wardrobe, Flosstyle Patterns, How To, Pattern Hack, Sew Along, Sew For kids, Sewing for Baby, Sewing for Boys, Sprouts, Trees, Tutorials, Zoo Tagged With: facing, free tutorial, hack, pajamas, pj, sprouts, tutorial, winter, zoo

  • « Go to Previous Page
  • Page 1
  • Page 2
  • Page 3
  • Page 4
  • Interim pages omitted …
  • Page 14
  • Go to Next Page »

Primary Sidebar

Recent Posts

  • Sewing for loved ones March 21, 2022
  • Sewing Challenge 2022 – Week 4 January 30, 2022
  • Sewing Challenge 2022 – Week 2 January 15, 2022
  • Scrub Cap Sew Along January 14, 2022
  • Sewing Challenge 2022 – Week 1 January 7, 2022

Categories

  • 2019 52 Week Sewing Challenge
  • 52 Week Sewing Challange
  • 52 Week Sewing Challenge – 2020
  • 52 Week Sewing Challenge – 2022
  • Alice's Tea Set
  • Applique
  • Artiste
  • Arts and Crafts
  • Babys First Toys
  • Bazinga Backpack
  • Beginners
  • Behind the scenes
  • Blogs by Jess
  • Blogs by Olivia
  • Bloomies
  • Bolster Bean Bag
  • Bonnet
  • Boutique and Hybrid Bibs
  • Bunny Bucket
  • Bunny Bucket Crown
  • Capsule Wardrobe
  • Charity Cape
  • Christmas Sewing
  • Costumes
  • EZ Wrap Wallet
  • Flosstyle Patterns
  • Free Downloads
  • Freebies
  • Groovy Guys Wallet
  • Guest Blog Post
  • How To
  • Hunter Shorts
  • Itty Bitty
  • Kanga Carrier
  • Learn to Sew
  • New to PDF Patterns
  • One Yard Tote
  • Paradise Dress
  • Pattern Hack
  • Pattern Release
  • Play Away
  • Printable
  • Puckers
  • Rainbow Hat
  • Scrub Cap
  • Sew Along
  • Sew For kids
  • Sewing
  • Sewing for Baby
  • Sewing for Boys
  • Sewing Groups
  • Sewing with Braden
  • Sewing with Kids
  • Sneak Peek Stocking
  • Souffle Skirt
  • Spring Wardrobe Challenge
  • Sprouts
  • Star Shorts
  • Super Suit
  • Things to do with the Kids
  • Tidy Travel Tote
  • Timelapse
  • Tooshies
  • Trees
  • Trolley Liner
  • TTT
  • Tutorials
  • Twiggies
  • Twigs
  • Ultimate Bucket Hat
  • Uncategorized
  • Upcycle
  • Upcycle Challenge 2018
  • Ventura Lite
  • Video
  • Whirl Skirt
  • Zoo

Footer

Product categories

  • Pattern Workshop
  • Patterns
    • Accessories
    • Babies
    • Baby Carrier
    • Bags
    • Boys
    • Free
    • Gifts and Toys
    • Girls
    • Home Decor
    • Ladies
    • Men
    • Wallets and Bags
  • Uncategorised

New to the Blog

  • Sewing for loved ones
  • Sewing Challenge 2022 – Week 4
  • Sewing Challenge 2022 – Week 2
  • Scrub Cap Sew Along
  • Sewing Challenge 2022 – Week 1

Search

  • About Us
  • Free Patterns
  • Downloads
  • Privacy
  • FAQ’s

Flosstyle Patterns · Copyright © 2025

Copyright © 2025 · Ellie Jane on Genesis Framework · WordPress · Log in