• Skip to primary navigation
  • Skip to main content
  • Skip to primary sidebar
  • Skip to footer
  • Home
  • Blog
  • Shop
  • Cart
  • My Account

Flosstyle

Practical PDF Sewing Patterns

in Arts and Crafts· Beginners· Behind the scenes· Guest Blog Post· Sewing

That time I tested the W-Under Woman cloth pad pattern

The weather outside is frightful (hmmm, kinda), but the fire is so delightful (yeah, no, definitely not fire weather this side of the equator), and since we’ve no place to go (thanks corona), let us sew let us sew let us sew ?

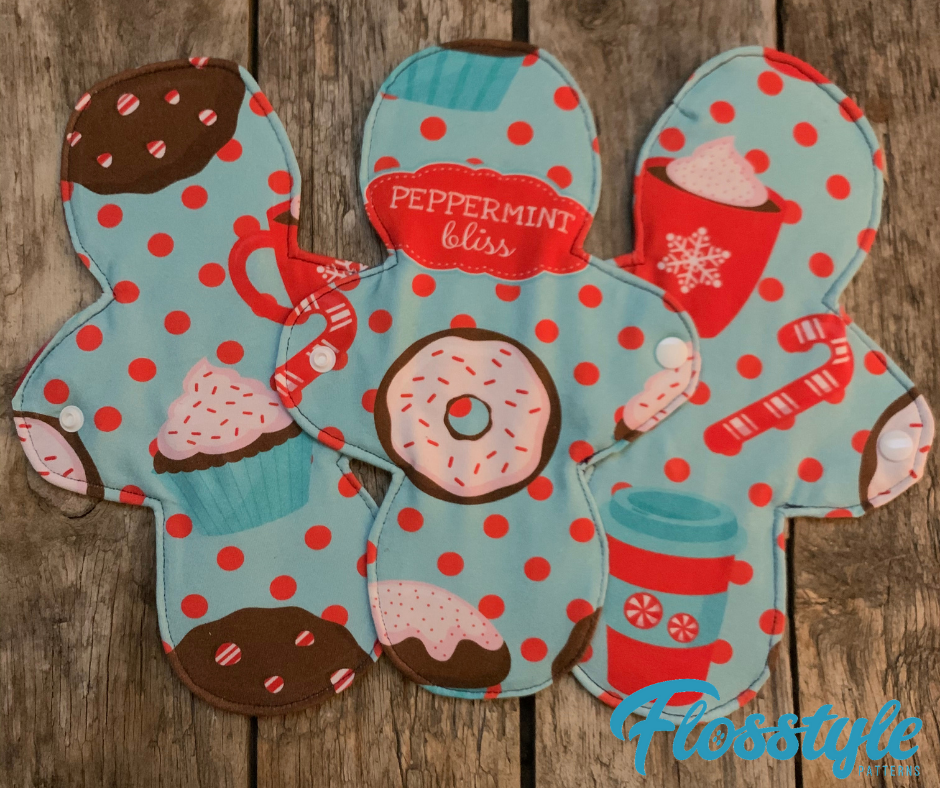
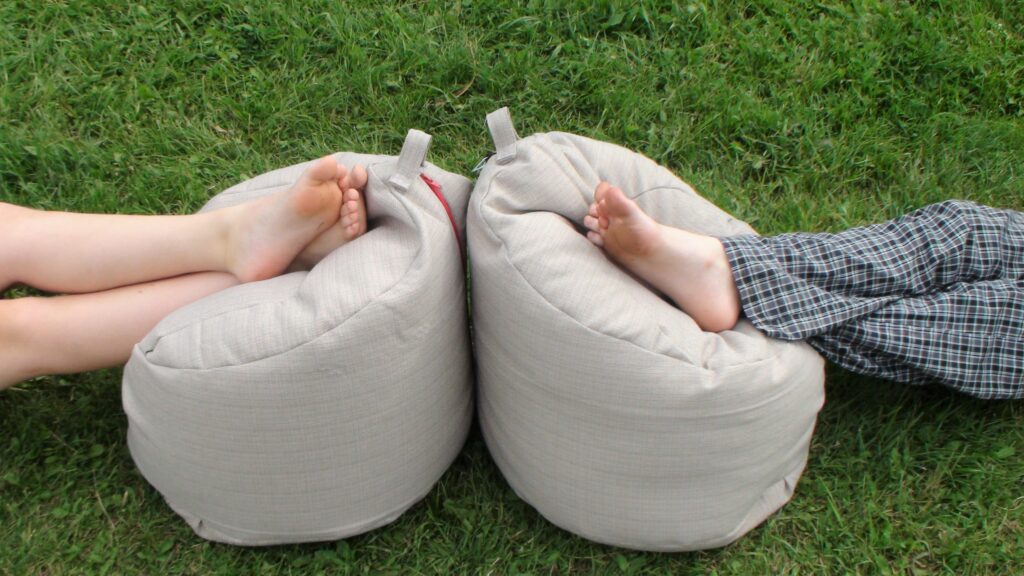
What better way to get into the swing of celebrating the festive season than with some uber festive cloth pads (the red dawn doesn’t care what season it is so might as well be prepared) :b

Pretty much started out like any other testing pattern day…send file to the Husbander for him to print; instructions gets printed; Husbander gives me the printouts; put printouts down somewhere; survey fabric options; decide that I’m ready to begin; struggle to remember where printouts are; hunt entire house for printouts; find printouts; start reading through printouts; realize it’s missing the pattern pieces; ask Husbander to print pattern pieces; pattern pieces printed; move sewing projects, random toys & other things that have now magically appeared in the 10minutes I was away from my sewing space; take a deep breath, ok I think we’re ready.

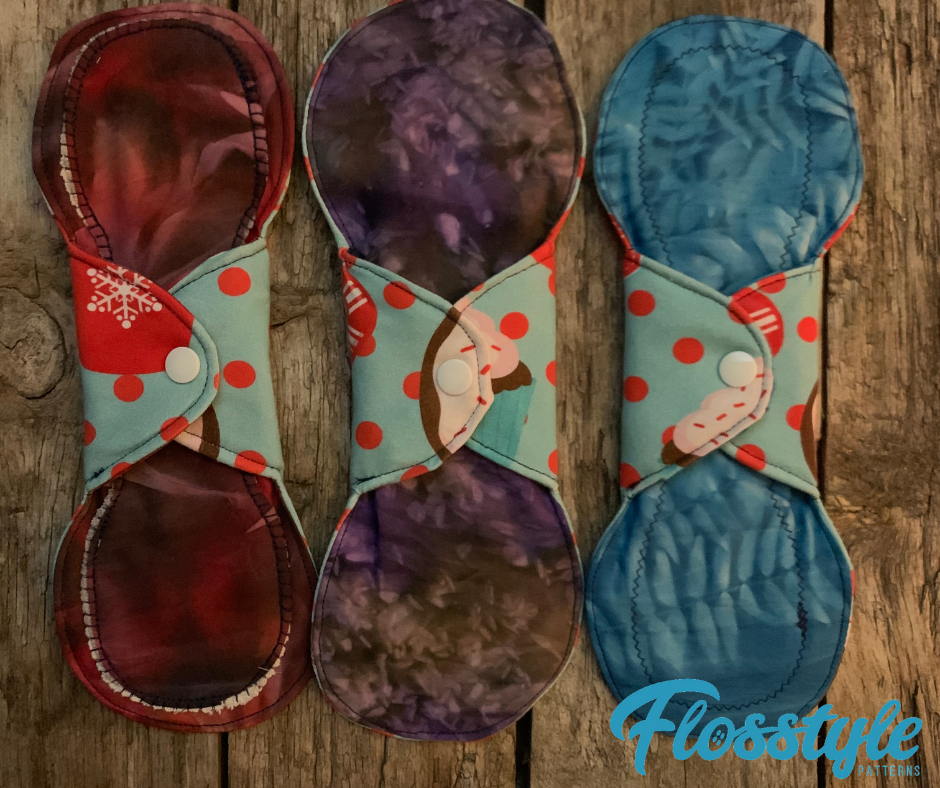
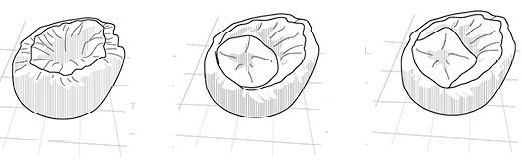
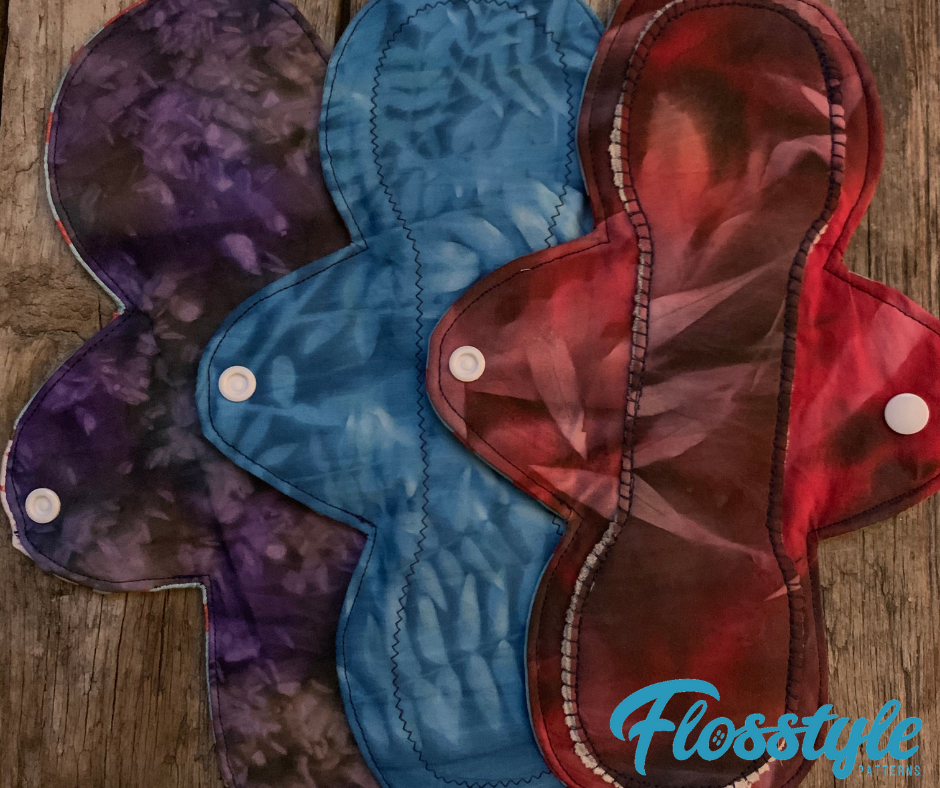
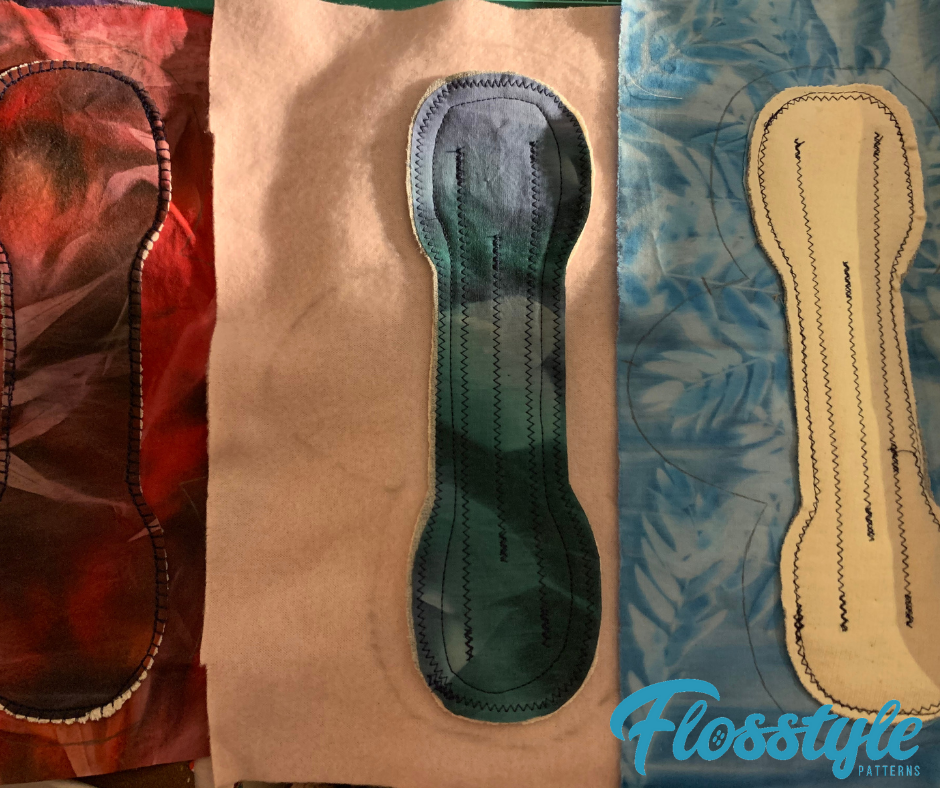
I took the instruction’s advice (make sure to read through the instructions more than once) & measured (more like eyeballed) one of my current cloth pads so that the ones I’m making can be similar in size (plus it gives me a visual for construction). After umming & aaahing for a bit I settled on the 2.75” pattern pieces at a 10”inch length, & I’ll be attempting the 3 different core options (exposed, visible, & hidden), because I like being extra like that.

Cut out pattern pieces, added tape, making sure everything has been connected with the precision of advanced OCD…easy peesy lemon squeezy. 

Cotton woven top, bamboo/cotton fleecy fabrics underneath

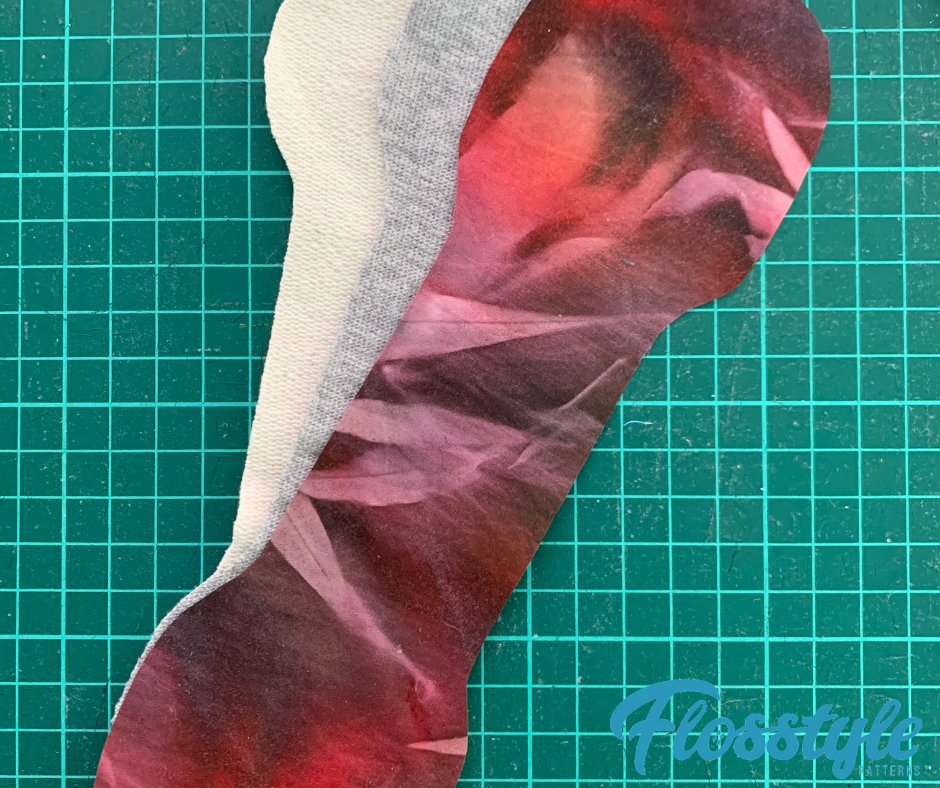
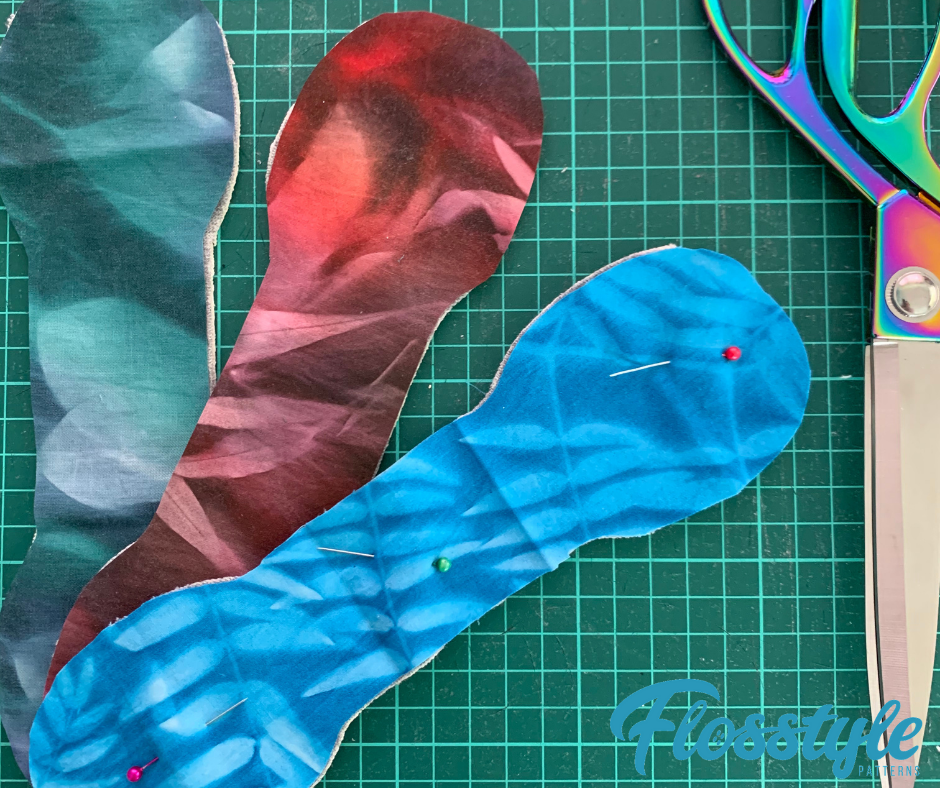
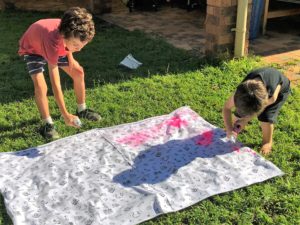
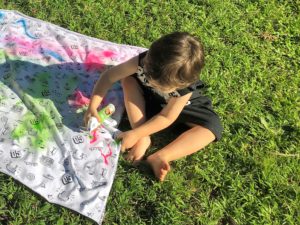
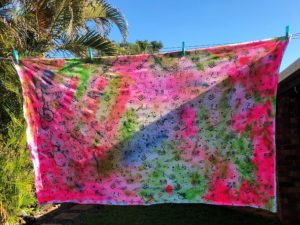
Delve into the depths of my fabric containers for suitable fabrics, message your sewing person to double check you’re using the correct fabrics, delve back into the depths because that piece of fleece you spotted before will come in handy & let the cutting begin! 

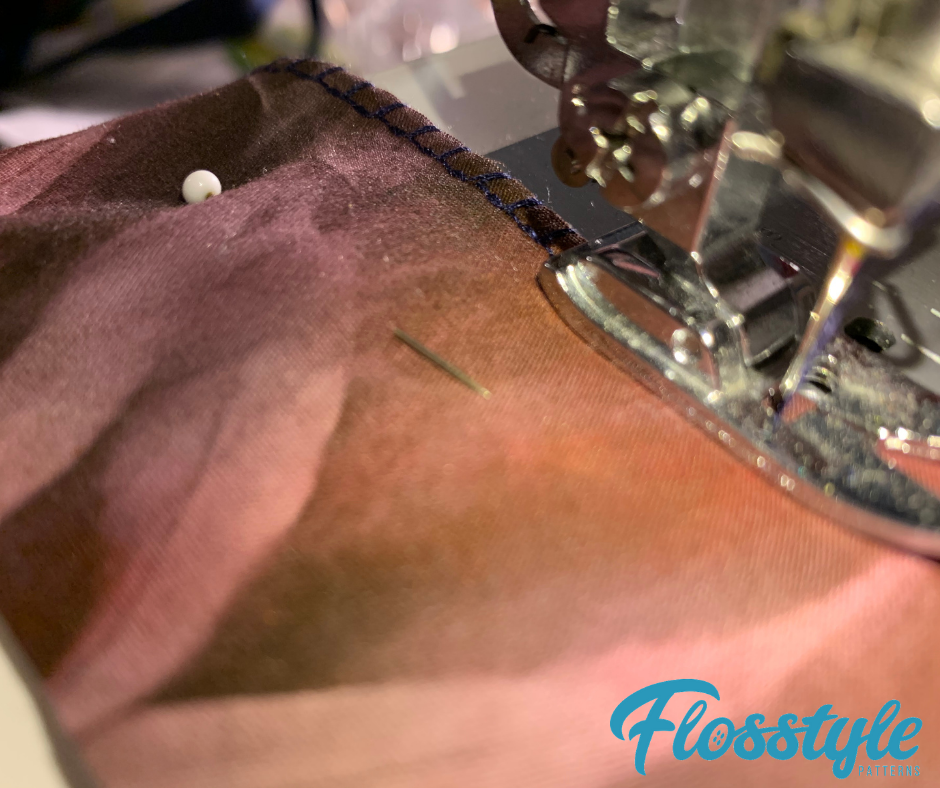
Honestly out of the whole process I think the cutting & tracing was the most difficult part (thank goodness) although truth be told I’m probably using the wrong thread, most definitely the wrong needle, the fabric is also questionable, but honestly I’m ploughing through a lot of fears here & it actually feels great so might as well give all the different stitches a try (I don’t think I’ve ever used an overcast stitch…where have you been all my life!!! And it actually came out looking pretty good). 

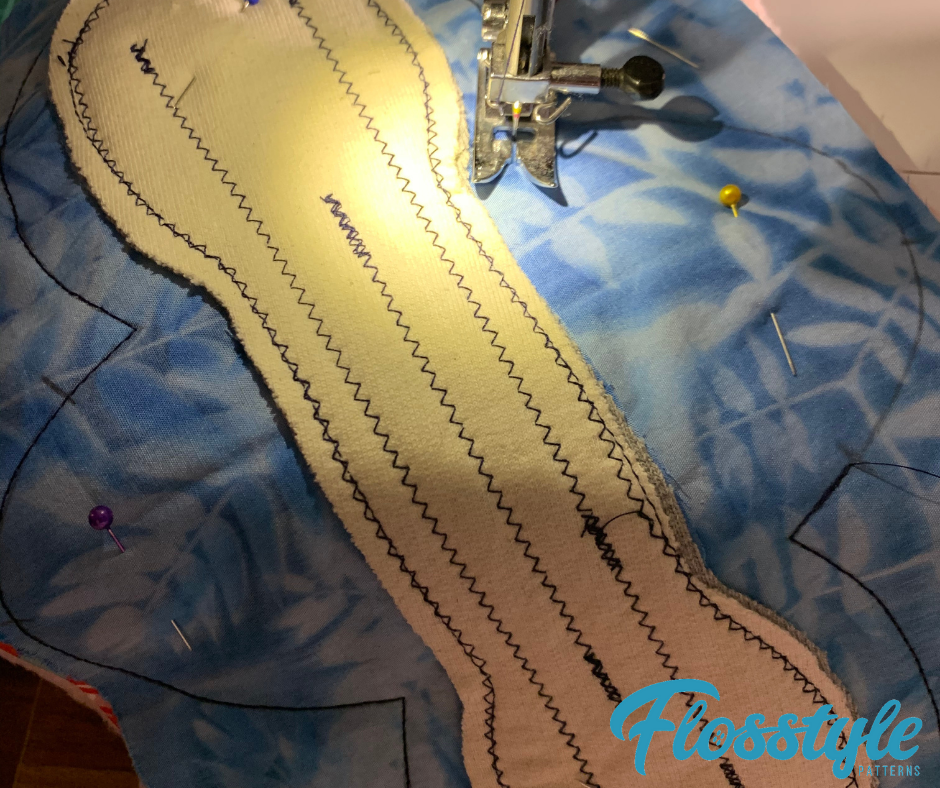
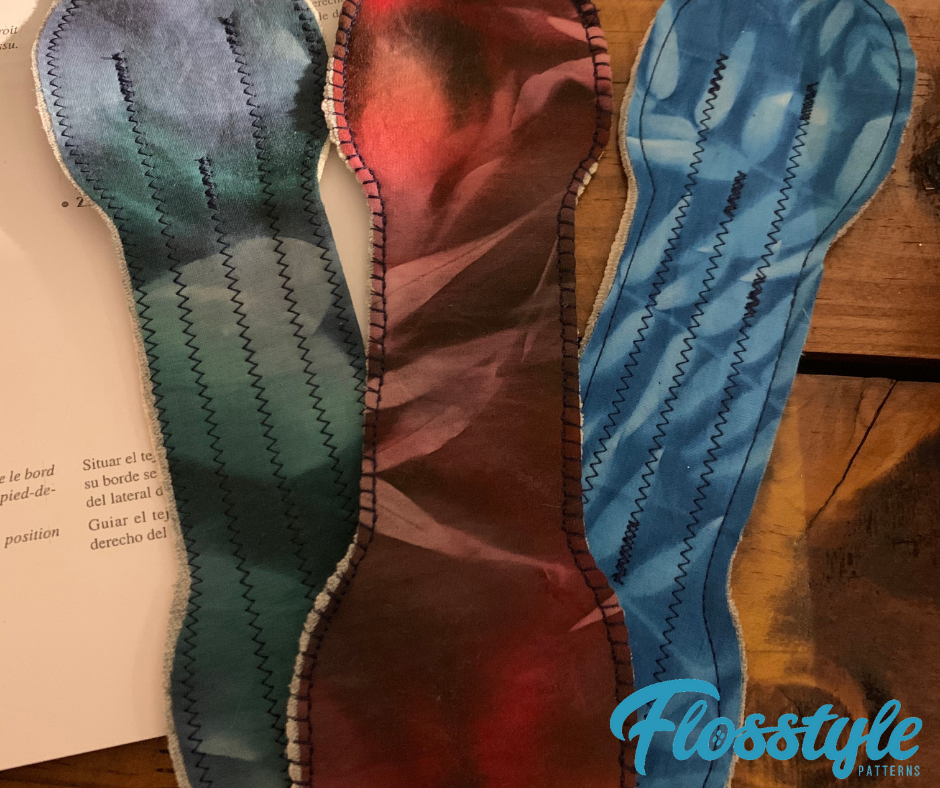
So after all the stressing & worrying about making mistakes, wondering if they’ll look any good, hoping my machine doesn’t give me a mini heart attack when a needle breaks (no needles were harmed in the making of these cloth pads- hooray! Don’t forget channeling stitches & pressing seams are your friends) I think these came out pretty marvelous & best of all, no-one died! Can’t wait to give these festivenessnessnessnesses a try. Hope you’ll attempt them too!

Happy Sewing!

V

Not too shabby

Filed Under: Arts and Crafts, Beginners, Behind the scenes, Guest Blog Post, Sewing Tagged With: Cloth pad, cloth pad pattern, Flosstyle, Flosstyle Patterns, sew, sewing, sewing makes me happy, W-under woman

in Arts and Crafts· Behind the scenes· How To

Dog Lino Printing – Step by Step

I have had heaps of questions about how I made these dog pants for Week 8 of the 52 Week Sewing Challenge earlier this year so thought I’d write a more in depth how to. (Find the original blog here.)

I got both the rubber block and the carving tools from Spotlight, I’m not sure how the quality compares to others but they were relatively cheap and I could order online plus they worked well for me.

Parker was very insistent he wanted a dog stamp on his pants so we searched Pinterest for some inspiration and once we found the photo below there was no talking him in to anything else.

I printed the image out in the size of my rubber block and then used tracing paper to trace the image out using a 2B pencil. I then flipped the tracing paper over onto the block so the drawn side was touching the block and used the other end of the pencil to rub the design onto the block.

I then drew over the copied pencil design with a black permanent marker, so it wouldn’t be accidentally rubbed off while I was carving the design out. Below is the printed design and my carved stamp before I started testing it.

I don’t have a proper tool for applying the paint to the rubber tile so I just used a foam brush I already had (like these ones). I tested the design with regular acrylic paint and onto paper and after each print removed any extra areas I wasn’t happy with until I was ready to try on the fabric.

I decided to use a textile medium mixed into acrylic paint so I would have more colour options, because I already have acrylic paints, however you can also buy specific fabric inks and paints. This has held up with washing okay so far.

I decided on the pattern I was going to use, the Star Shorts in the Hunter version and traced my pattern pieces onto the fabric so I would be able to line up my prints exactly where I wanted them.

I reapplied paint between each print for one pair and alternated with the second pair for a different look. If you have any questions I would be more than happy to answer them in our Flosstyle Fair group on Facebook.

Happy Sewing
xx Gail

Filed Under: Arts and Crafts, Behind the scenes, How To Tagged With: Hand Carved Stamp, Hand Stamped Fabric, Lino Printing How To

in 52 Week Sewing Challange· 52 Week Sewing Challenge - 2020· Arts and Crafts· Flosstyle Patterns· Sew For kids· Star Shorts

Sewing Challenge 2020 – Week 8

This weeks challenge: Pinterest Nailed It
Accepted/Rejected: Accepted

This week I wanted to try something a bit different, I found the pants below while looking on Pinterest and decided I would have a go at lino printing/stamping to create my own fabric. I remember at high school we had to make a lino print as part of our art class assignment but we printed it on to paper not fabric.

I found some rubber blocks and carving tools at Spotlight that looked perfect for what I was wanting, the rubber blocks were thicker than the lino tiles I used in high school but that made it easier to hold when stamping the fabric. They were also much softer than the lino tile which made carving them easier as well.

I found a dog picture that I liked online and printed it out, then traced it onto tracing paper and flipped it over onto the rubber block and pressed to transfer the design onto the block. I then used the tools to carve away the parts of the design I didn’t want to be printed. (This was a little hard because in drawing and painting you add the parts you want so it took a little bit to wrap my head around)

Once the design was carved I started testing it and removing a little more in the parts I wasn’t happy with and then I was ready to start printing onto my fabric. I traced out my pattern pieces onto the fabric so I was able to see were the prints would end up once the shorts were complete.

I mixed a regular acrylic paint with fabric medium to make the finished design washable and stamped my design onto the fabric. I made one pair with the design the same way up and reapplied paint between every stamp, the other pair I changed the design around and reapplied paint less often. I am very happy with how they turned out and the boys love them, so thats the most important part. I also got these amazing labels from Kylie and the Machine to add a finishing touch.

I am hoping to have a go at potato stamping in the next few weeks with the kids as well. Have you tried stamping/printing your own fabric? I would love to see photos if you have.

Happy Sewing
xx Gail

Filed Under: 52 Week Sewing Challange, 52 Week Sewing Challenge - 2020, Arts and Crafts, Flosstyle Patterns, Sew For kids, Star Shorts Tagged With: Hand Carved Stamp, Hand Stamped Fabric, Lino Printing, Stamped Fabric

in Arts and Crafts· Bolster Bean Bag· Flosstyle Patterns· Sewing with Kids· Uncategorized

Bolster Beanbag

Photo Credit Jennifer Epp – Footrest size with sofa and moon top, with the optional handle.

The Bolster Beanbag release, Tuesday 27th of August 2019.

This is the first sewing pattern I have designed. It has been a dream of mine since I was 10. My son was the inspiration behind this pattern.

There are 4 sizes to choose from:

Footrest: perfect name for its use but also great as bed for a small pet.

Toddler: as the name suggests, perfect for a toddler or small child.

Kids/Adult: Great all-rounder for the family.

Adult Plus: This is the big-boy! I always see listings for the HUGE beanbags that one could dream of. This size for sure is a winner.

Adult Plus – Model is my dad who had to have one too!

There are 3 shapes for the top of the beanbag; round, moon and sofa.

From Left to Right: Round, Moon, Sofa


The Bolster Beanbag has a removable outer cover to allow for easy machine washing. Perfect to curl up to read a book, catch up on the latest Netflix show or just lounge around on this comfy, cushy beanbag.

https://flosstyle.com/product/bolster-beanbag/

Always great to remember dreams do come true! Thank you Gail for making it possible for me.

Filed Under: Arts and Crafts, Bolster Bean Bag, Flosstyle Patterns, Sewing with Kids, Uncategorized Tagged With: Beanbag, beginner, Bolster Beanbag, decor, sewing for kids, woven

in Arts and Crafts· Free Downloads· Uncategorized

Holiday Cheer

Goodness this year has flown by! Hard to believe there is only 1 month left to the year and we will soon to welcoming 2019. Flosstyle has some great things in store for the upcoming year! If you haven’t signed up for the newsletter and would like to, be sure to do so on the homepage. The newsletter will keep you up to date with all the fresh happenings with Flosstyle. You can also join the Facebook group, to keep up.

We recently celebrated 7,000 members in the Facebook group and gave out prizes to 7 individuals. Congrats on your win and please contact the Flosstyle page to claim your prize if you have yet to do so.

  • Jeny Harmon -2 free patterns
  • Hayley Webb -$20 certificate
  • Mel Stevens -10 credit
  • Michelle Mills -1 free pattern
  • Nicky Pritchard 1 free pattern
  • Linda Chretein-$15 certificate
  • Johanna Davidson-$5 credit

We will be having a bigger giveaway once we reach 8k members and I hear there are several fabric designers and other pattern designers involved!!!

To start off the Holiday season I have 3 vinyl files for you! They’re completely free and a gift from Flosstyle to you! But be sure to stay tuned for another freebie I have in the works. Any guesses what it may be? Hint: soft and cuddly

You can find the free svg files here.

Filed Under: Arts and Crafts, Free Downloads, Uncategorized

in Arts and Crafts· Behind the scenes· Sewing with Kids· Things to do with the Kids

Spray Dying Fabric with the Kids

I have been eyeing of this white cotton lycra in Lincraft for months now, I always walk away without buying it because my boys and white don’t go well together. Today it was half price and I couldn’t leave it in the store any longer. I had originally thought that I would buy some liquid dye and dye the whole piece but when looking for the liquid dye I found this really cool spray on fabric dye. (bonus it was cheaper too!)

I asked the boys if they wanted to spray dye some fabric and they were both keen. I laid the fabric out on the lawn and let them go to town.


Apart from the blue can getting a blocked nozzle early in, the cans were pretty kids friendly to use and the boys had a blast. The finished fabric is now hanging up drying before I can turn it into clothes for the boys, I’m thinking it will be perfect for some Ventura Shirts for summer with all the bright colours.

Xx Happy Sewing

Gail

Filed Under: Arts and Crafts, Behind the scenes, Sewing with Kids, Things to do with the Kids

Primary Sidebar

Recent Posts

  • Sewing for loved ones March 21, 2022
  • Sewing Challenge 2022 – Week 4 January 30, 2022
  • Sewing Challenge 2022 – Week 2 January 15, 2022
  • Scrub Cap Sew Along January 14, 2022
  • Sewing Challenge 2022 – Week 1 January 7, 2022

Categories

  • 2019 52 Week Sewing Challenge
  • 52 Week Sewing Challange
  • 52 Week Sewing Challenge – 2020
  • 52 Week Sewing Challenge – 2022
  • Alice's Tea Set
  • Applique
  • Artiste
  • Arts and Crafts
  • Babys First Toys
  • Bazinga Backpack
  • Beginners
  • Behind the scenes
  • Blogs by Jess
  • Blogs by Olivia
  • Bloomies
  • Bolster Bean Bag
  • Bonnet
  • Boutique and Hybrid Bibs
  • Bunny Bucket
  • Bunny Bucket Crown
  • Capsule Wardrobe
  • Charity Cape
  • Christmas Sewing
  • Costumes
  • EZ Wrap Wallet
  • Flosstyle Patterns
  • Free Downloads
  • Freebies
  • Groovy Guys Wallet
  • Guest Blog Post
  • How To
  • Hunter Shorts
  • Itty Bitty
  • Kanga Carrier
  • Learn to Sew
  • New to PDF Patterns
  • One Yard Tote
  • Paradise Dress
  • Pattern Hack
  • Pattern Release
  • Play Away
  • Printable
  • Puckers
  • Rainbow Hat
  • Scrub Cap
  • Sew Along
  • Sew For kids
  • Sewing
  • Sewing for Baby
  • Sewing for Boys
  • Sewing Groups
  • Sewing with Braden
  • Sewing with Kids
  • Sneak Peek Stocking
  • Souffle Skirt
  • Spring Wardrobe Challenge
  • Sprouts
  • Star Shorts
  • Super Suit
  • Things to do with the Kids
  • Tidy Travel Tote
  • Timelapse
  • Tooshies
  • Trees
  • Trolley Liner
  • TTT
  • Tutorials
  • Twiggies
  • Twigs
  • Ultimate Bucket Hat
  • Uncategorized
  • Upcycle
  • Upcycle Challenge 2018
  • Ventura Lite
  • Video
  • Whirl Skirt
  • Zoo

Footer

Product categories

  • Pattern Workshop
  • Patterns
    • Accessories
    • Babies
    • Baby Carrier
    • Bags
    • Boys
    • Free
    • Gifts and Toys
    • Girls
    • Home Decor
    • Ladies
    • Men
    • Wallets and Bags
  • Uncategorised

New to the Blog

  • Sewing for loved ones
  • Sewing Challenge 2022 – Week 4
  • Sewing Challenge 2022 – Week 2
  • Scrub Cap Sew Along
  • Sewing Challenge 2022 – Week 1

Search

  • About Us
  • Free Patterns
  • Downloads
  • Privacy
  • FAQ’s

Flosstyle Patterns · Copyright © 2025

Copyright © 2025 · Ellie Jane on Genesis Framework · WordPress · Log in